

Introduction
In this guide, I will walk you through provisioning an Always Free VPS instance on Oracle Cloud Infrastructure (OCI). While the setup involves navigating multiple dashboard screens, the core hurdle most developers encounter is the common Out of Capacity error during creation.
Because Oracle allocates a finite pool of Always Free compute per region, high-demand data centers frequently exhaust their unreserved capacity. Below, you will find both the end-to-end dashboard setup and an automated Terraform polling script to secure an instance the moment compute becomes available.
You can jump directly to the automation script using the table of contents.
Get Started With Creating Account
Visit www.oracle.com/cloud/ to begin.
- Click
Try OCI for free.

Review the Always Free services available, then proceed to account registration.
- Click
Start for free.
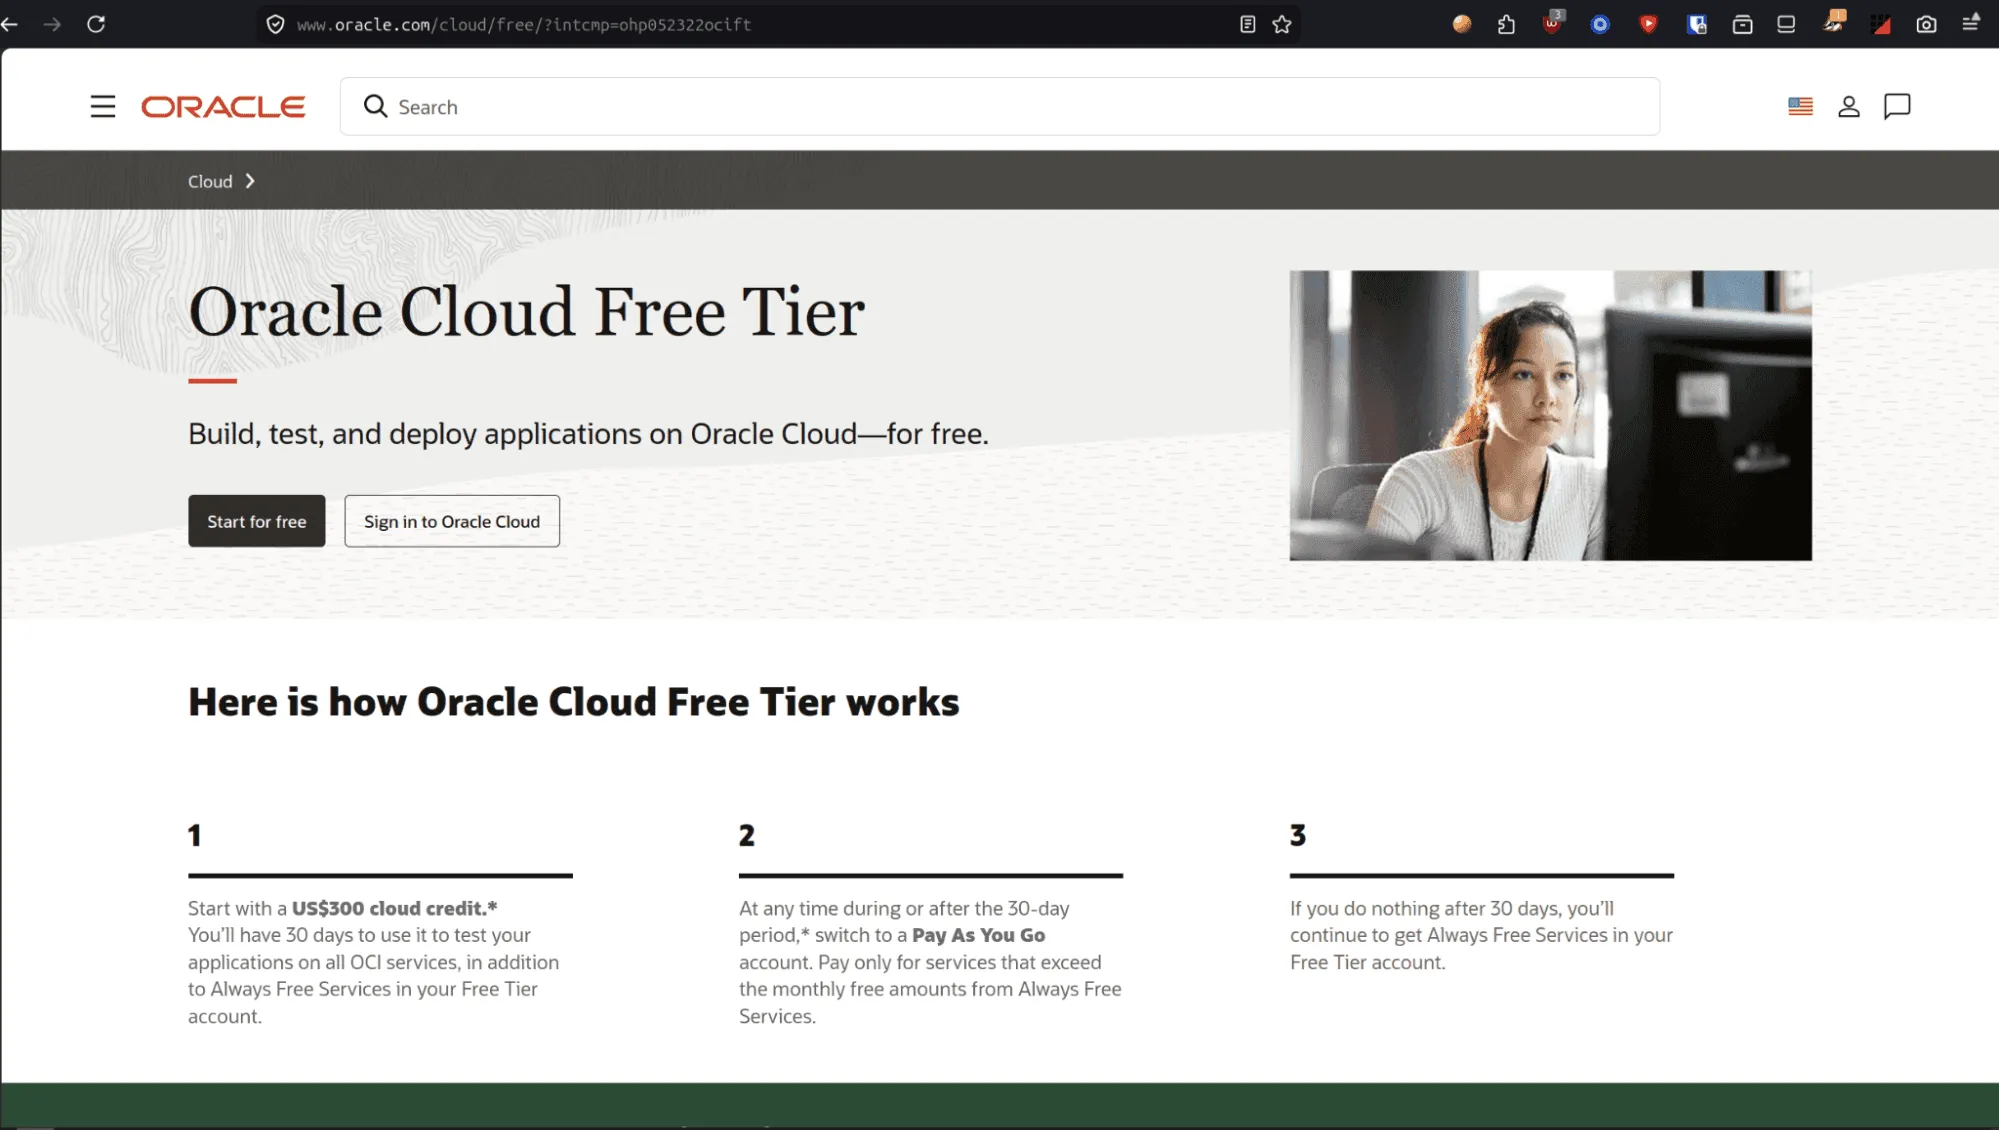
- Enter your account information and country location.
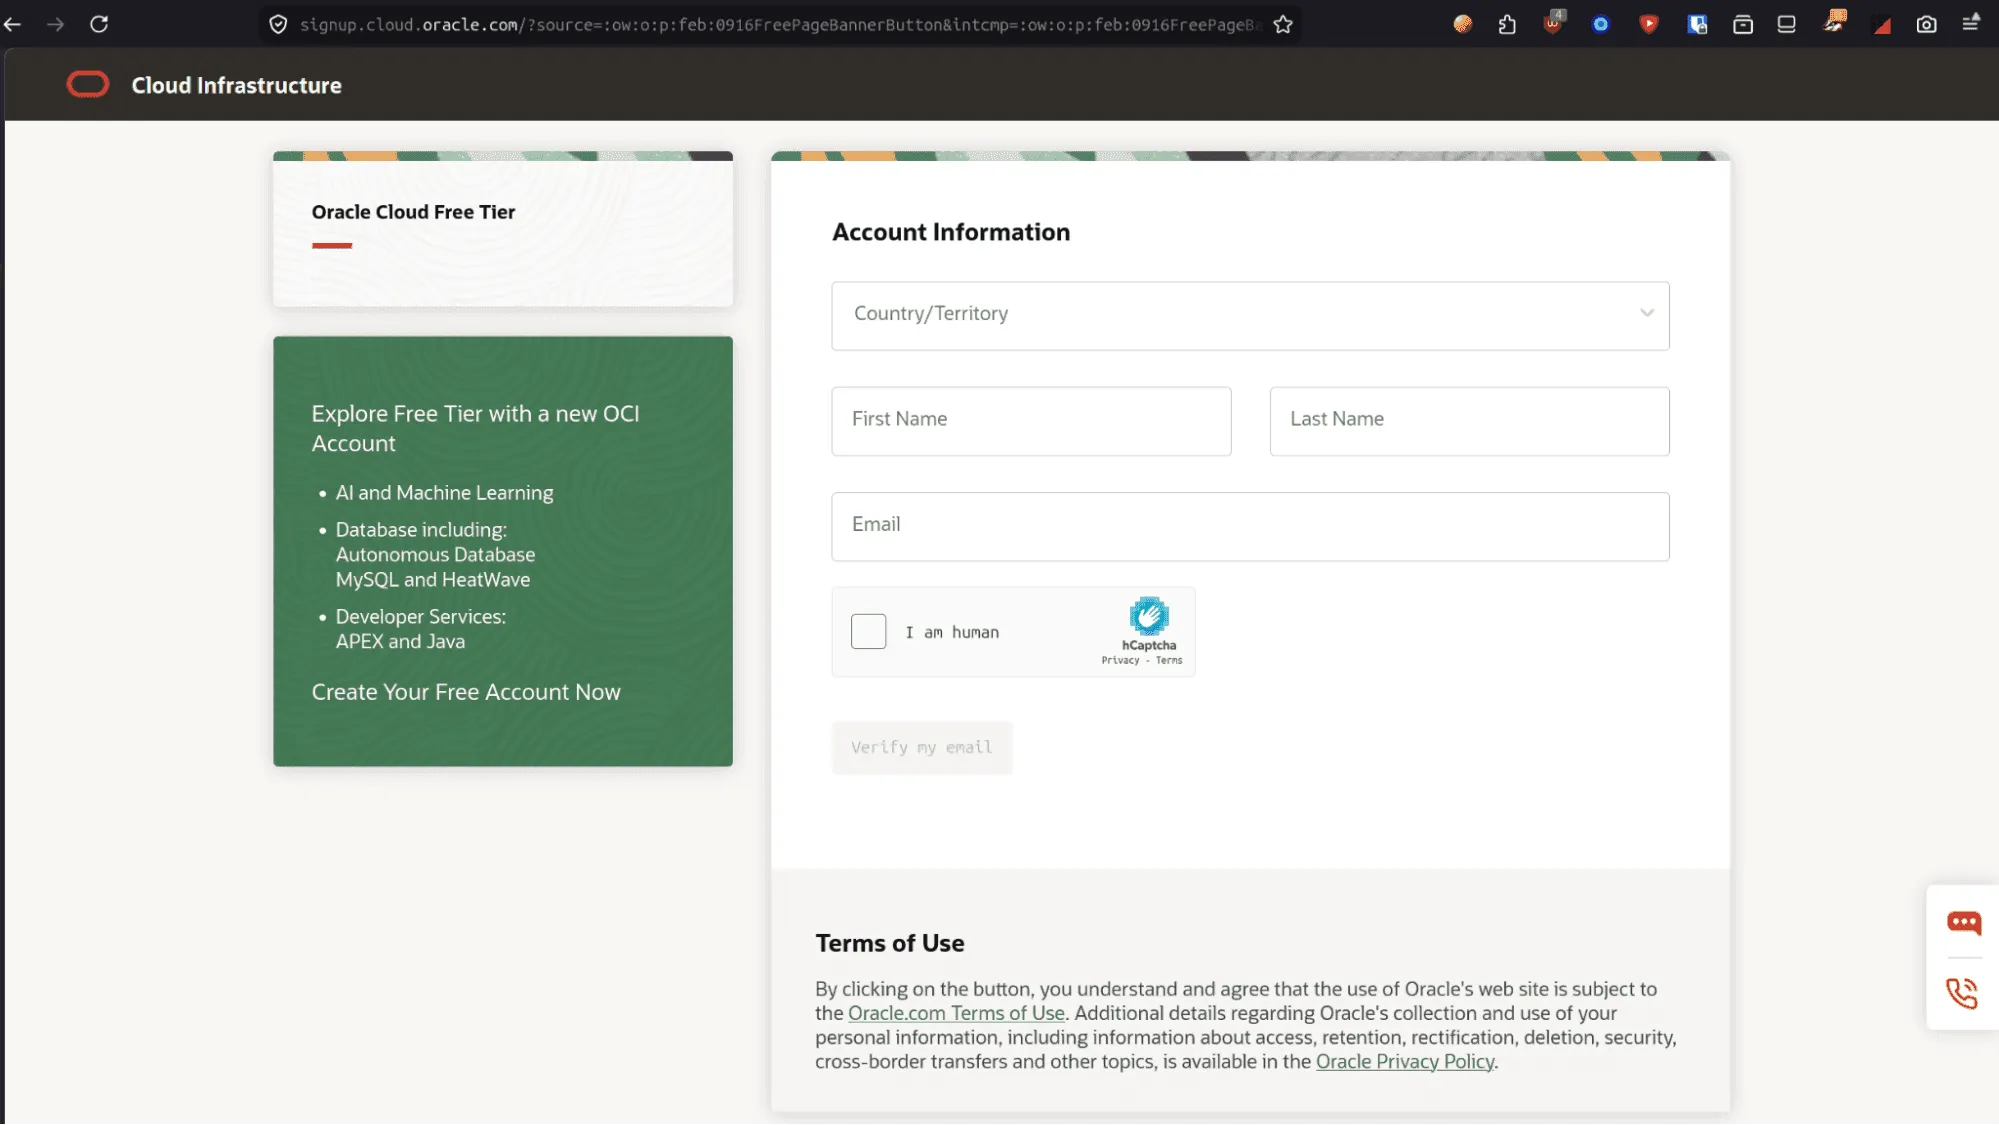
- Create a secure password following OCI complexity rules.
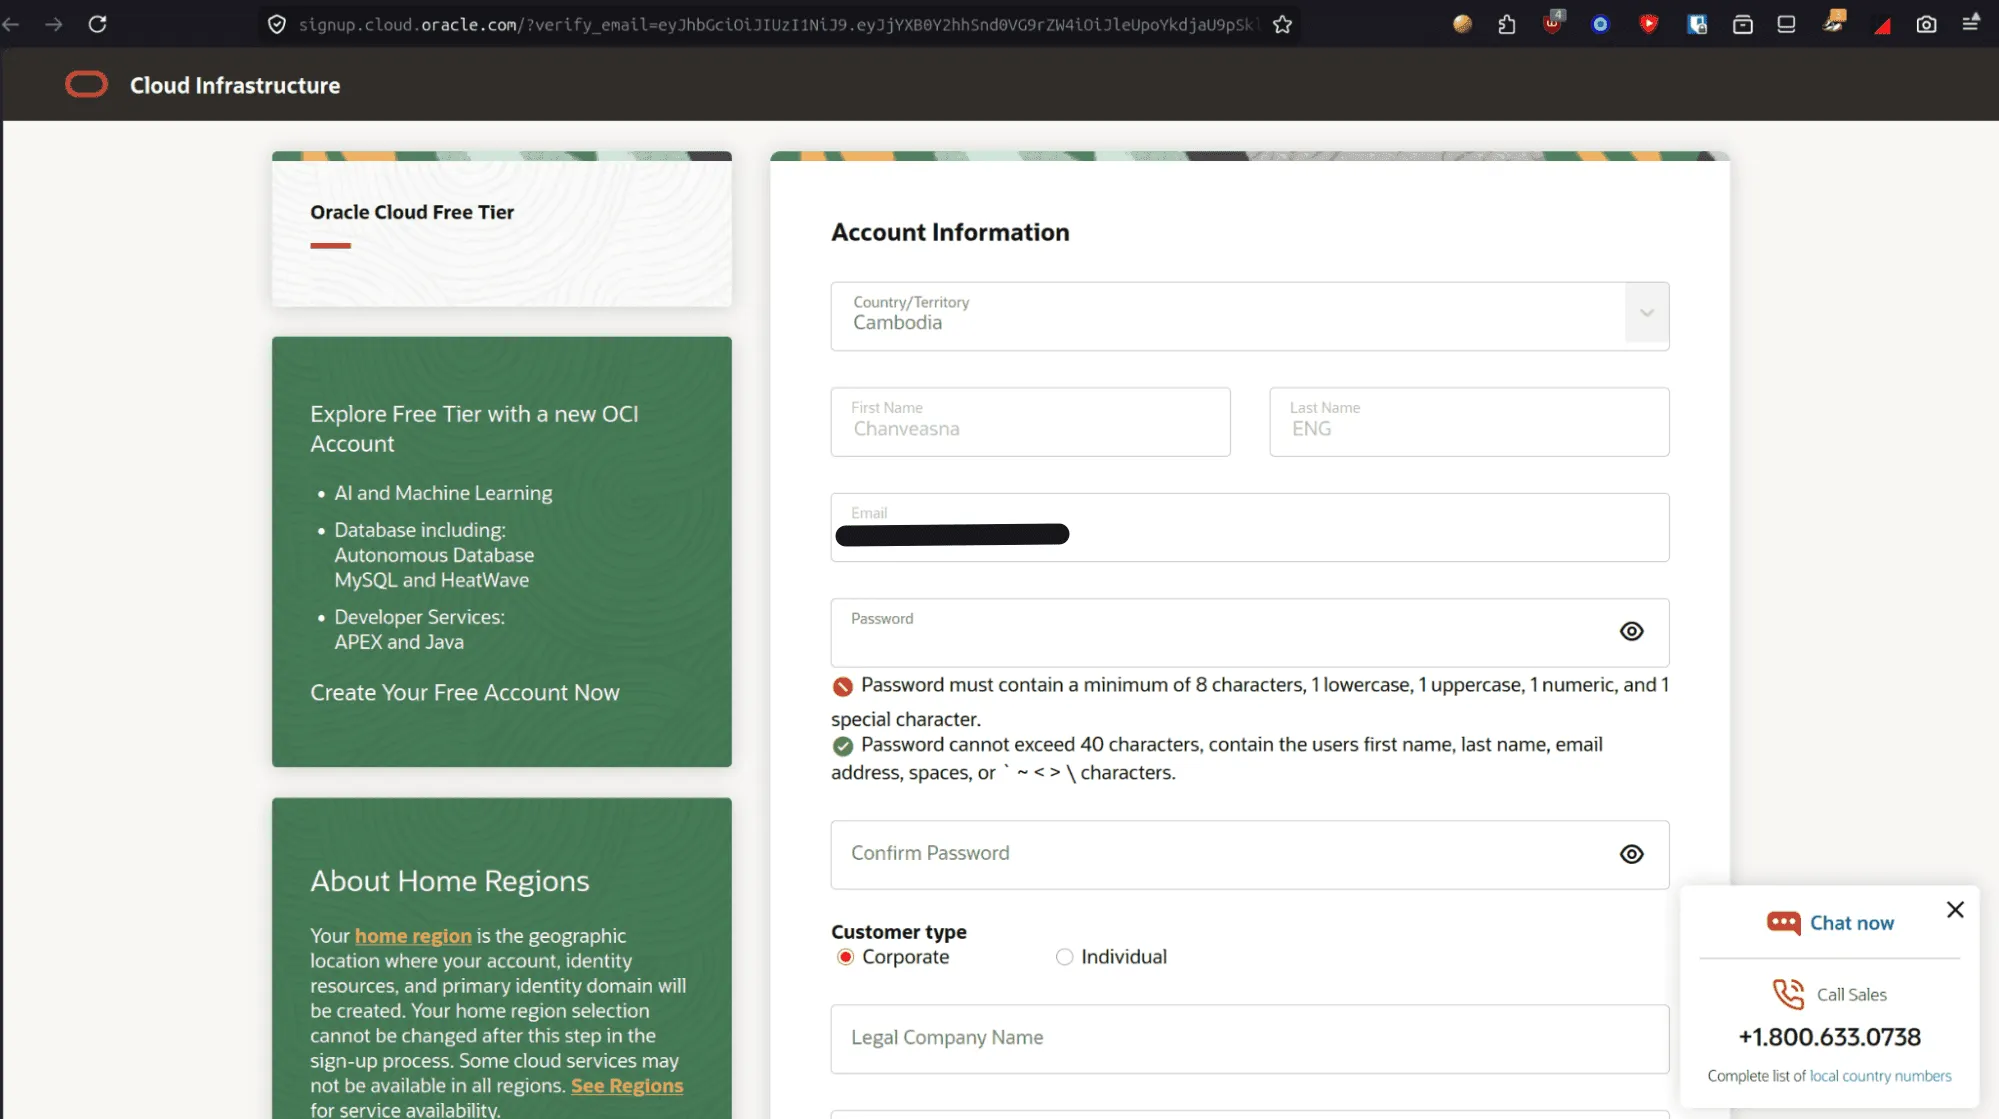
- Choose a unique cloud account name.
Important: You can only provision Always Free instances in your assigned Home Region. This selection cannot be changed later. Choose a region close to your primary location with known Always Free capacity.
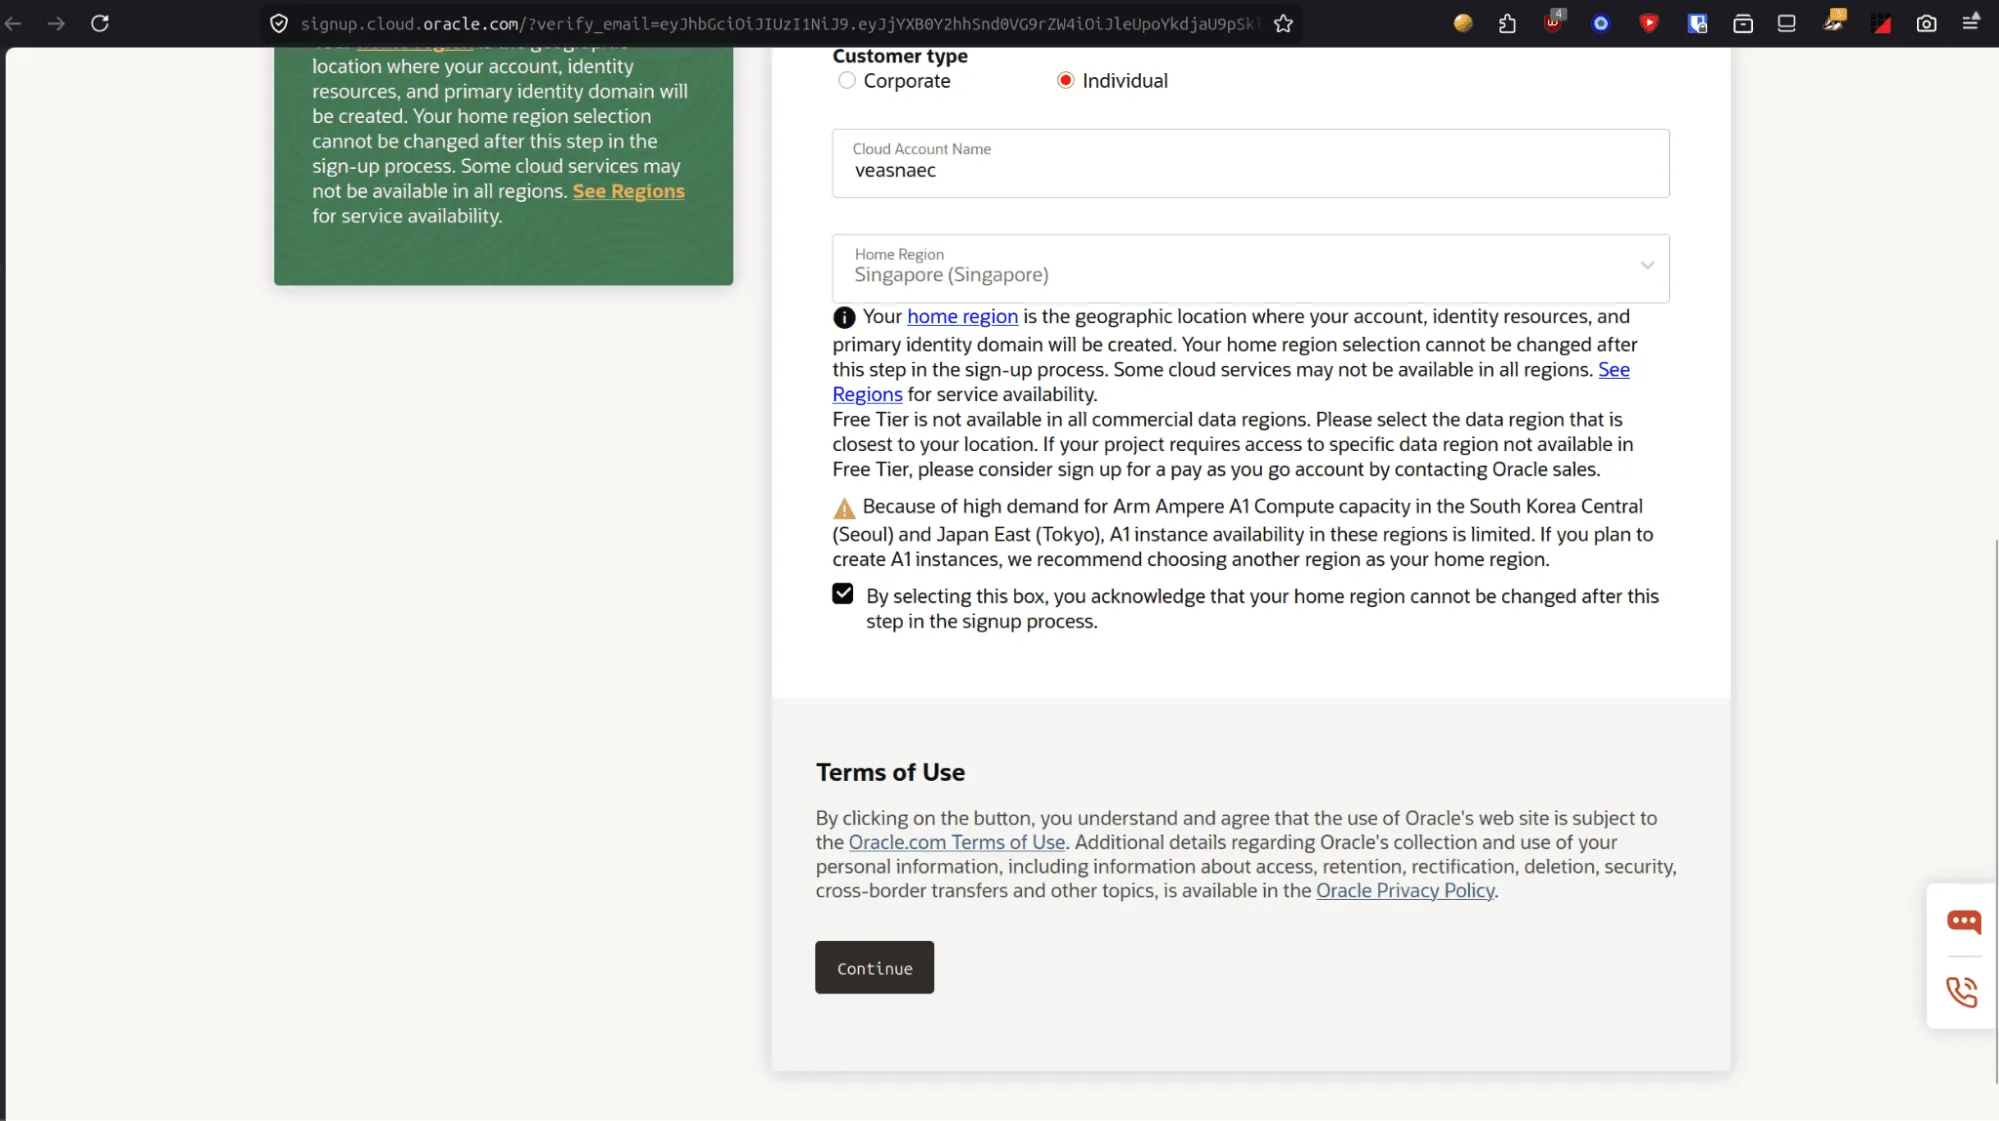
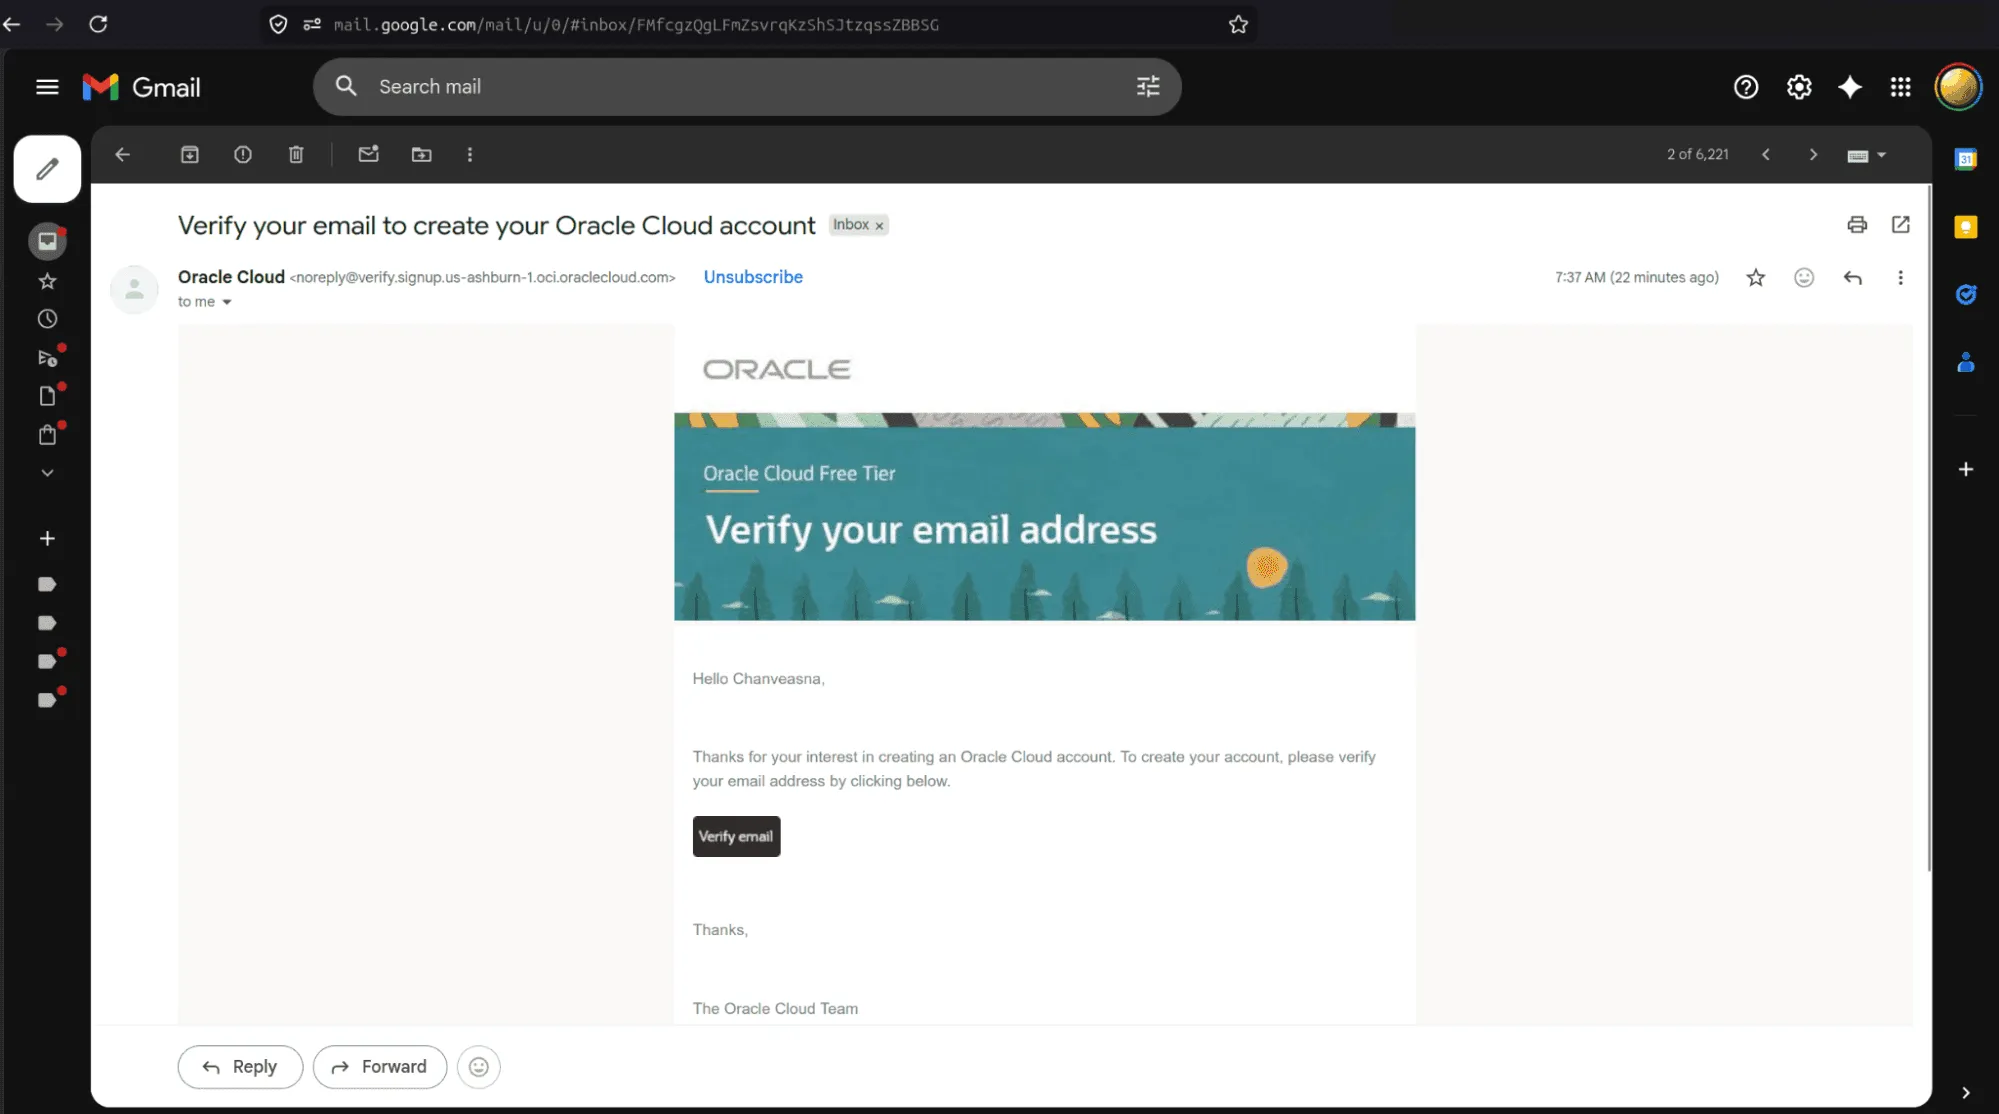
- Check your inbox and click
Verify Email.
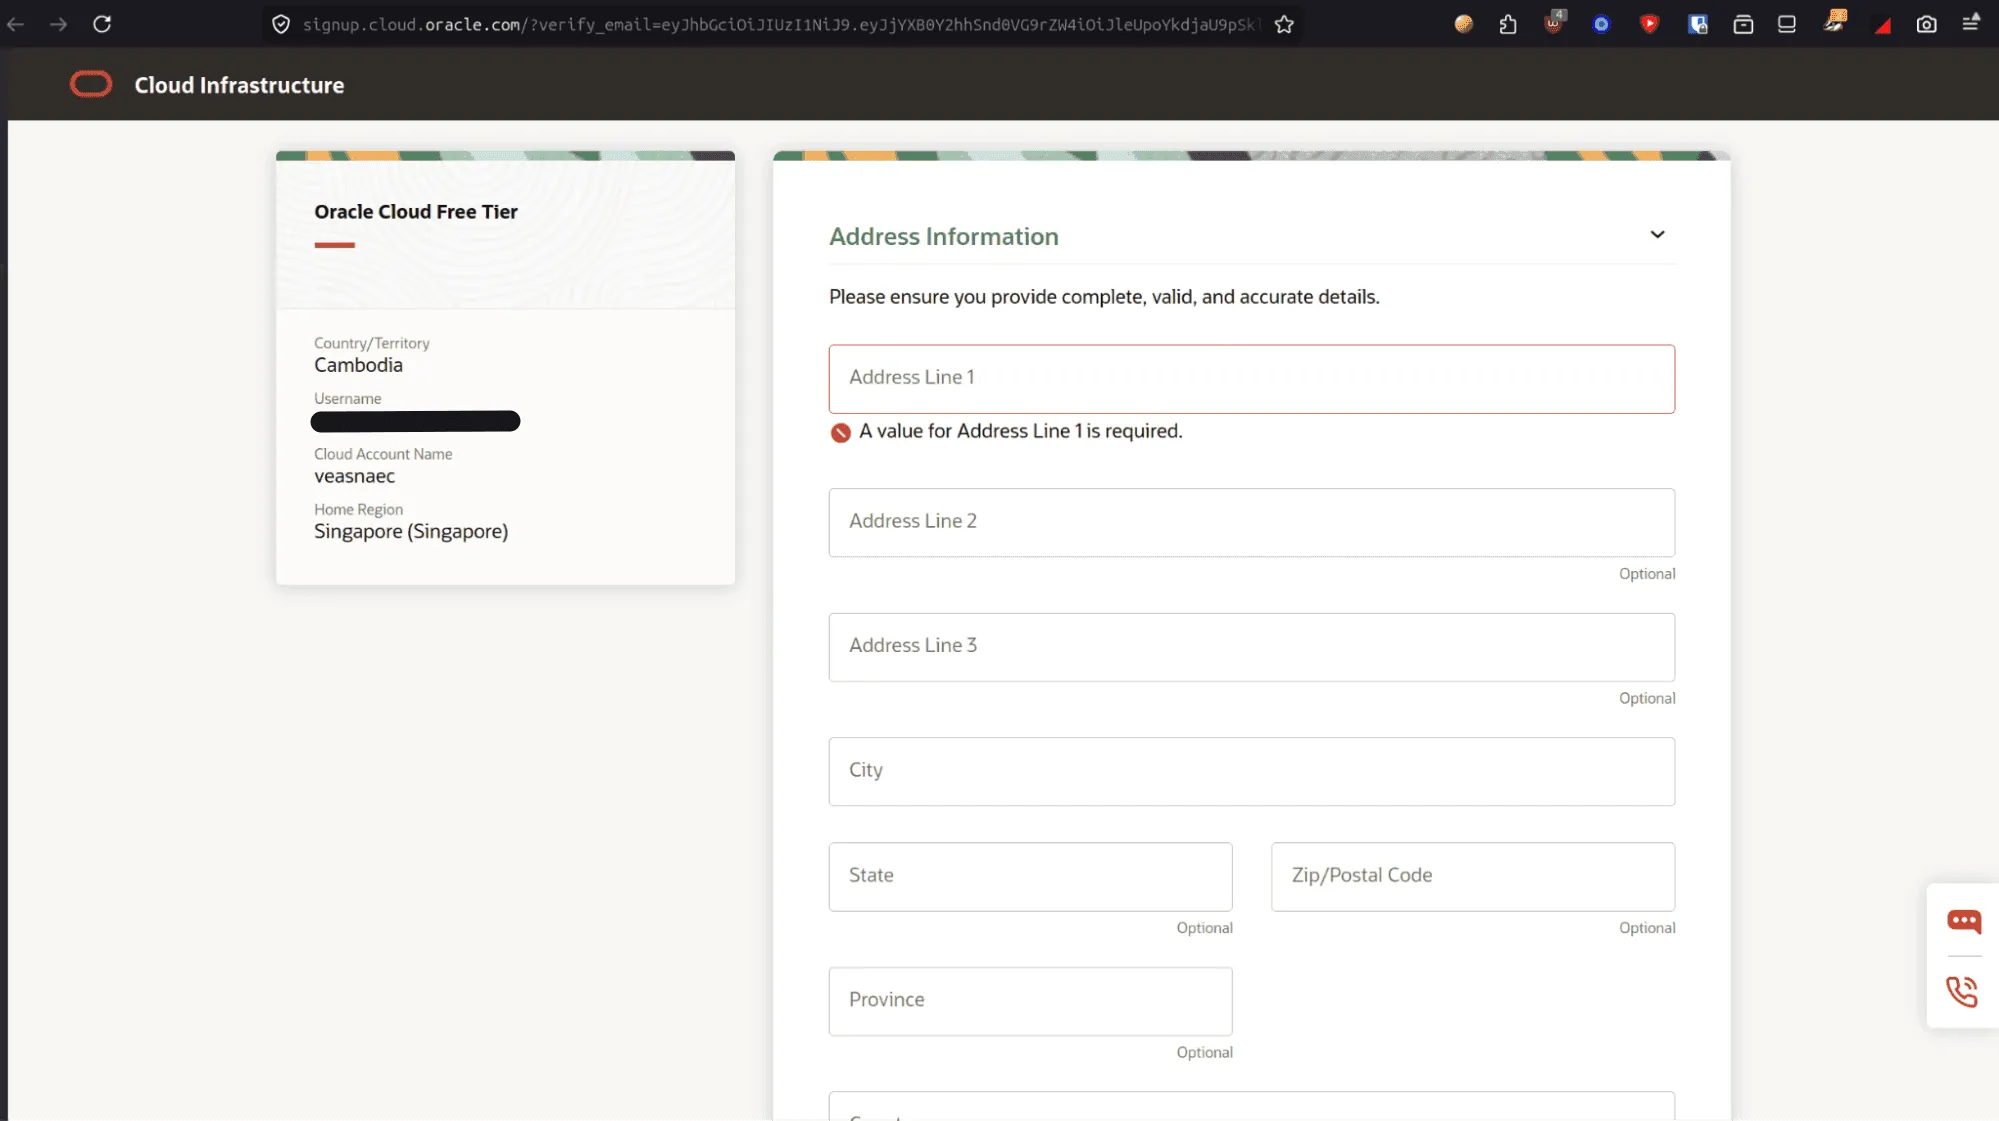
- Complete the required address and contact fields.
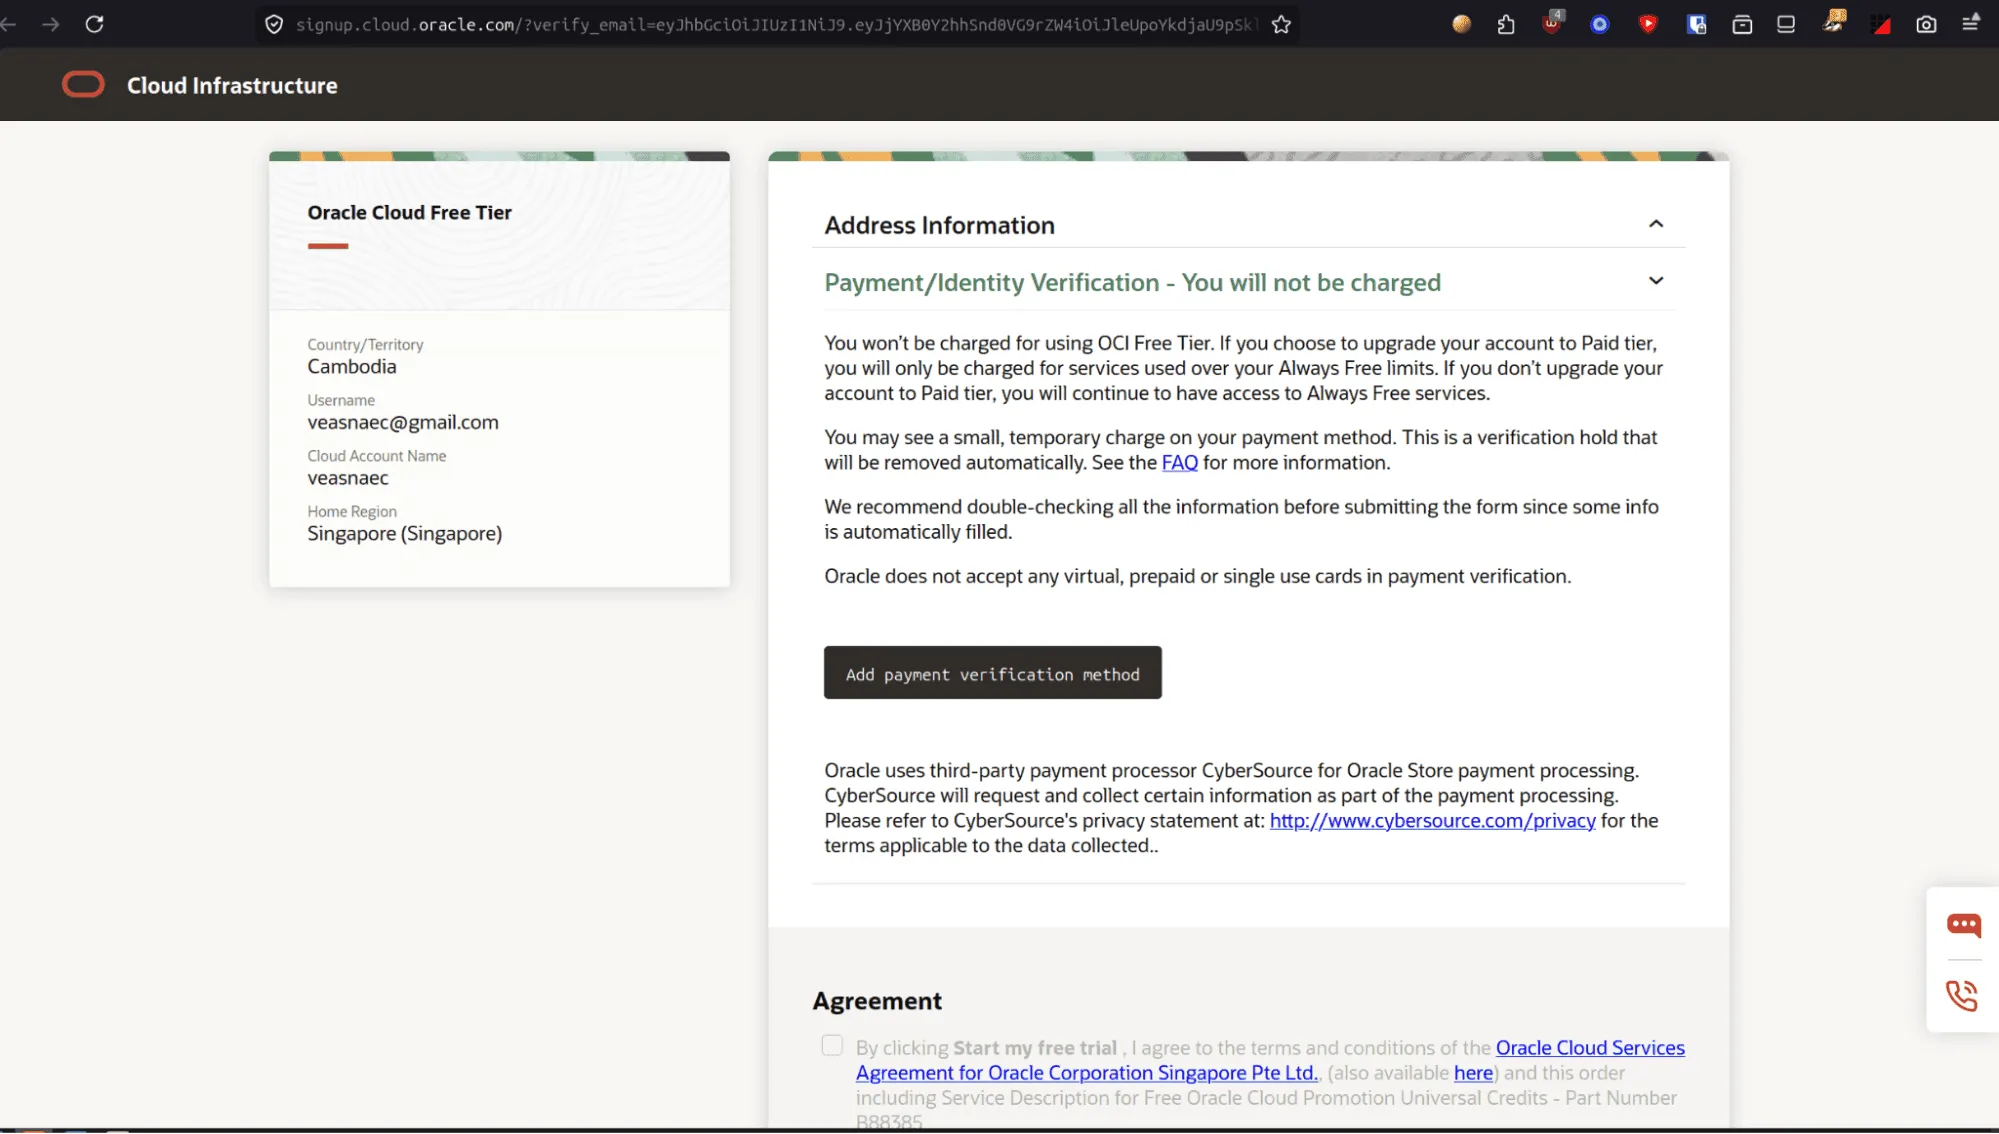
- Add a payment method for identity verification.
Note: Oracle requires a valid debit or credit card (prepaid cards are not accepted) for identity verification. No charges are billed for Always Free tier usage.
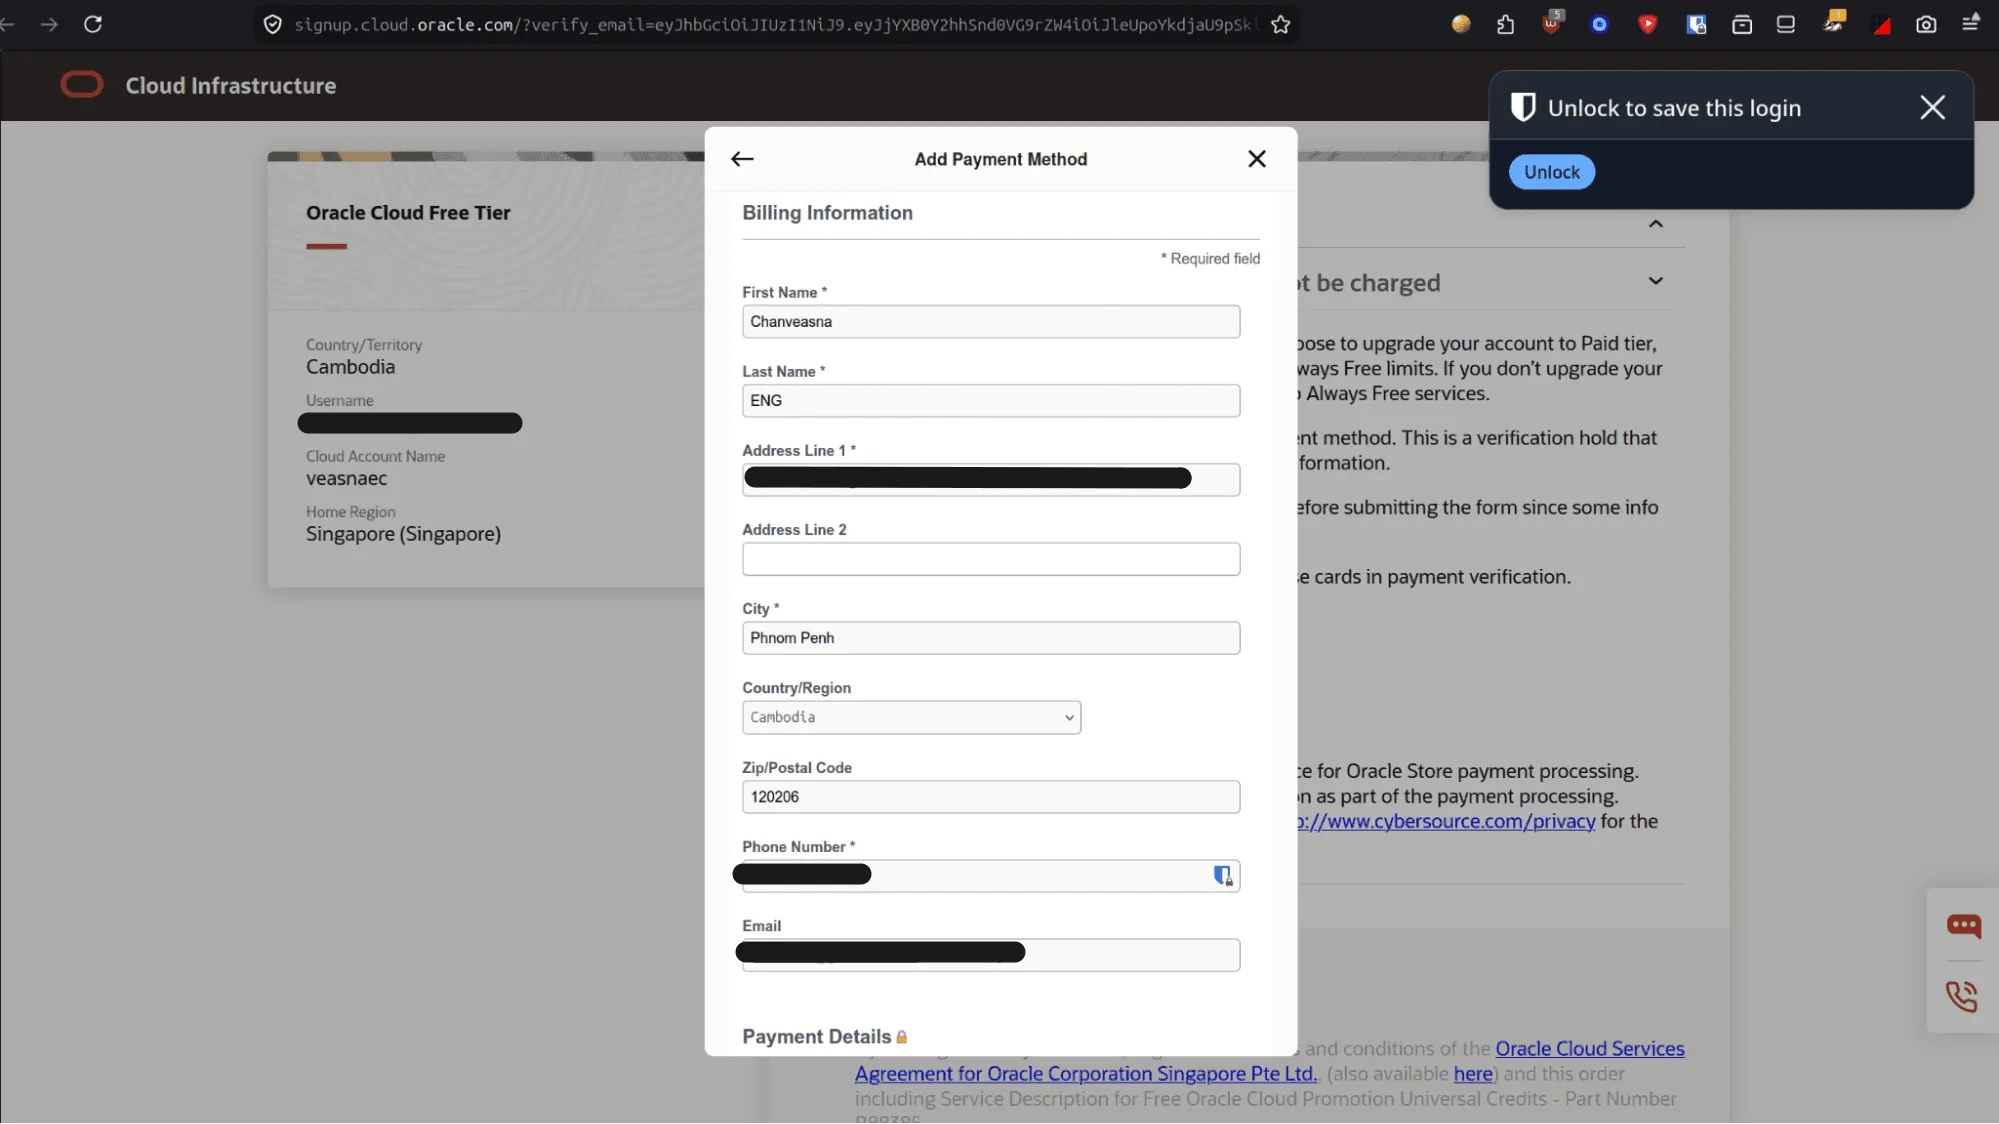
- Enter your billing details to finalize card verification.
- Accept the terms of service and click
Complete Sign-Up.
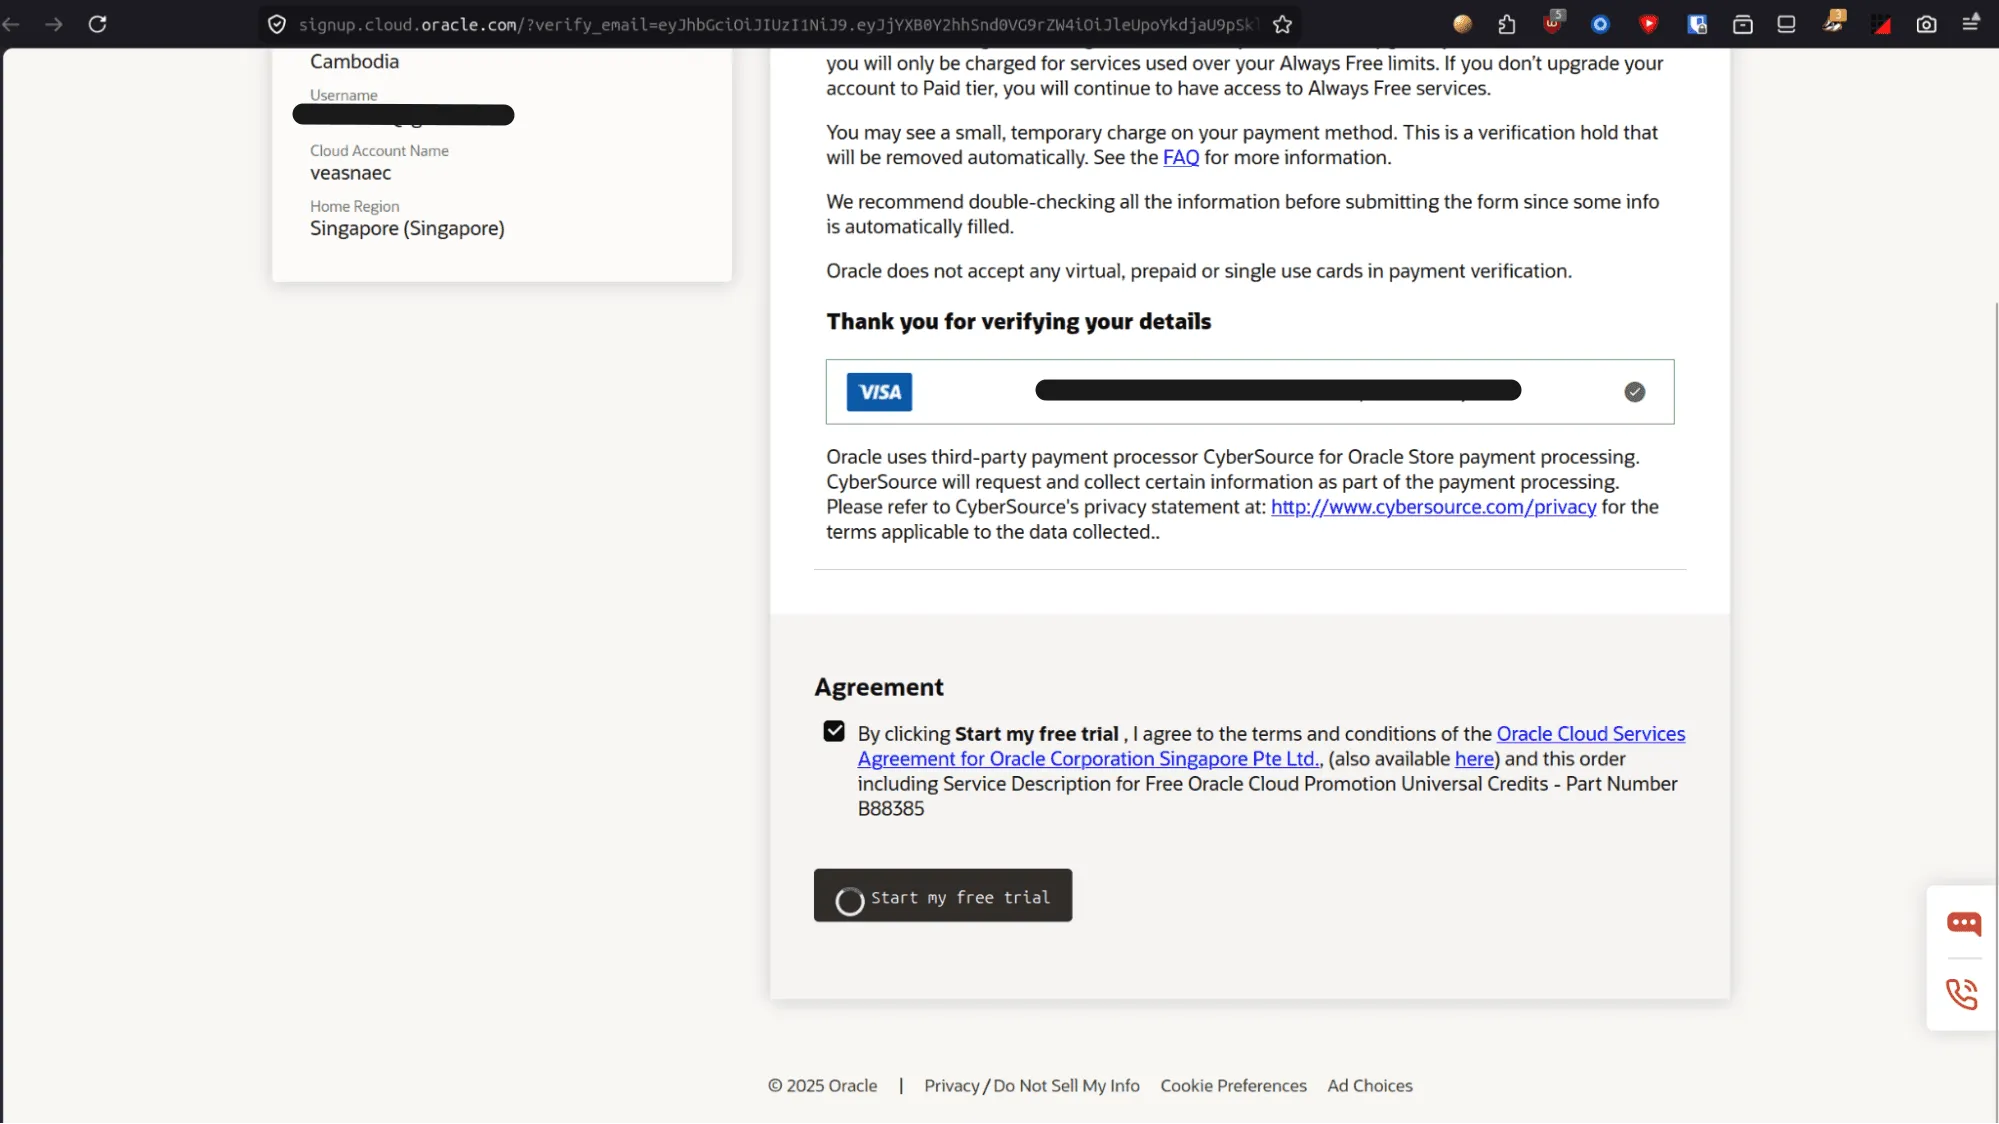
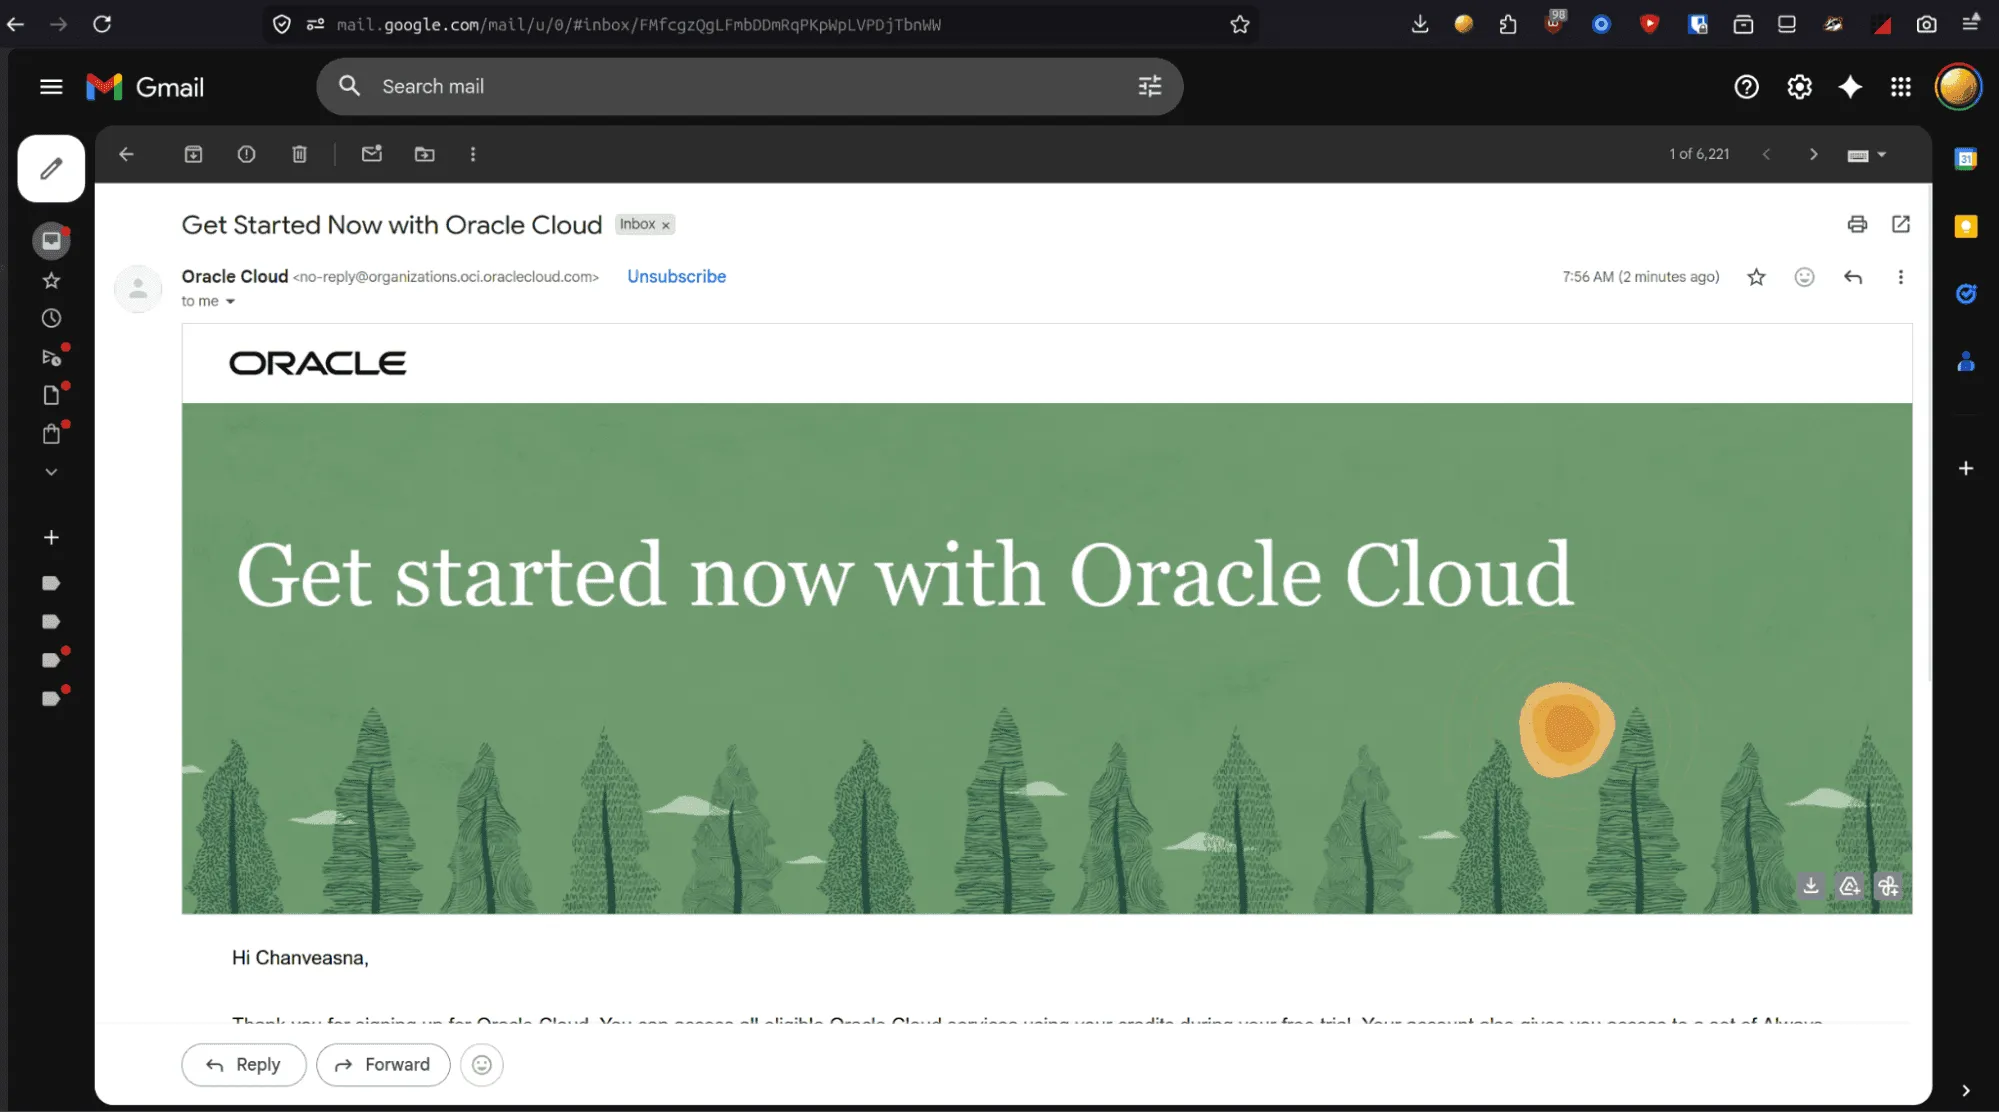
- Oracle will provision your tenancy and send a confirmation email once ready.
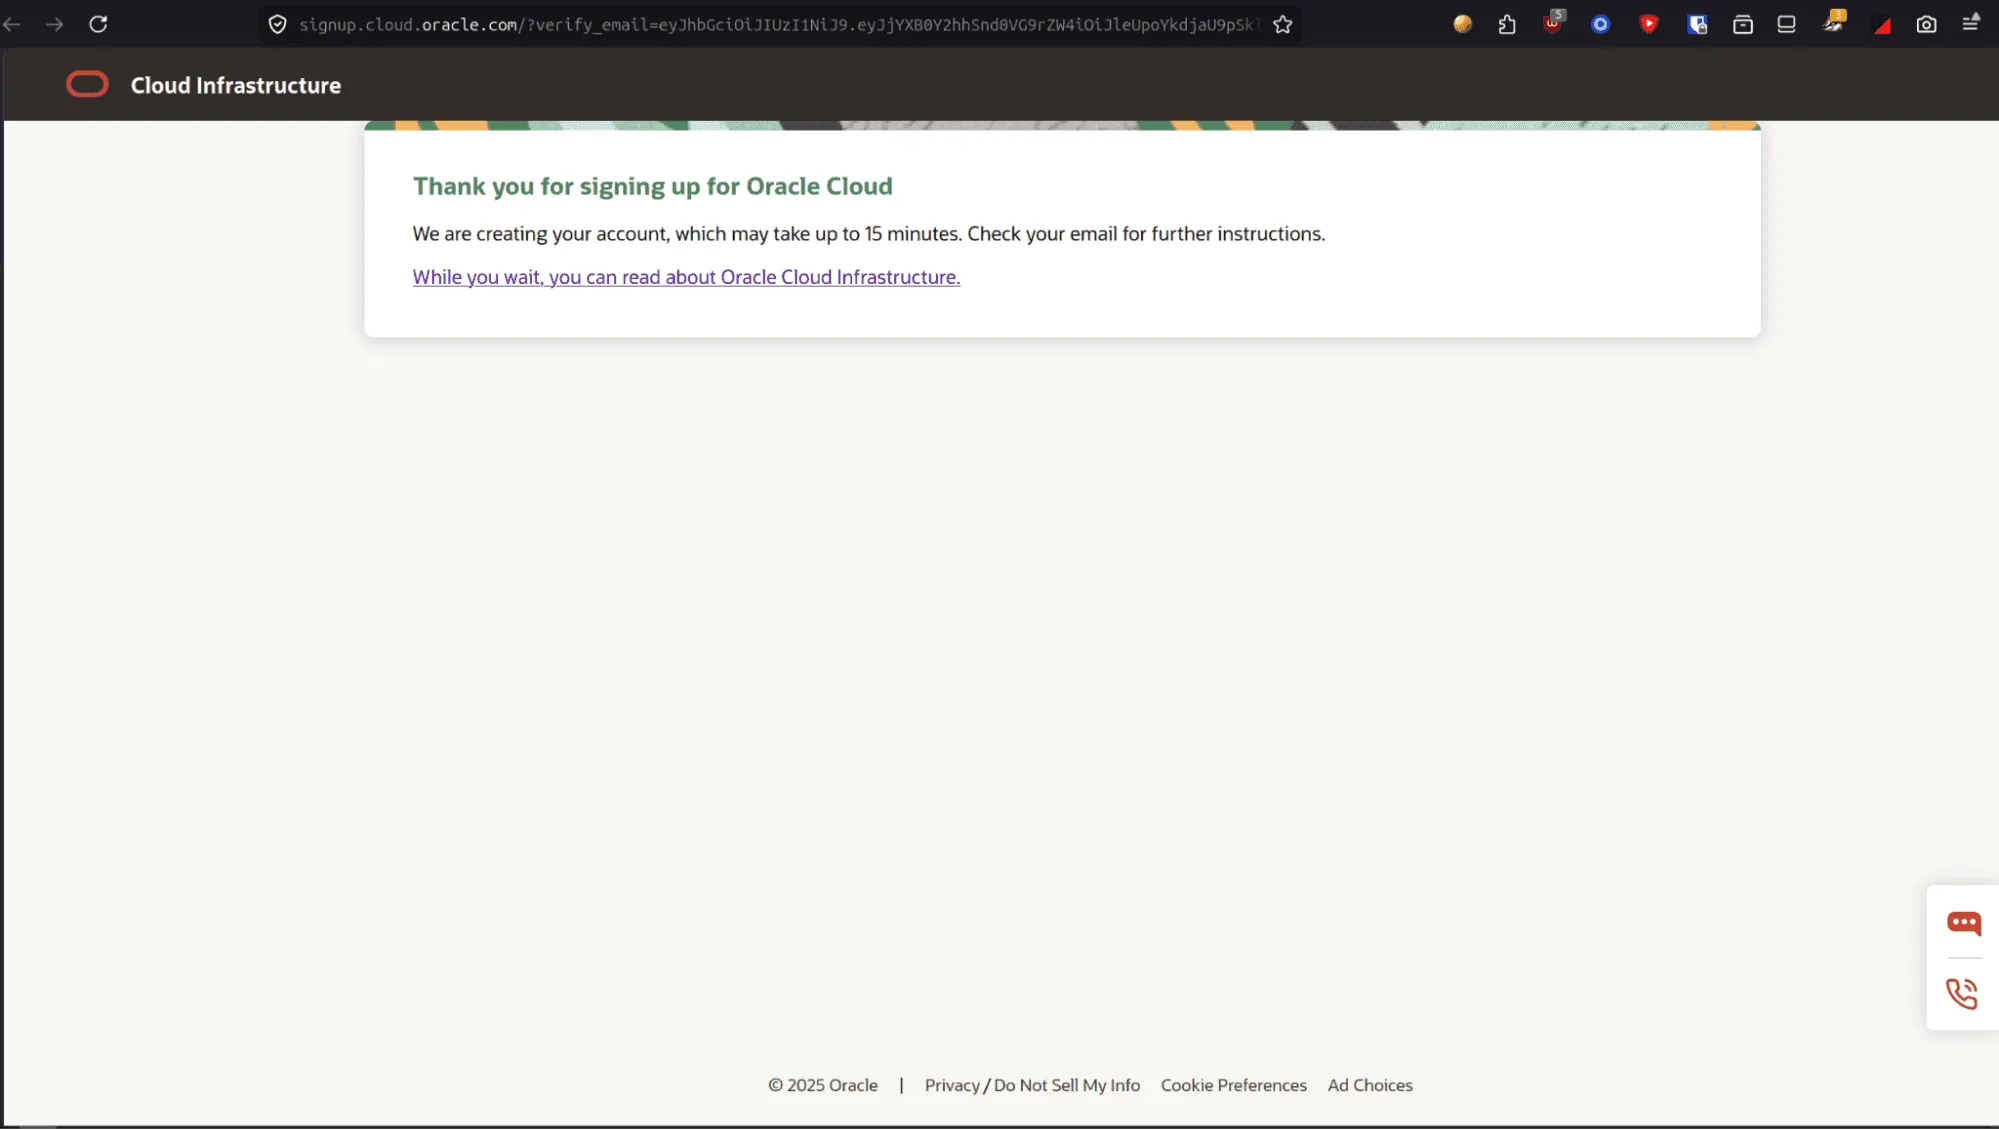
- Once your tenancy is active, log into the OCI Console.
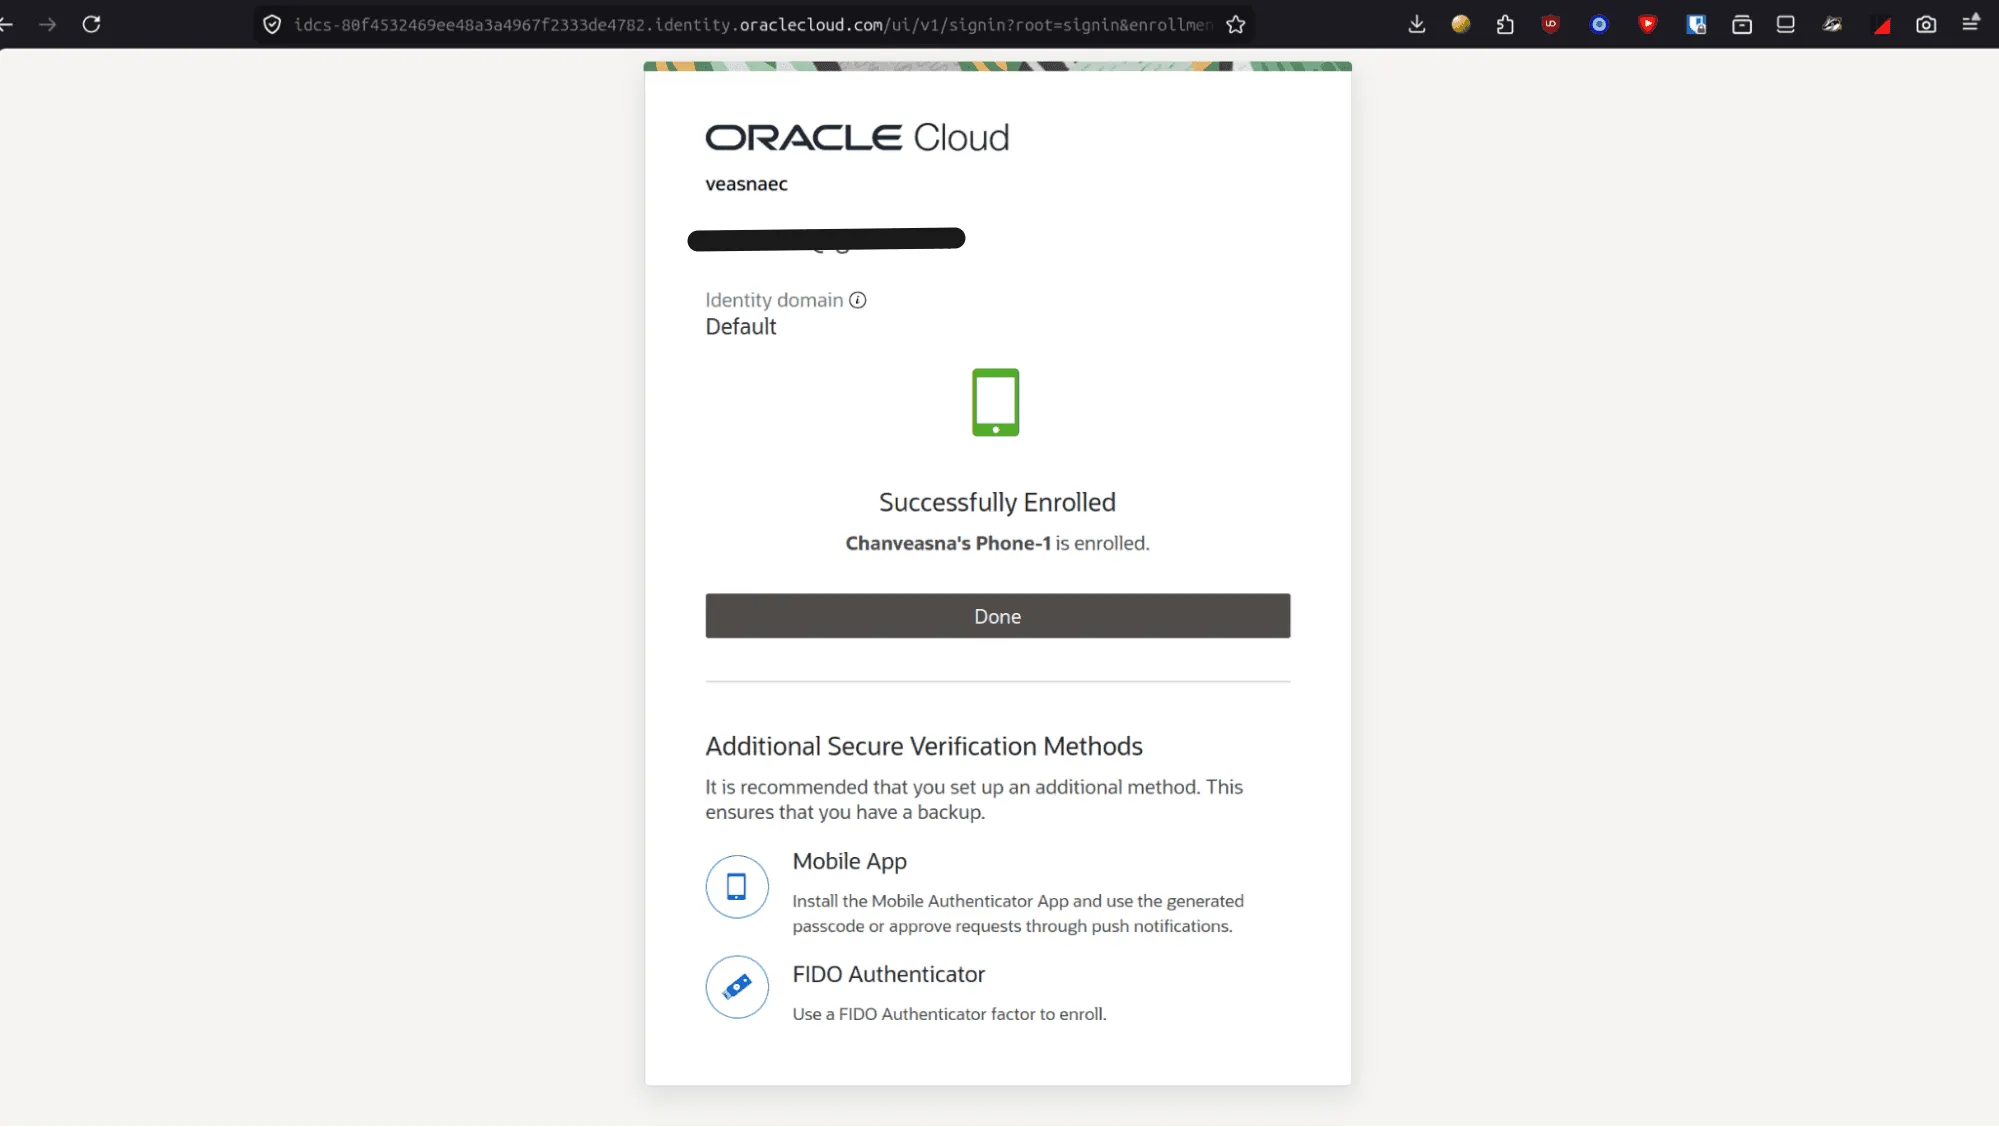
- Configure Two-Factor Authentication (2FA) to secure your account.
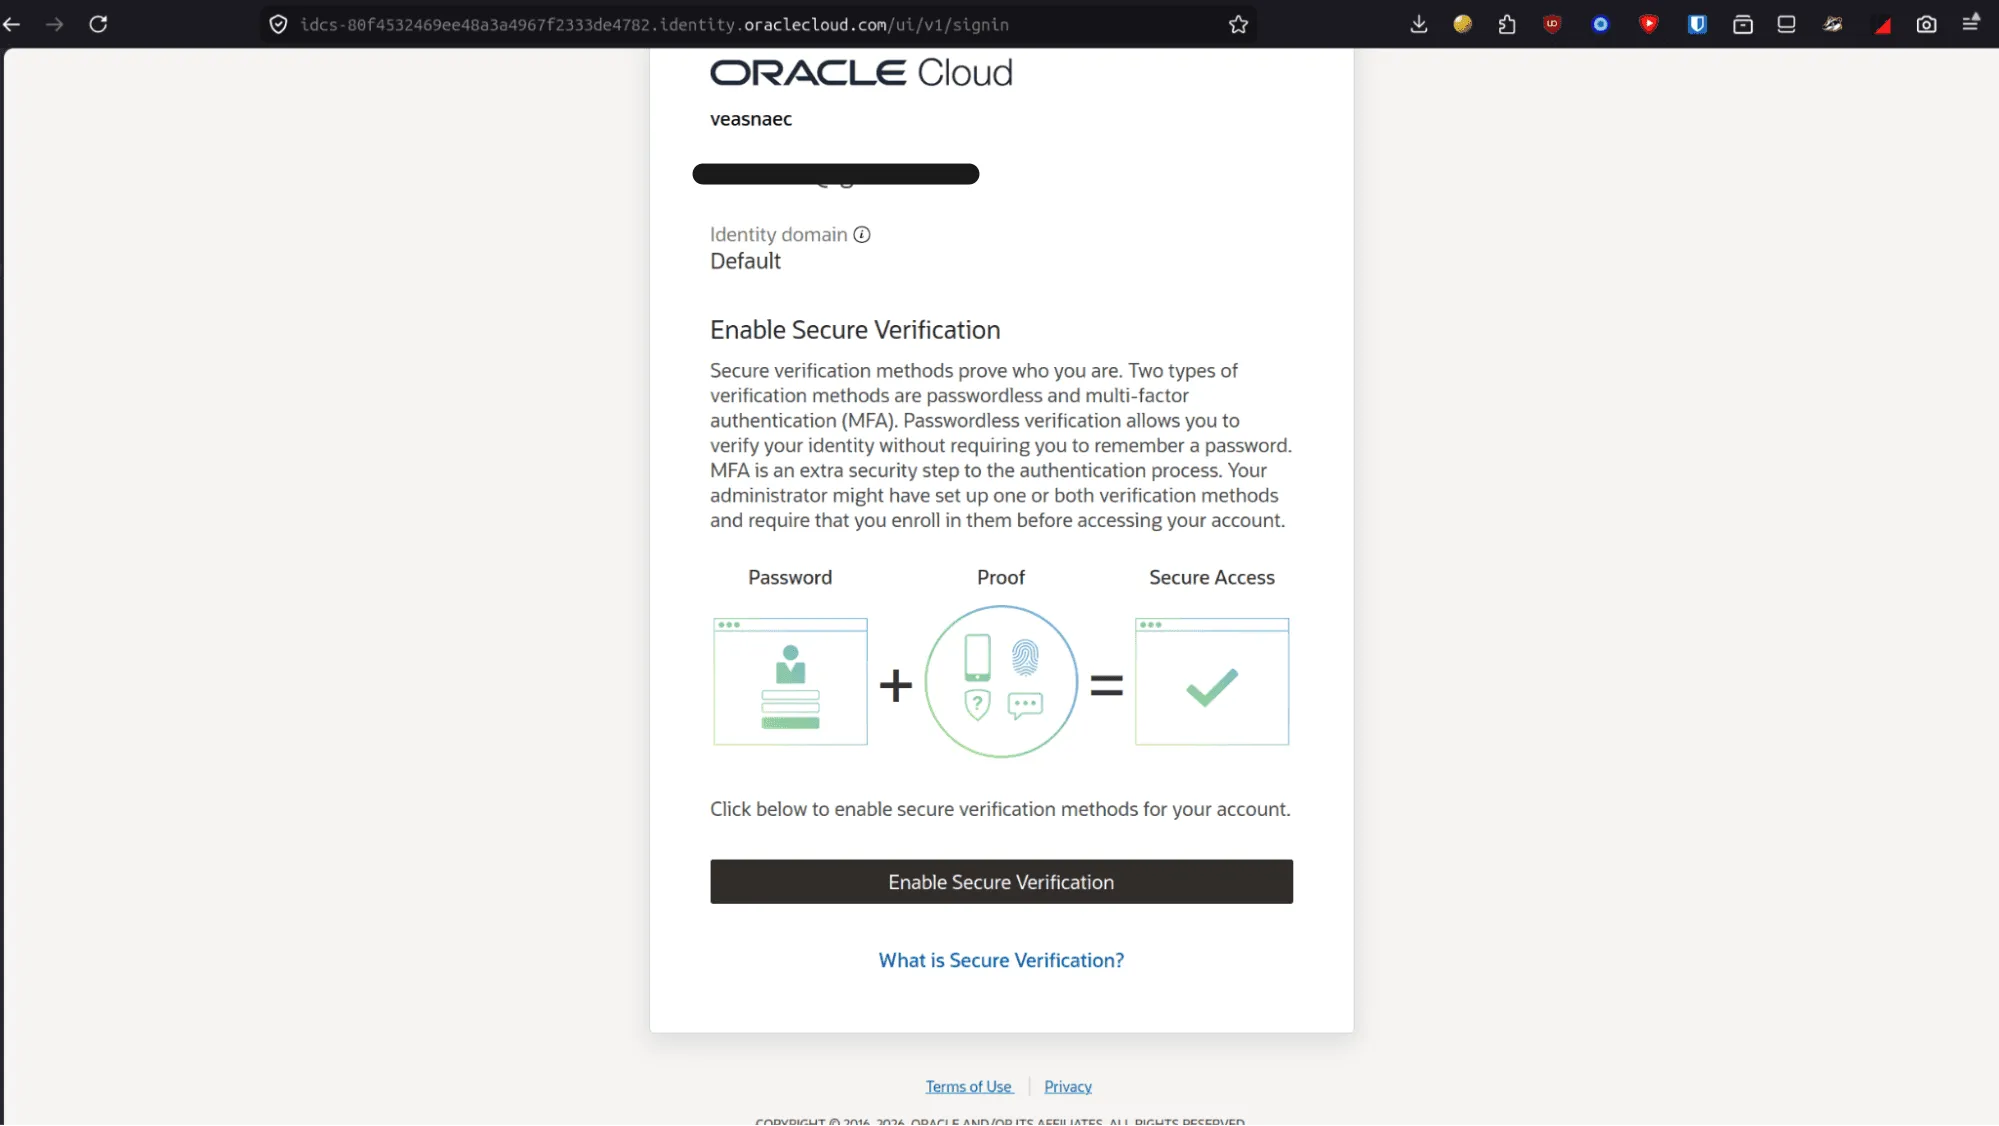
- Tip: You can use any TOTP app (Google Authenticator, Bitwarden, 1Password) by selecting “Another Authentication App” instead of the proprietary Oracle Mobile Authenticator.
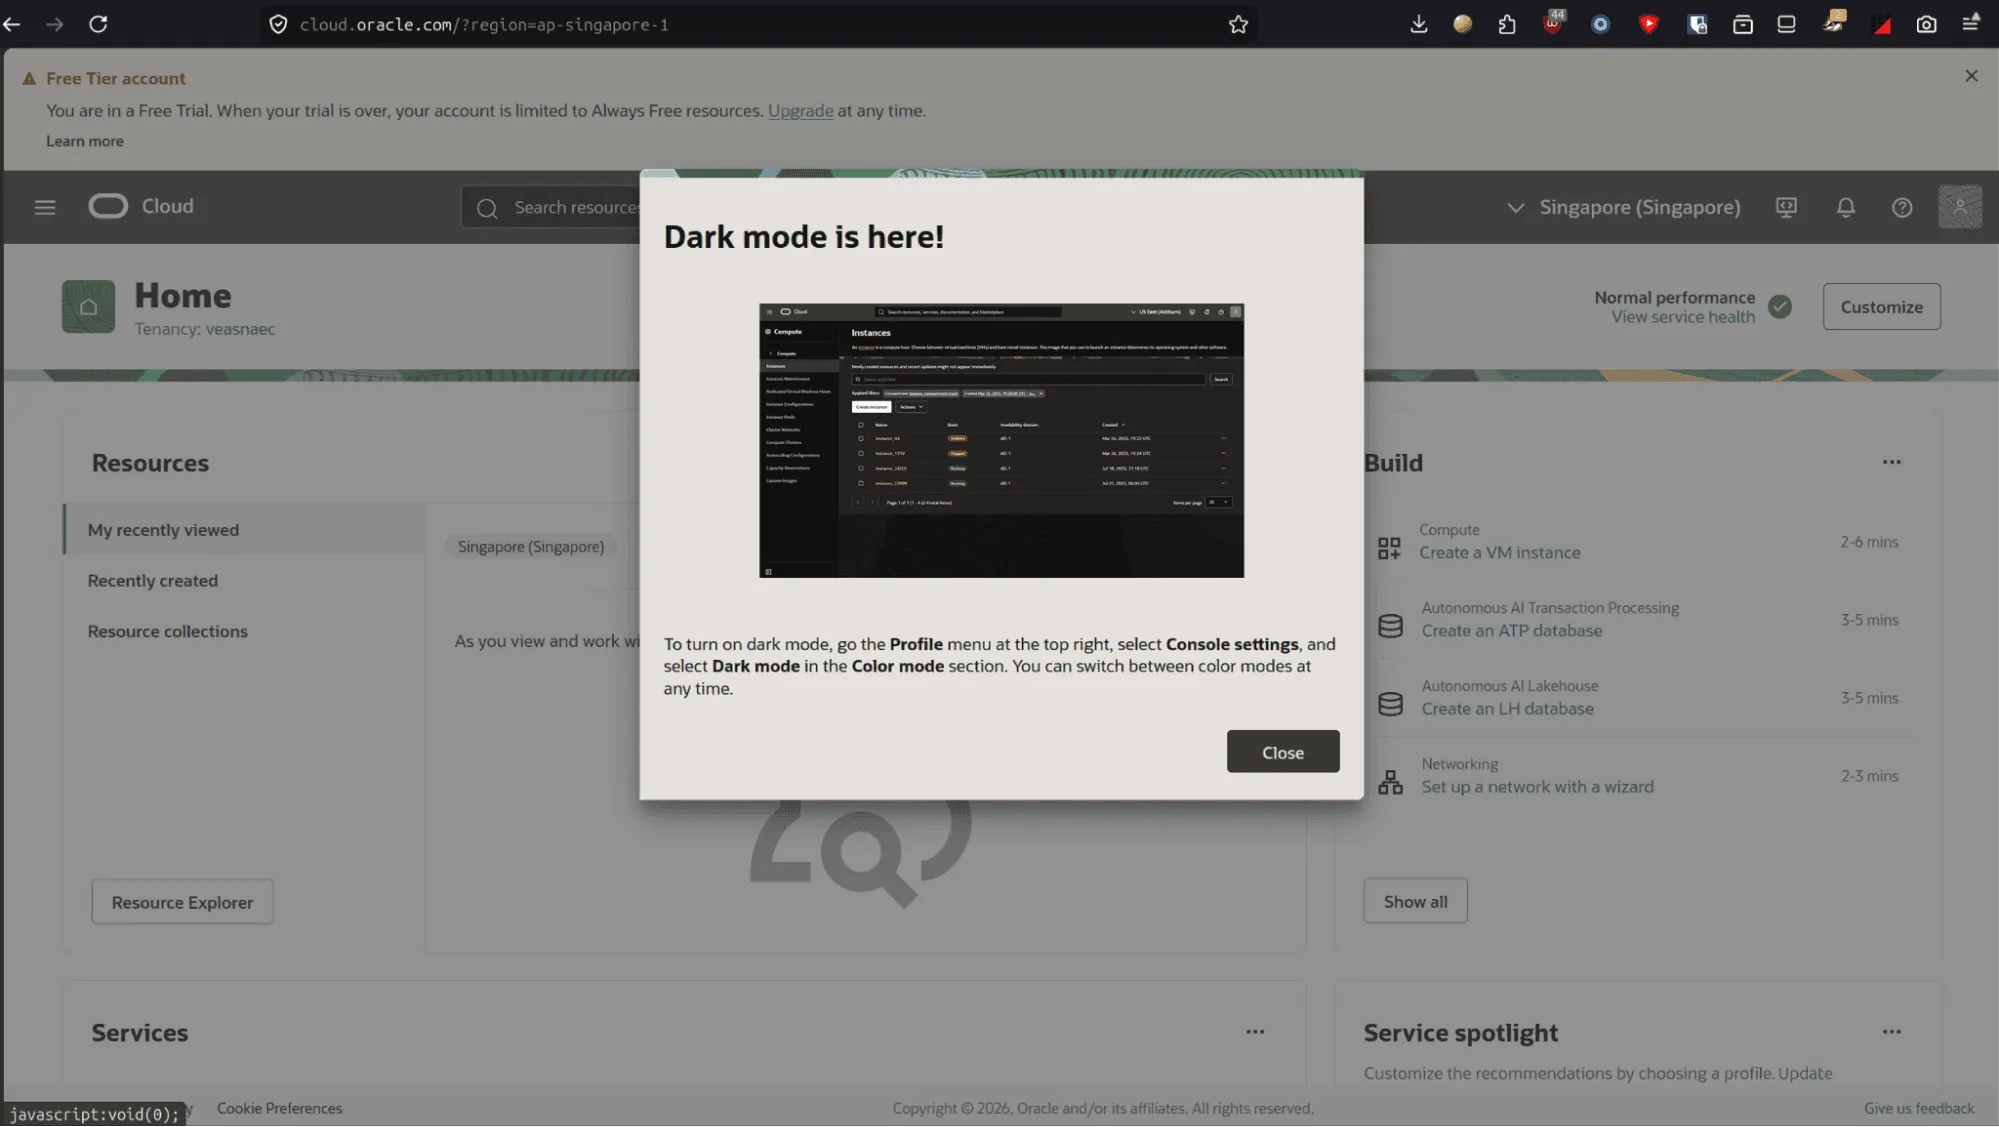
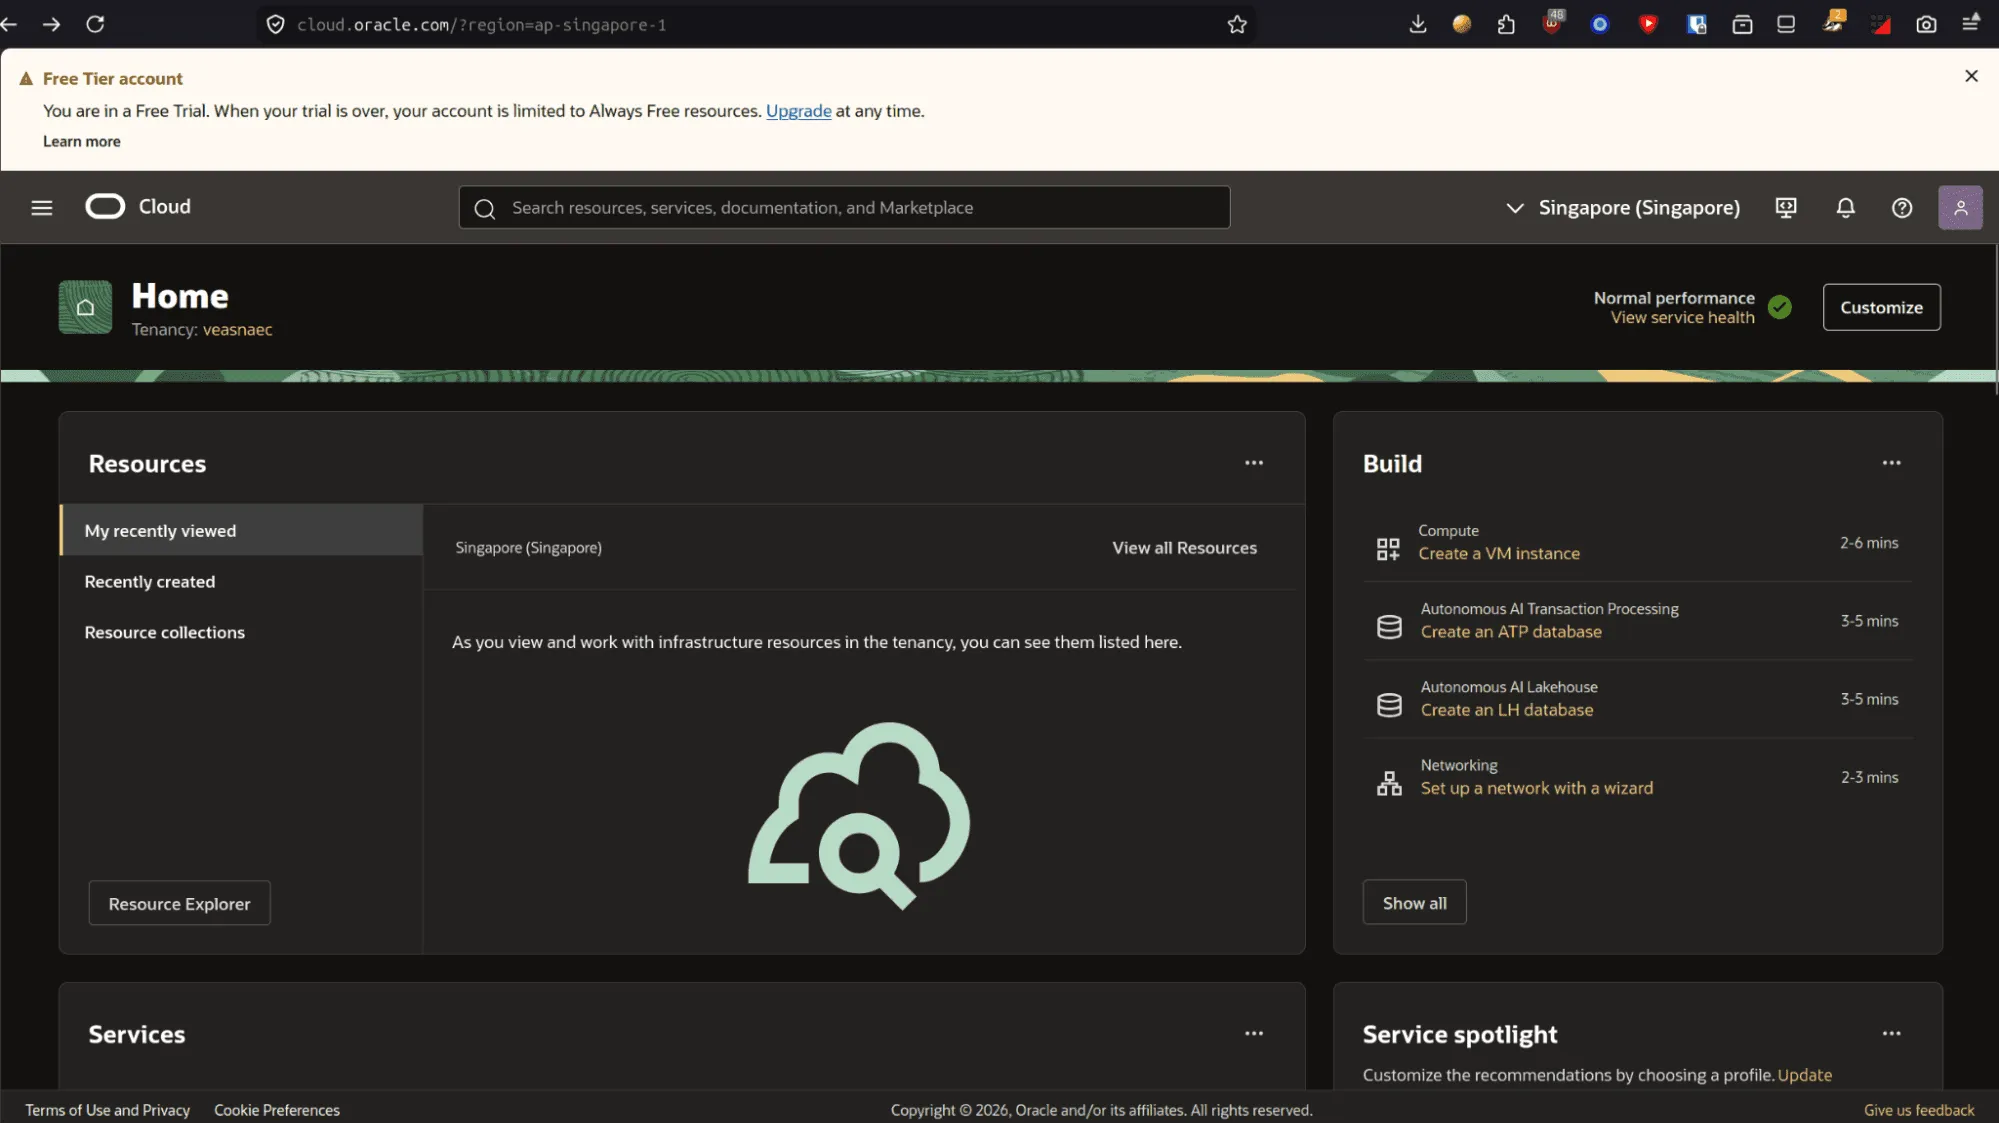
- You will now be redirected to the OCI Console dashboard.
Create Instance
Start Creating VM
- In the dashboard, click
Create a VM instanceunder Build & Compute.
- Name your instance and select your availability domain.
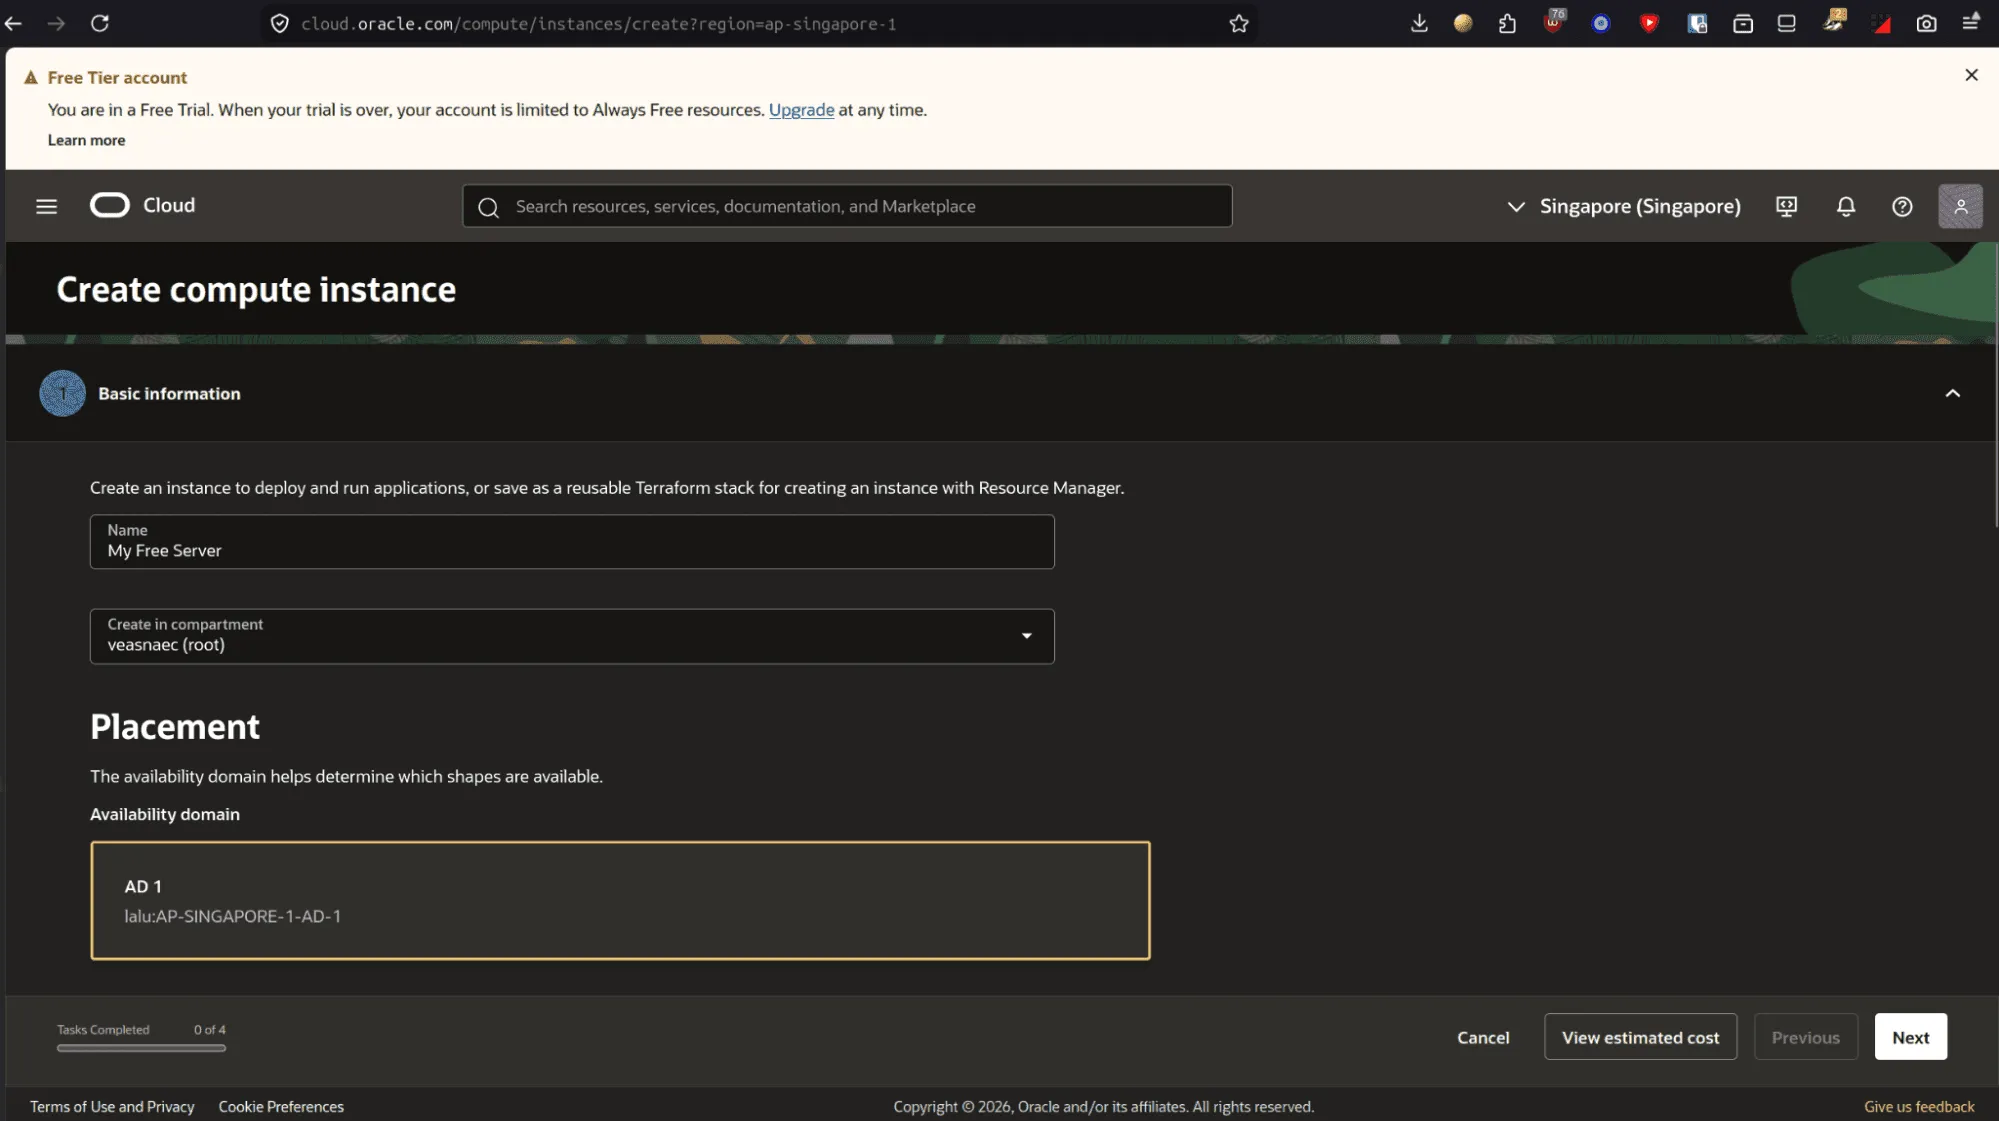
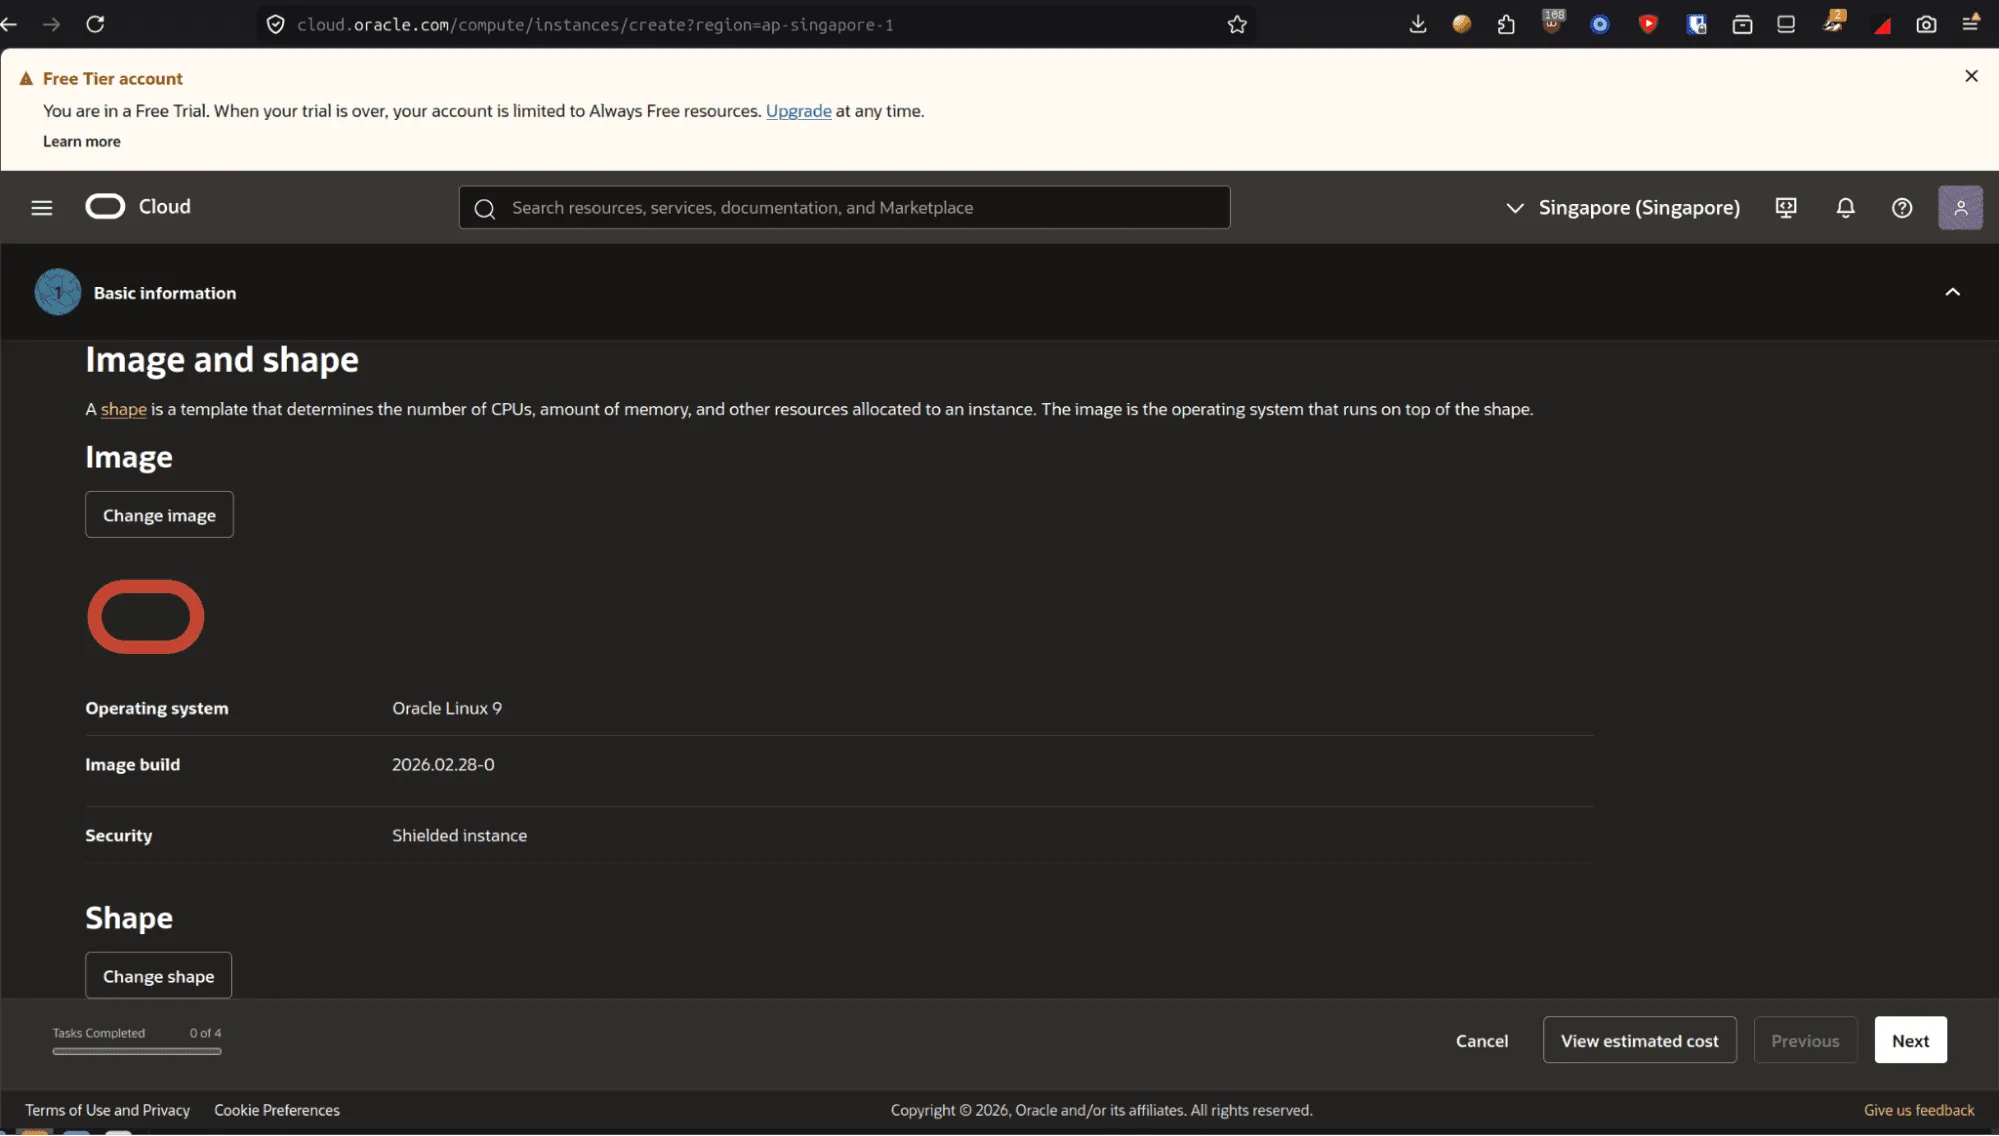
- Under the Image section, click
Change image.
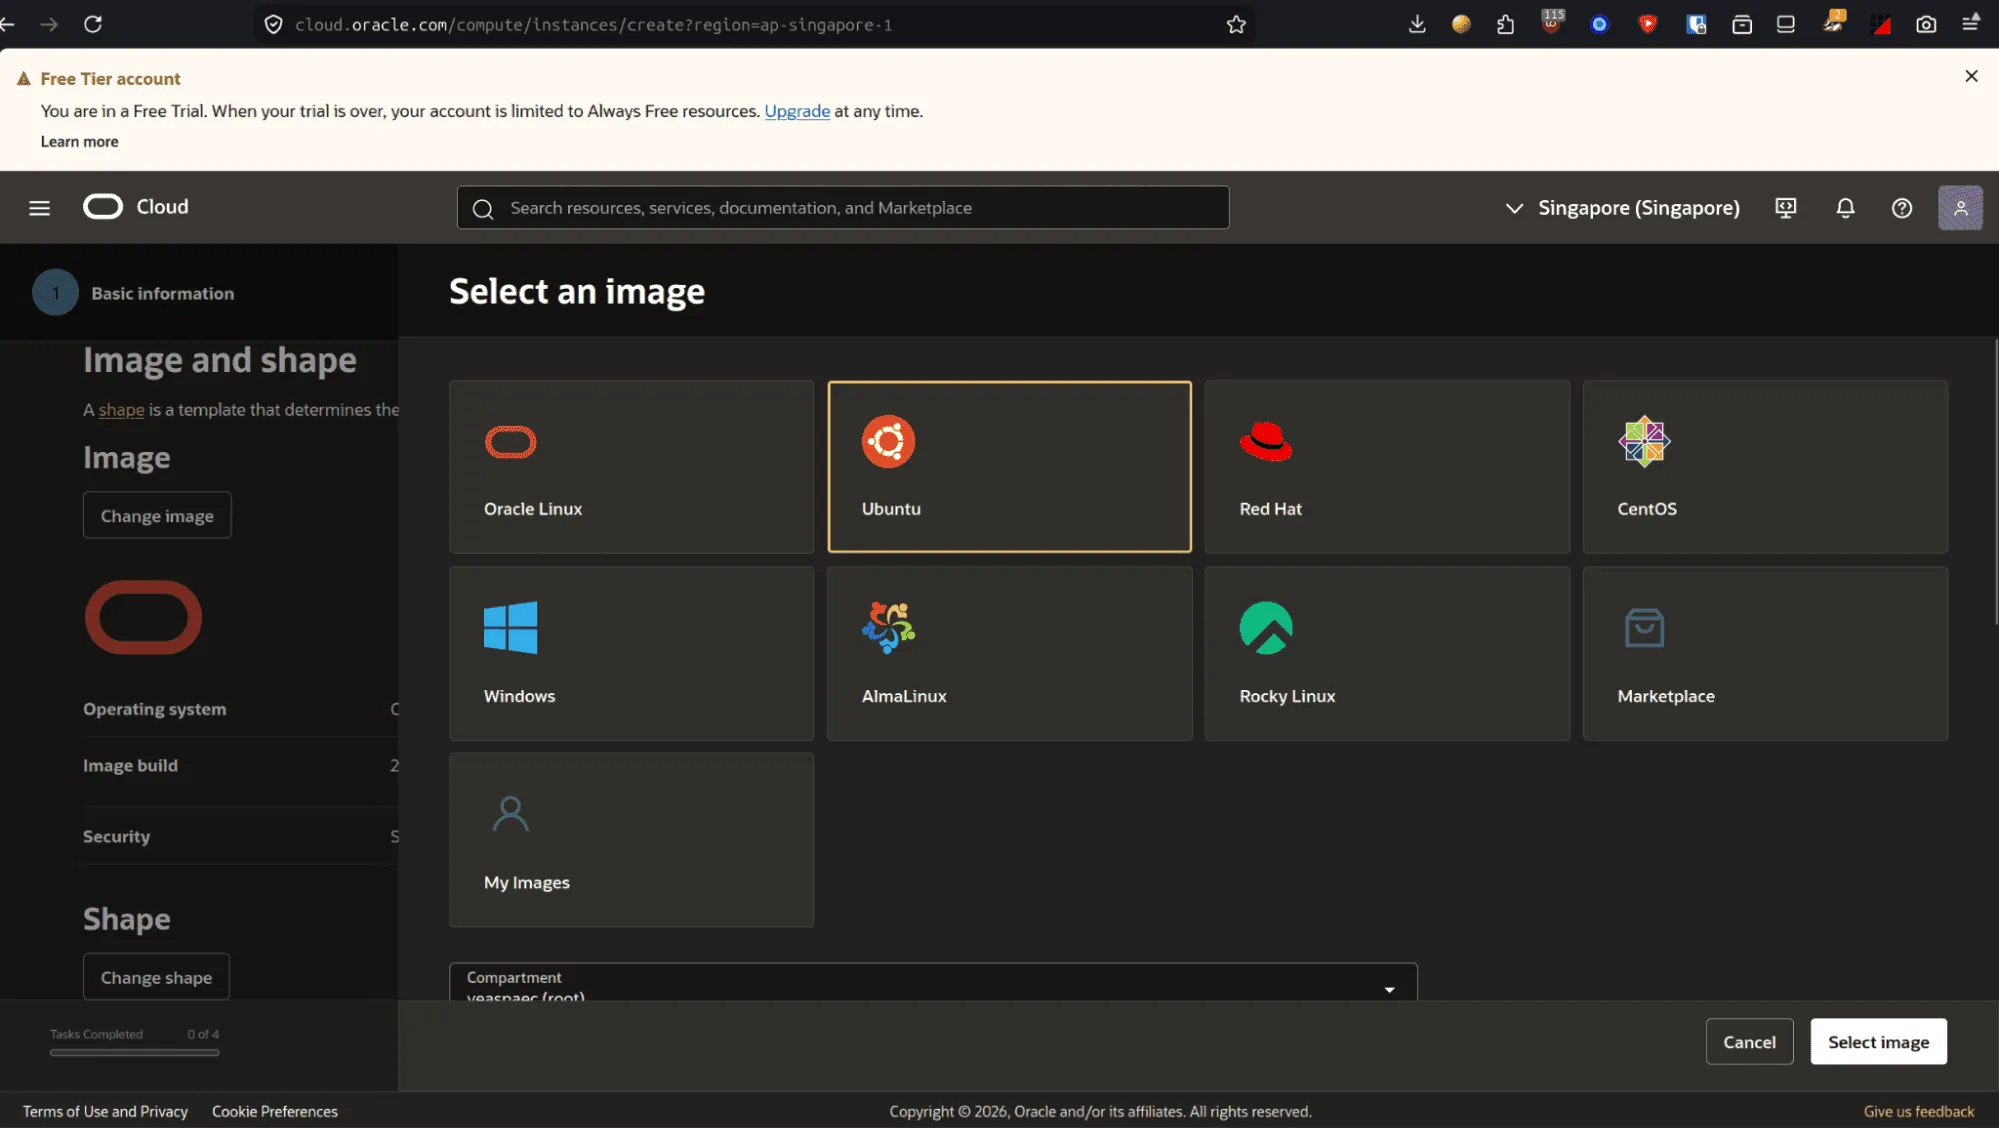
- Select your preferred Linux distribution (e.g., Ubuntu).
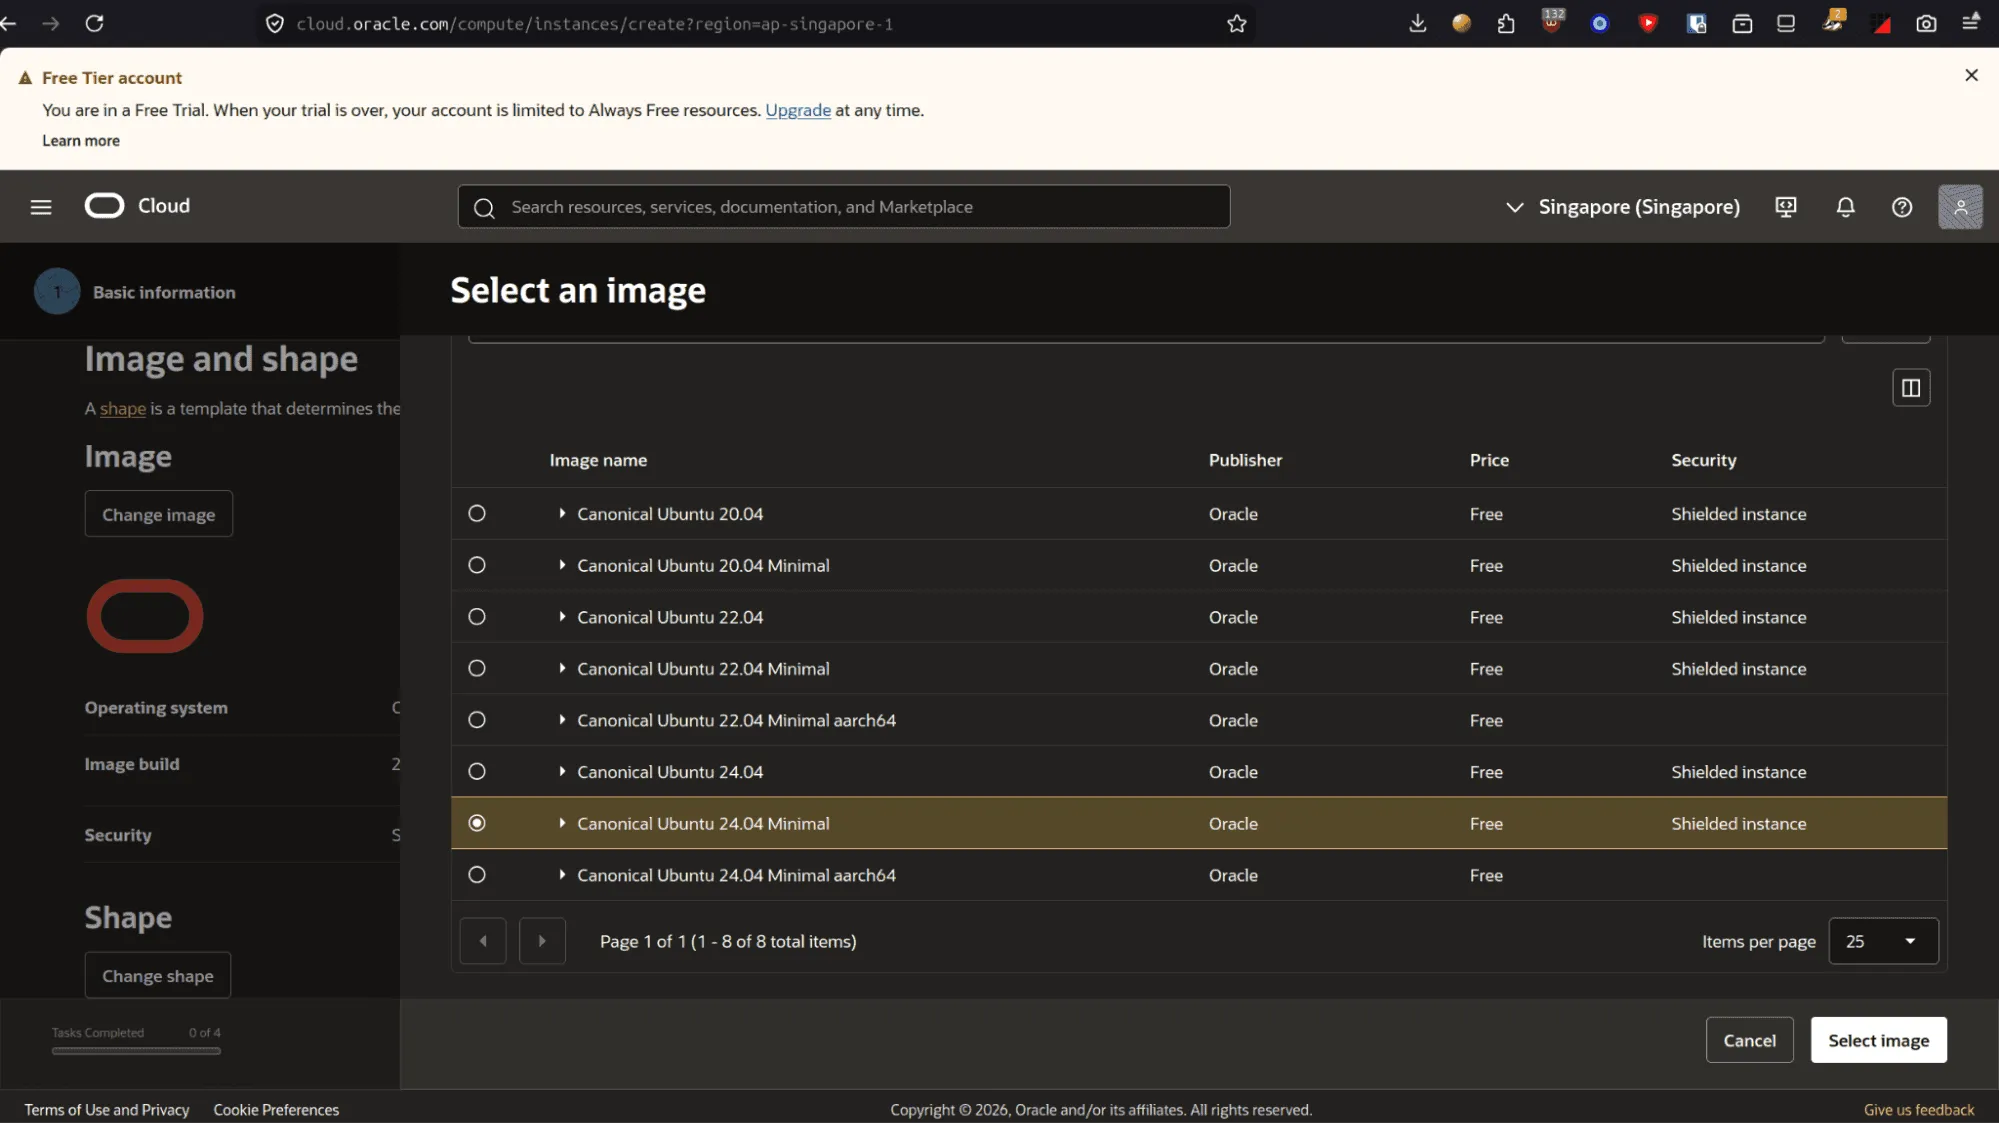
- Select your version (e.g.,
24.04 Minimalfor a lean installation).
- Click
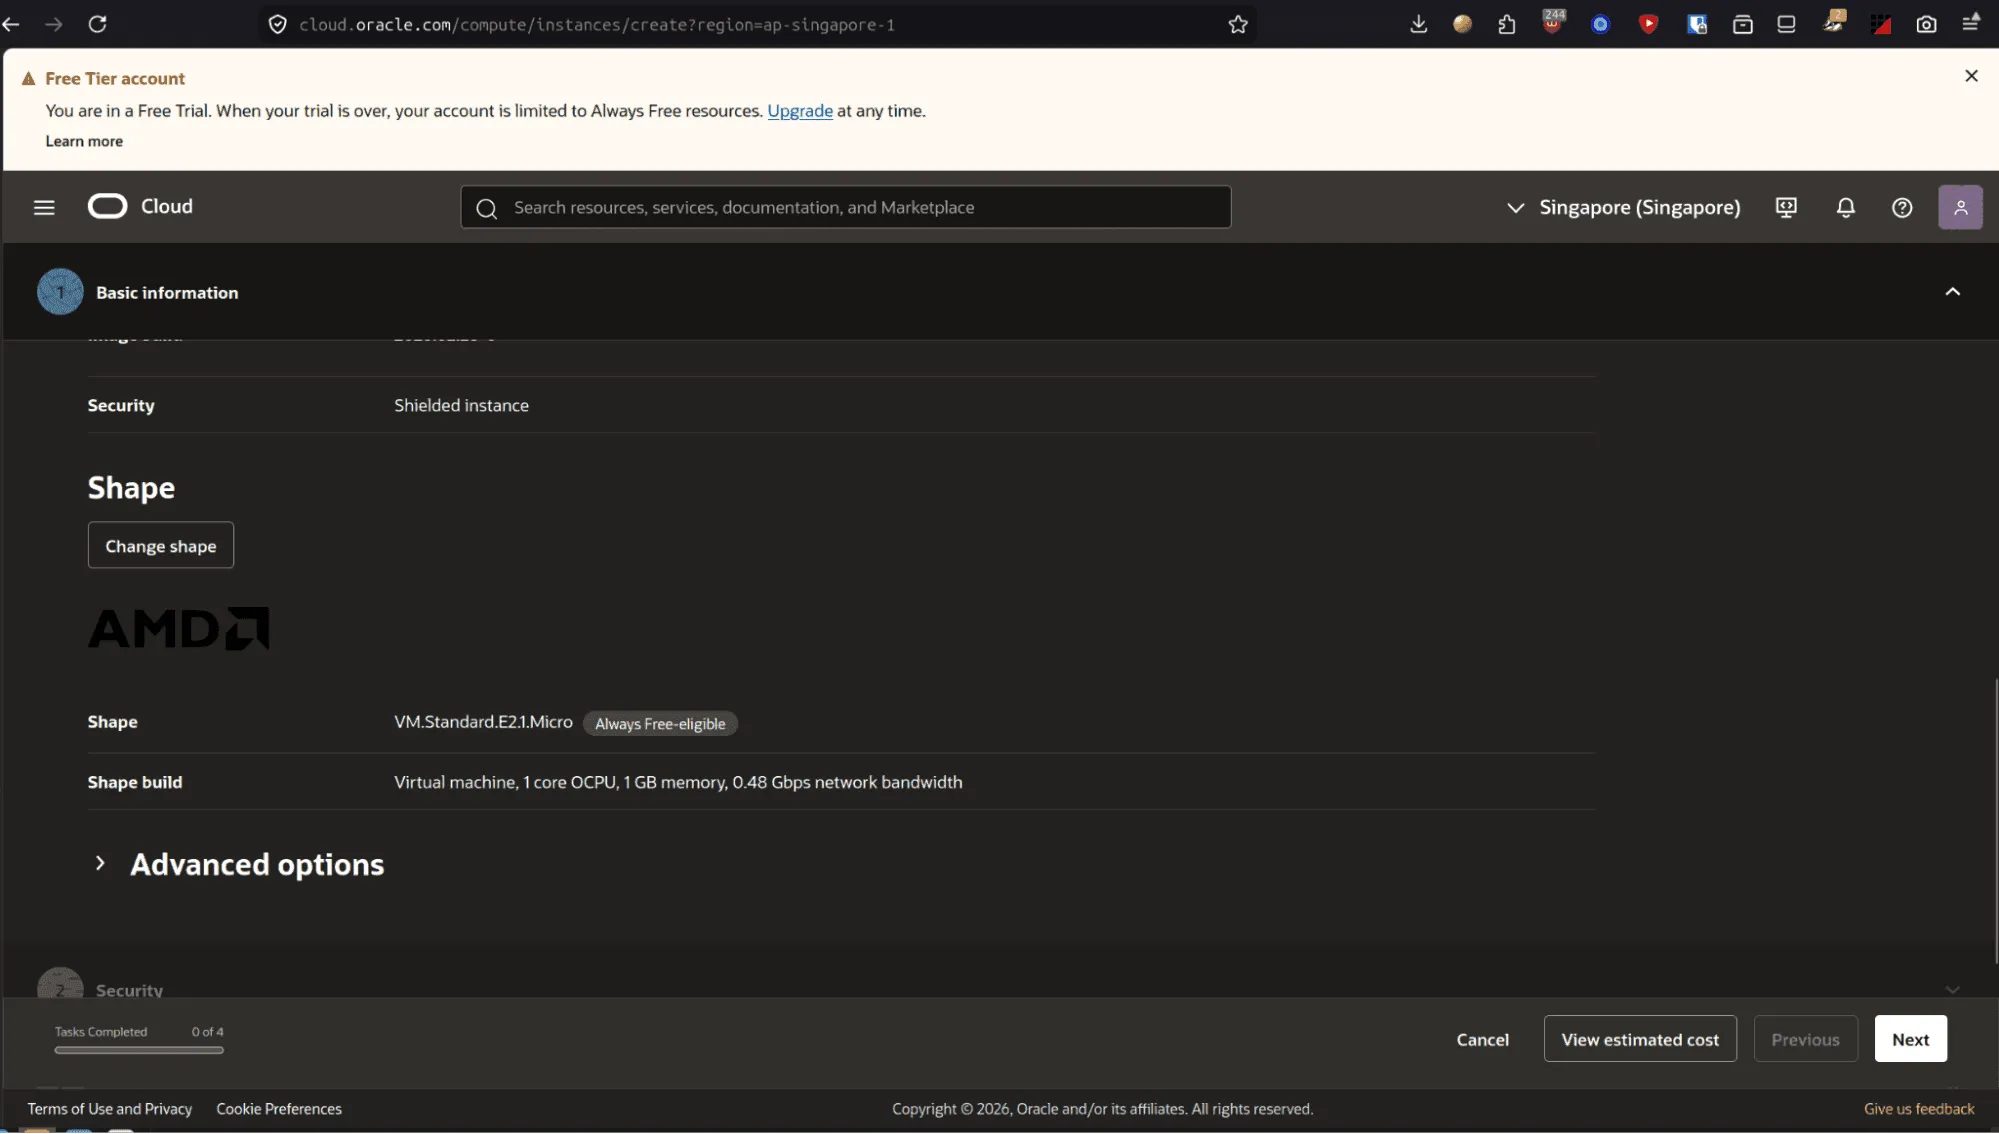
Change Shapeto configure instance hardware.
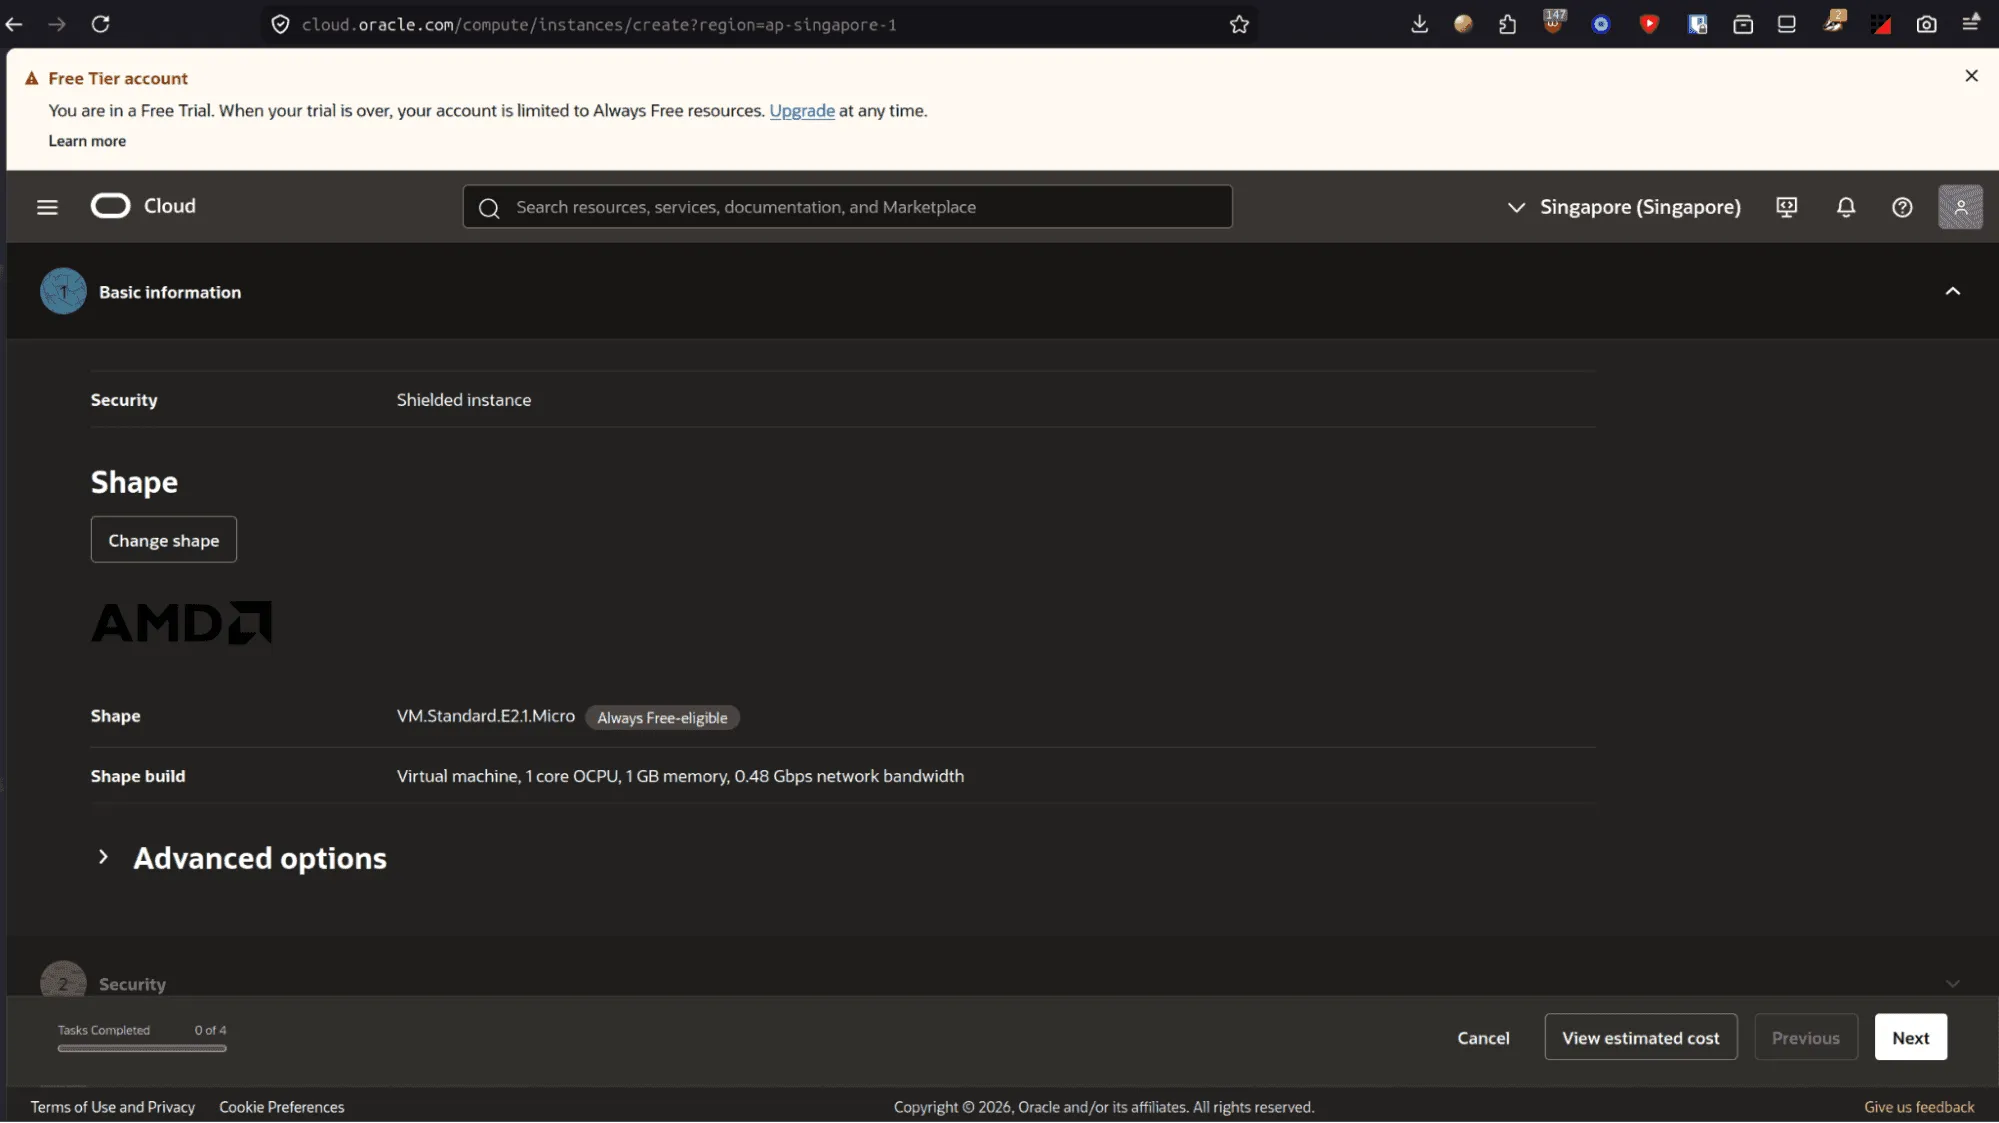
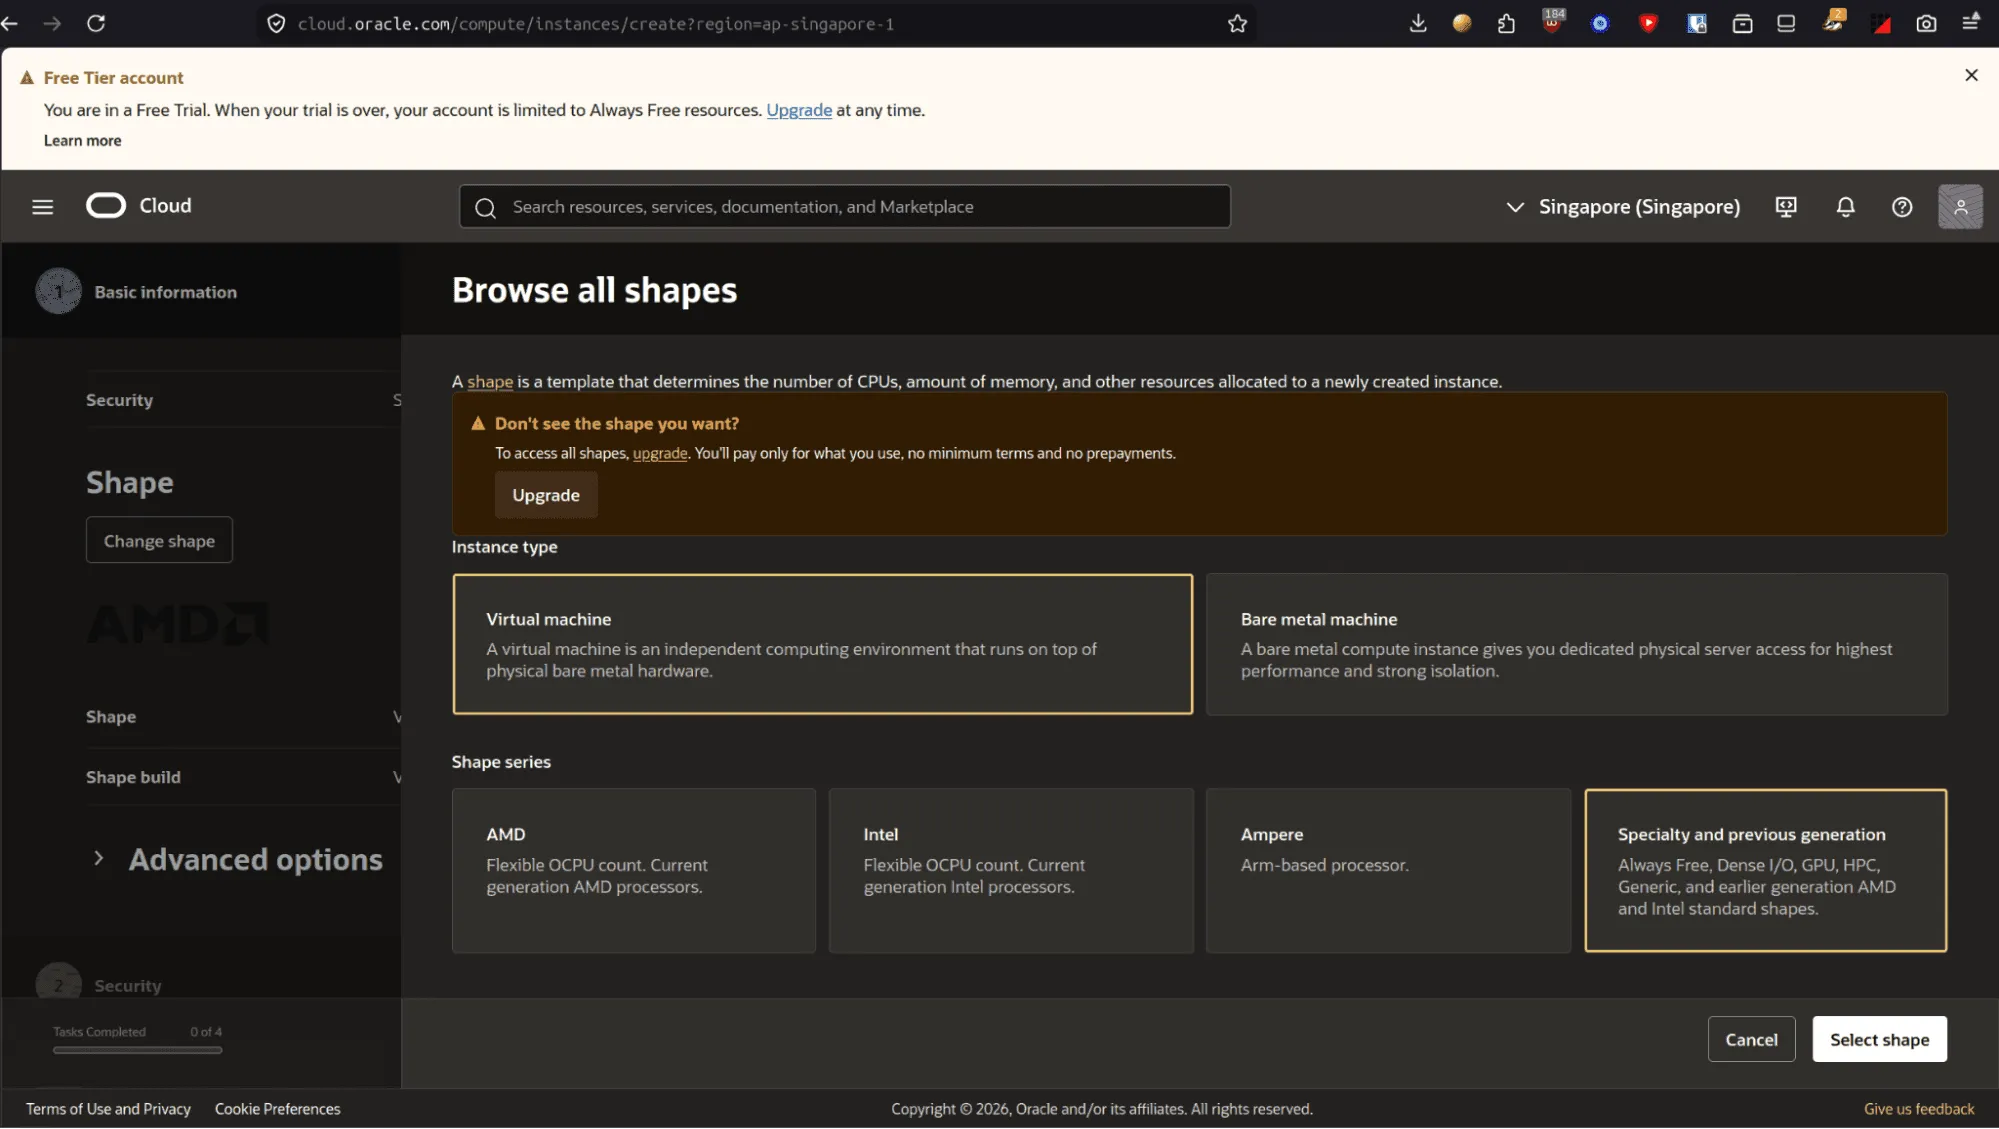
- Under Shape series, select Virtual Machine.
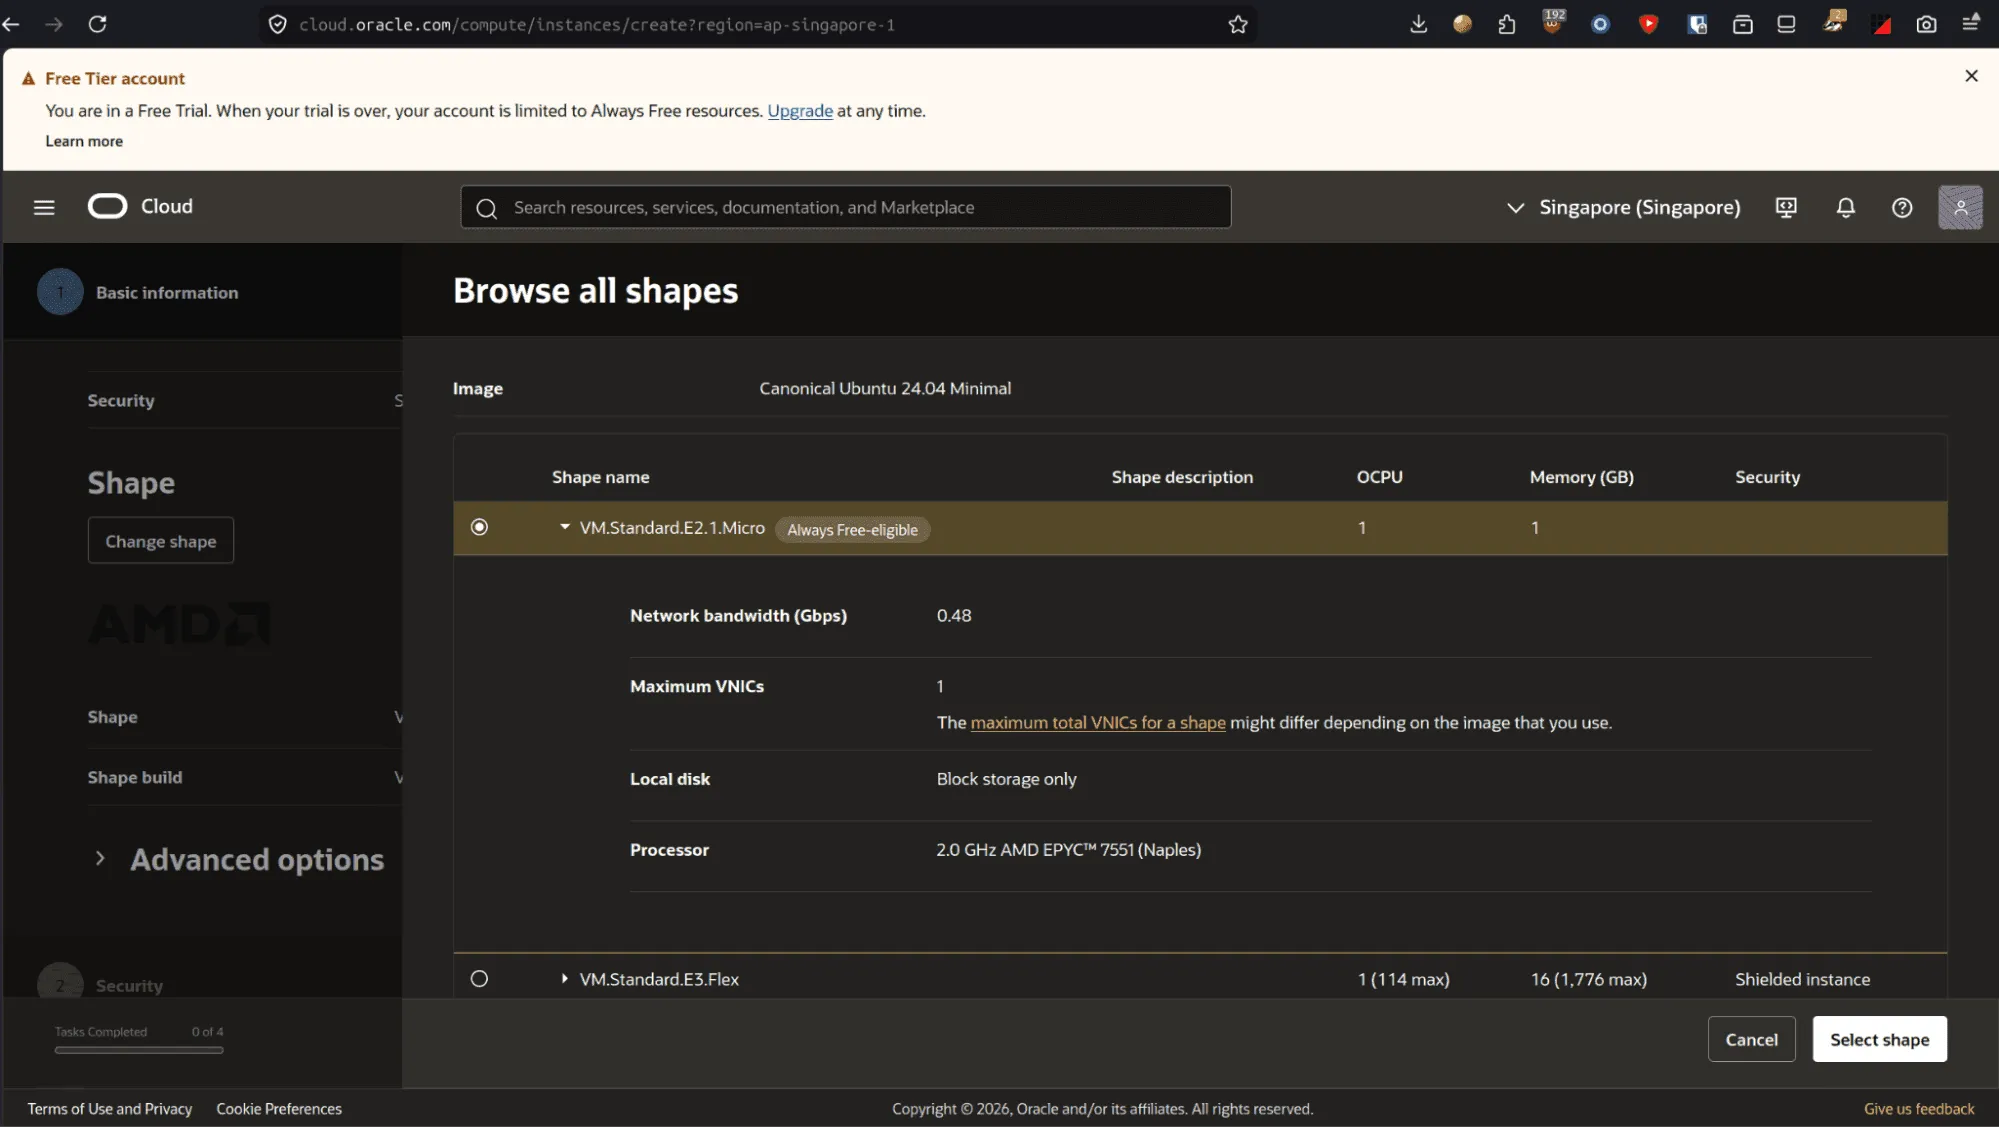
- In the shape table, select a shape tagged Always Free Eligible (1 OCPU corresponds to 1 CPU core on AMD/Intel shapes).
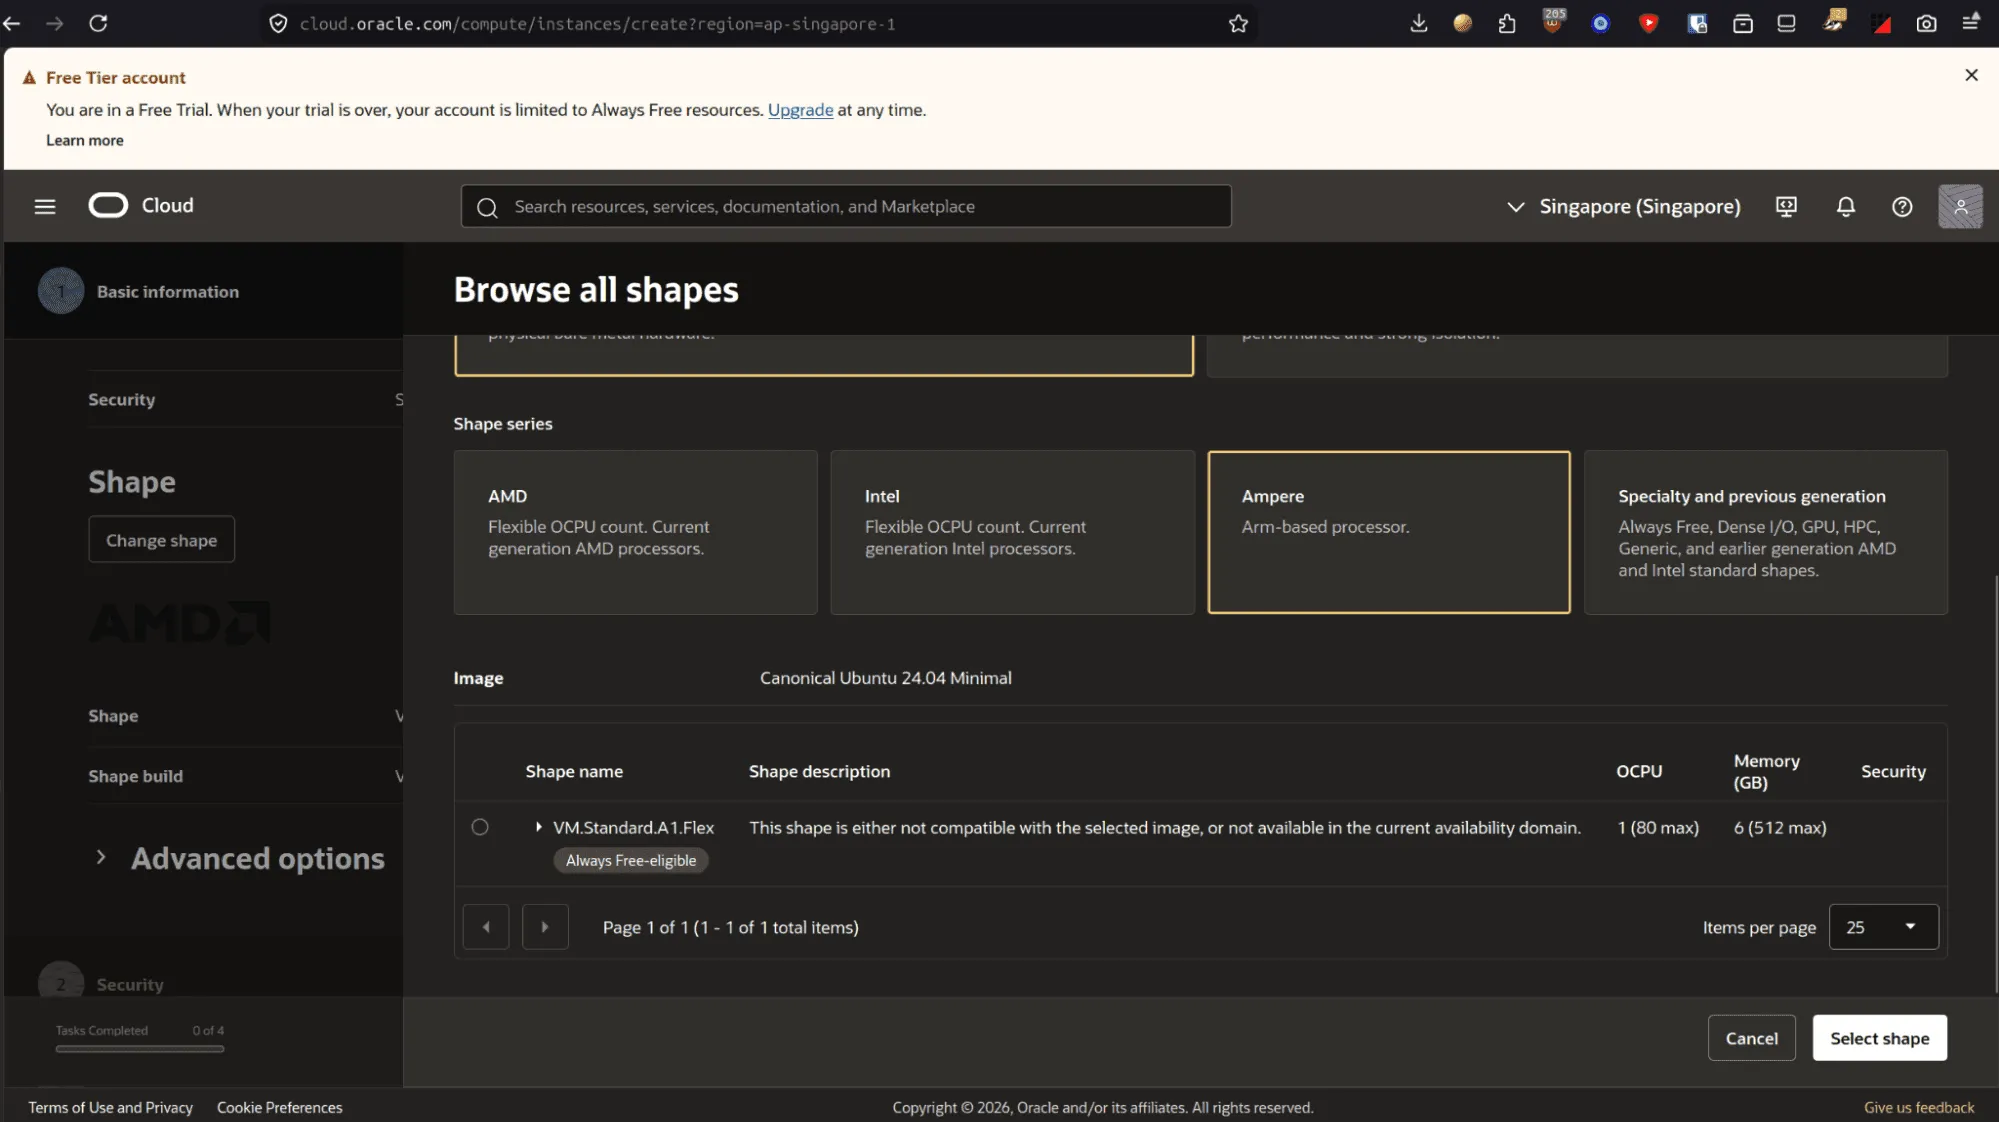
- Note: Ampere ARM shapes may require a standard (non-minimal) OS image depending on regional availability.
- Confirm your shape selection.
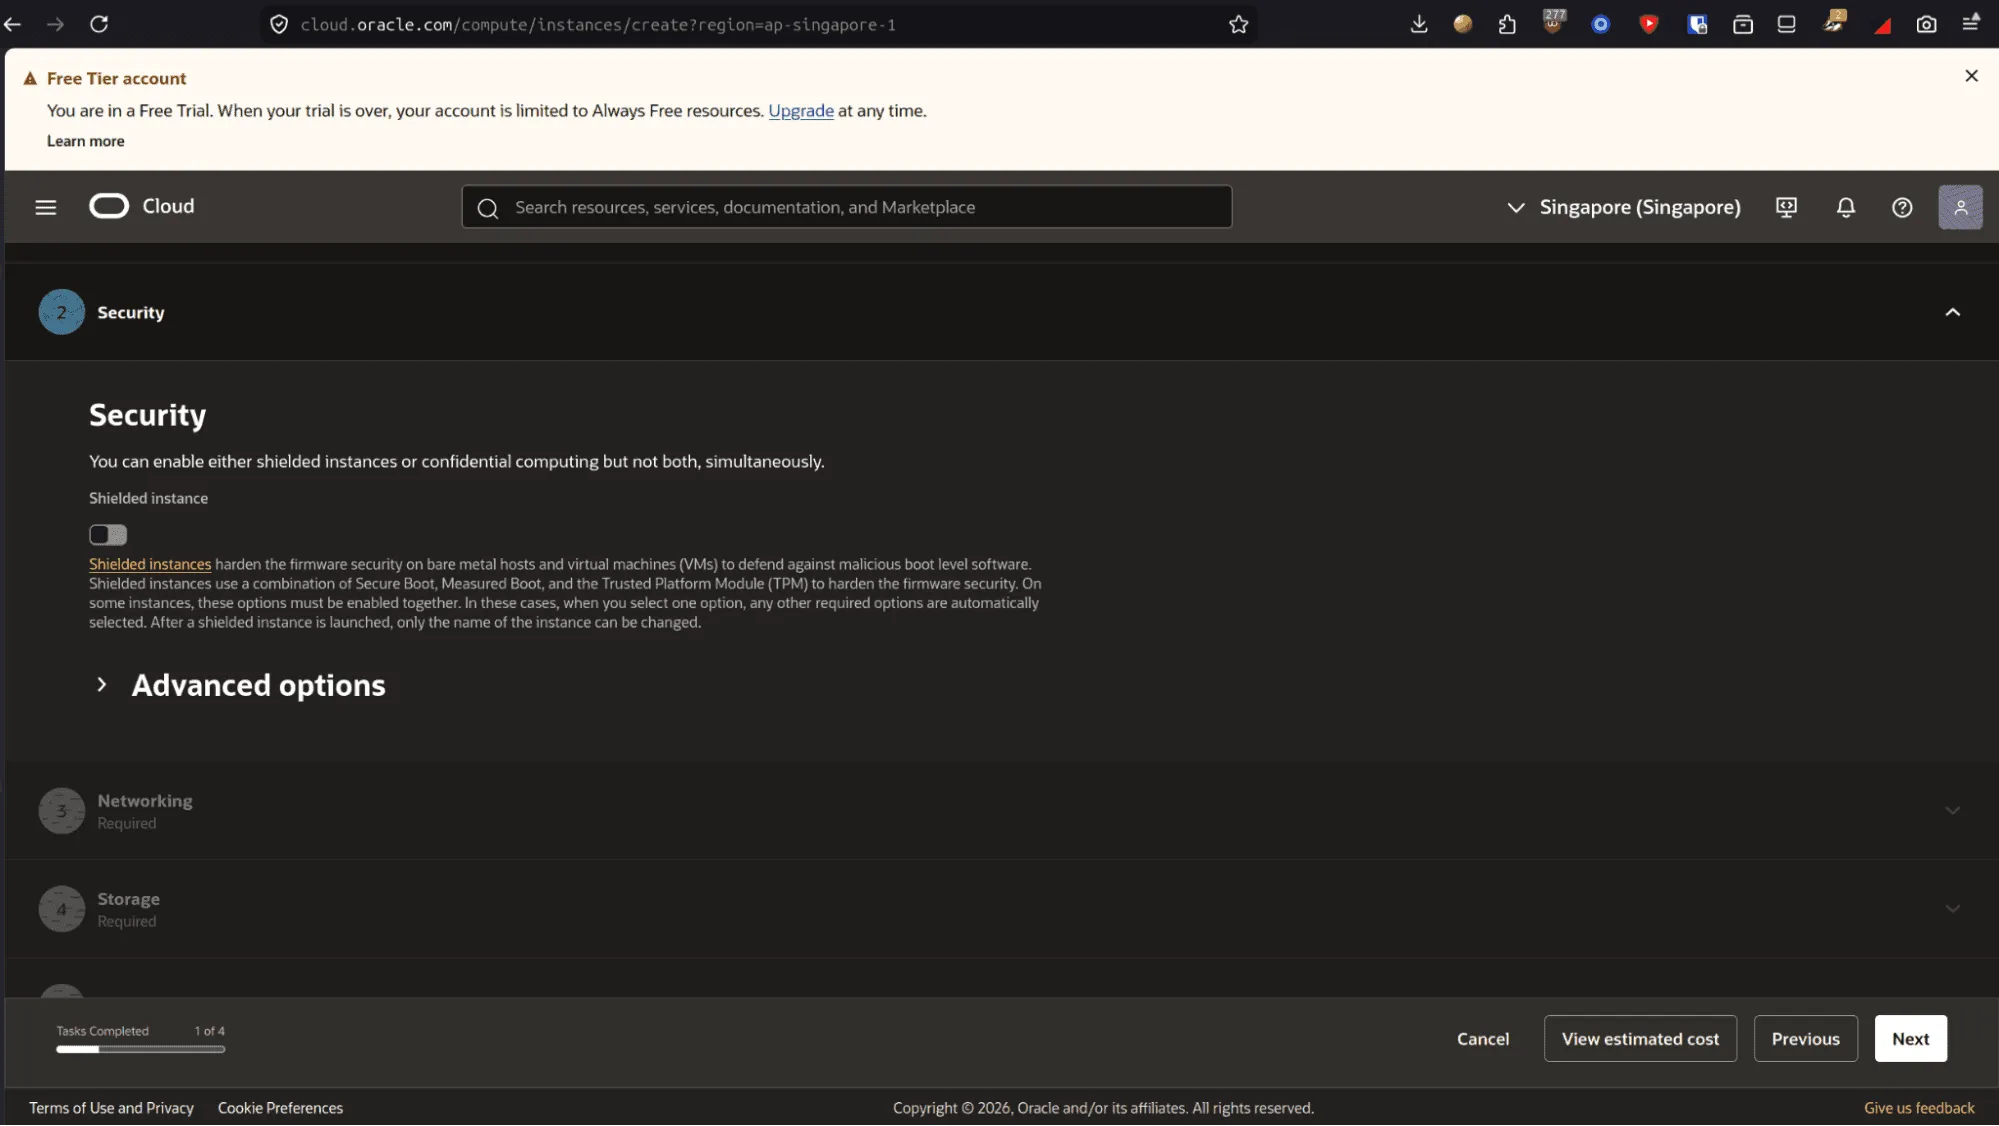
- Shielded Instance options provide firmware-level verification. For standard development workloads, you can leave default settings.
- If your tenancy does not automatically assign a Virtual Cloud Network (VCN), create one using the VCN Wizard.
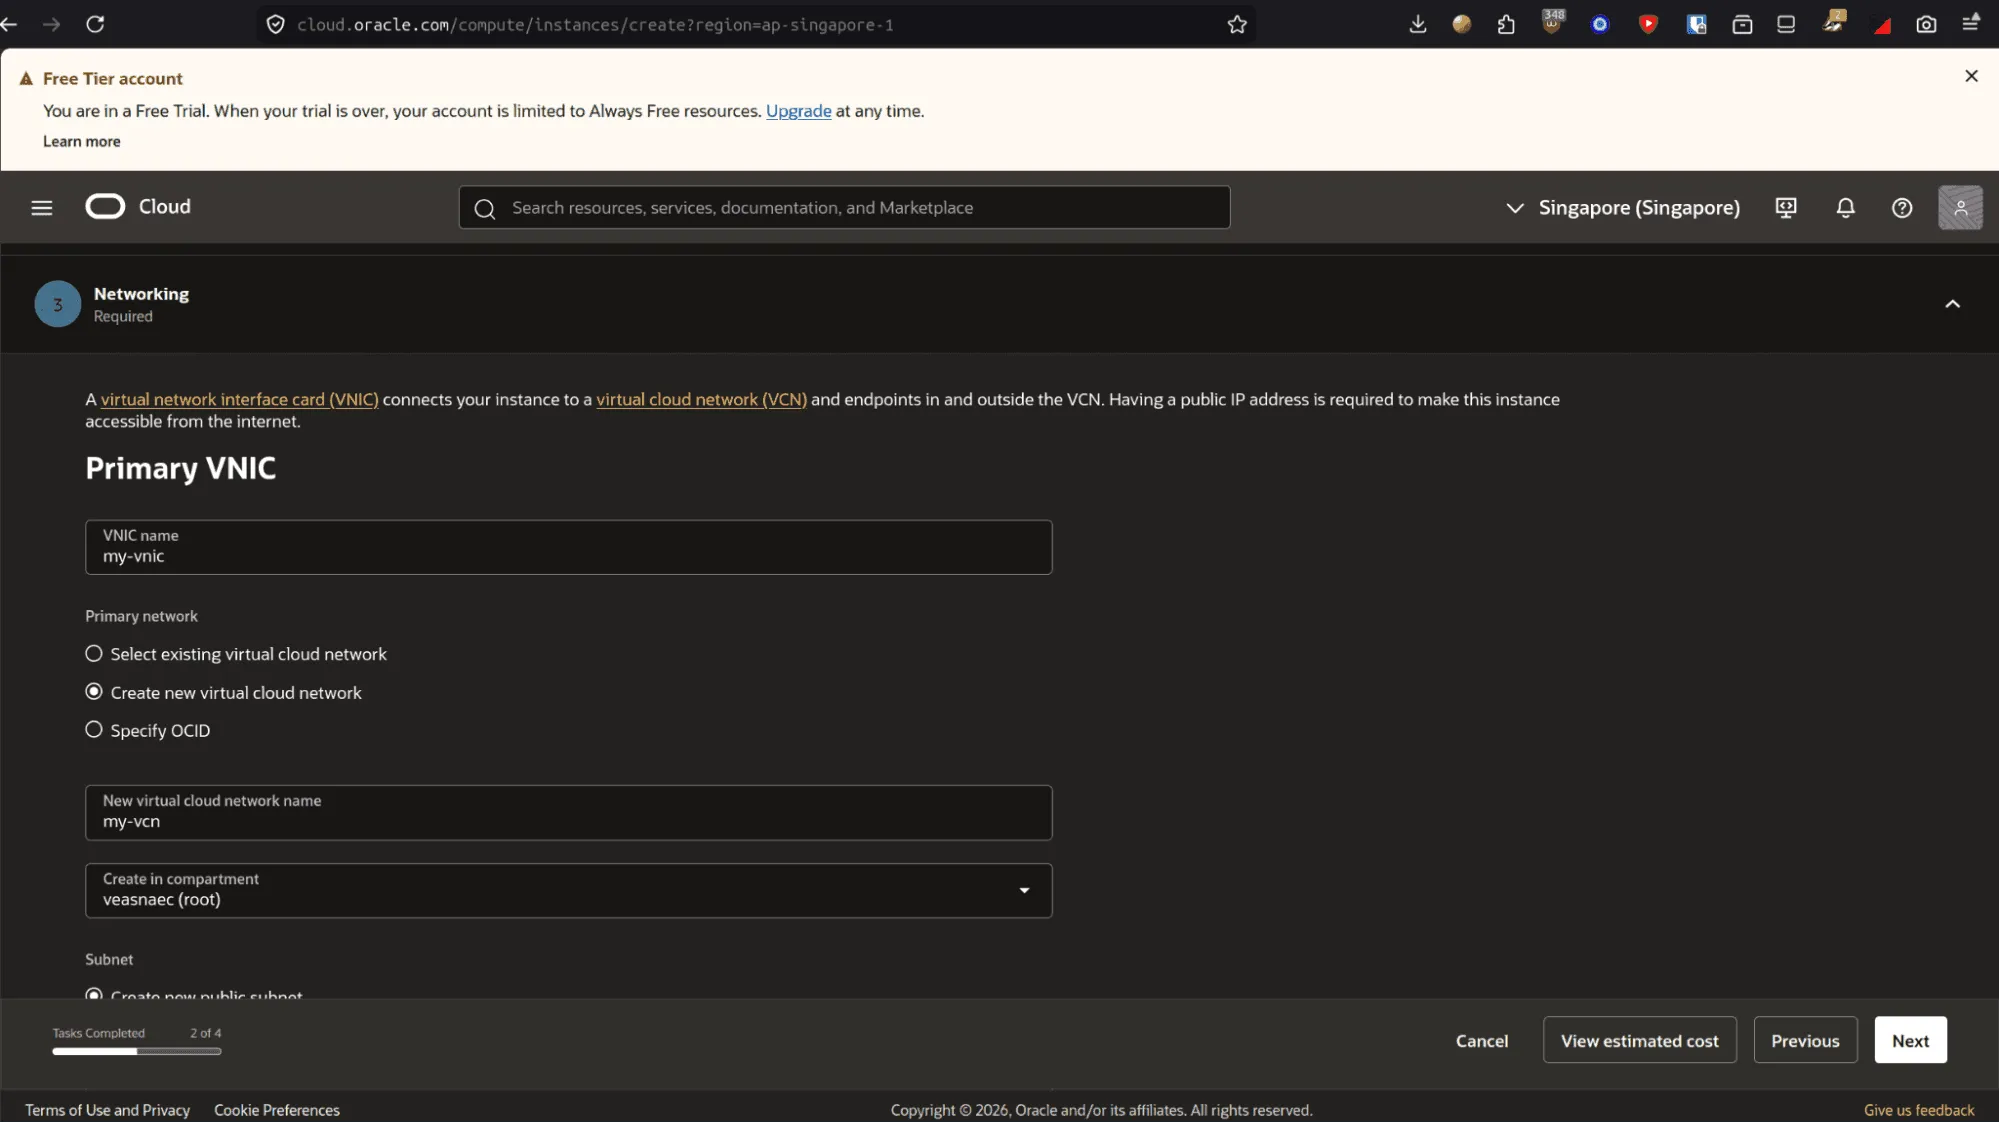
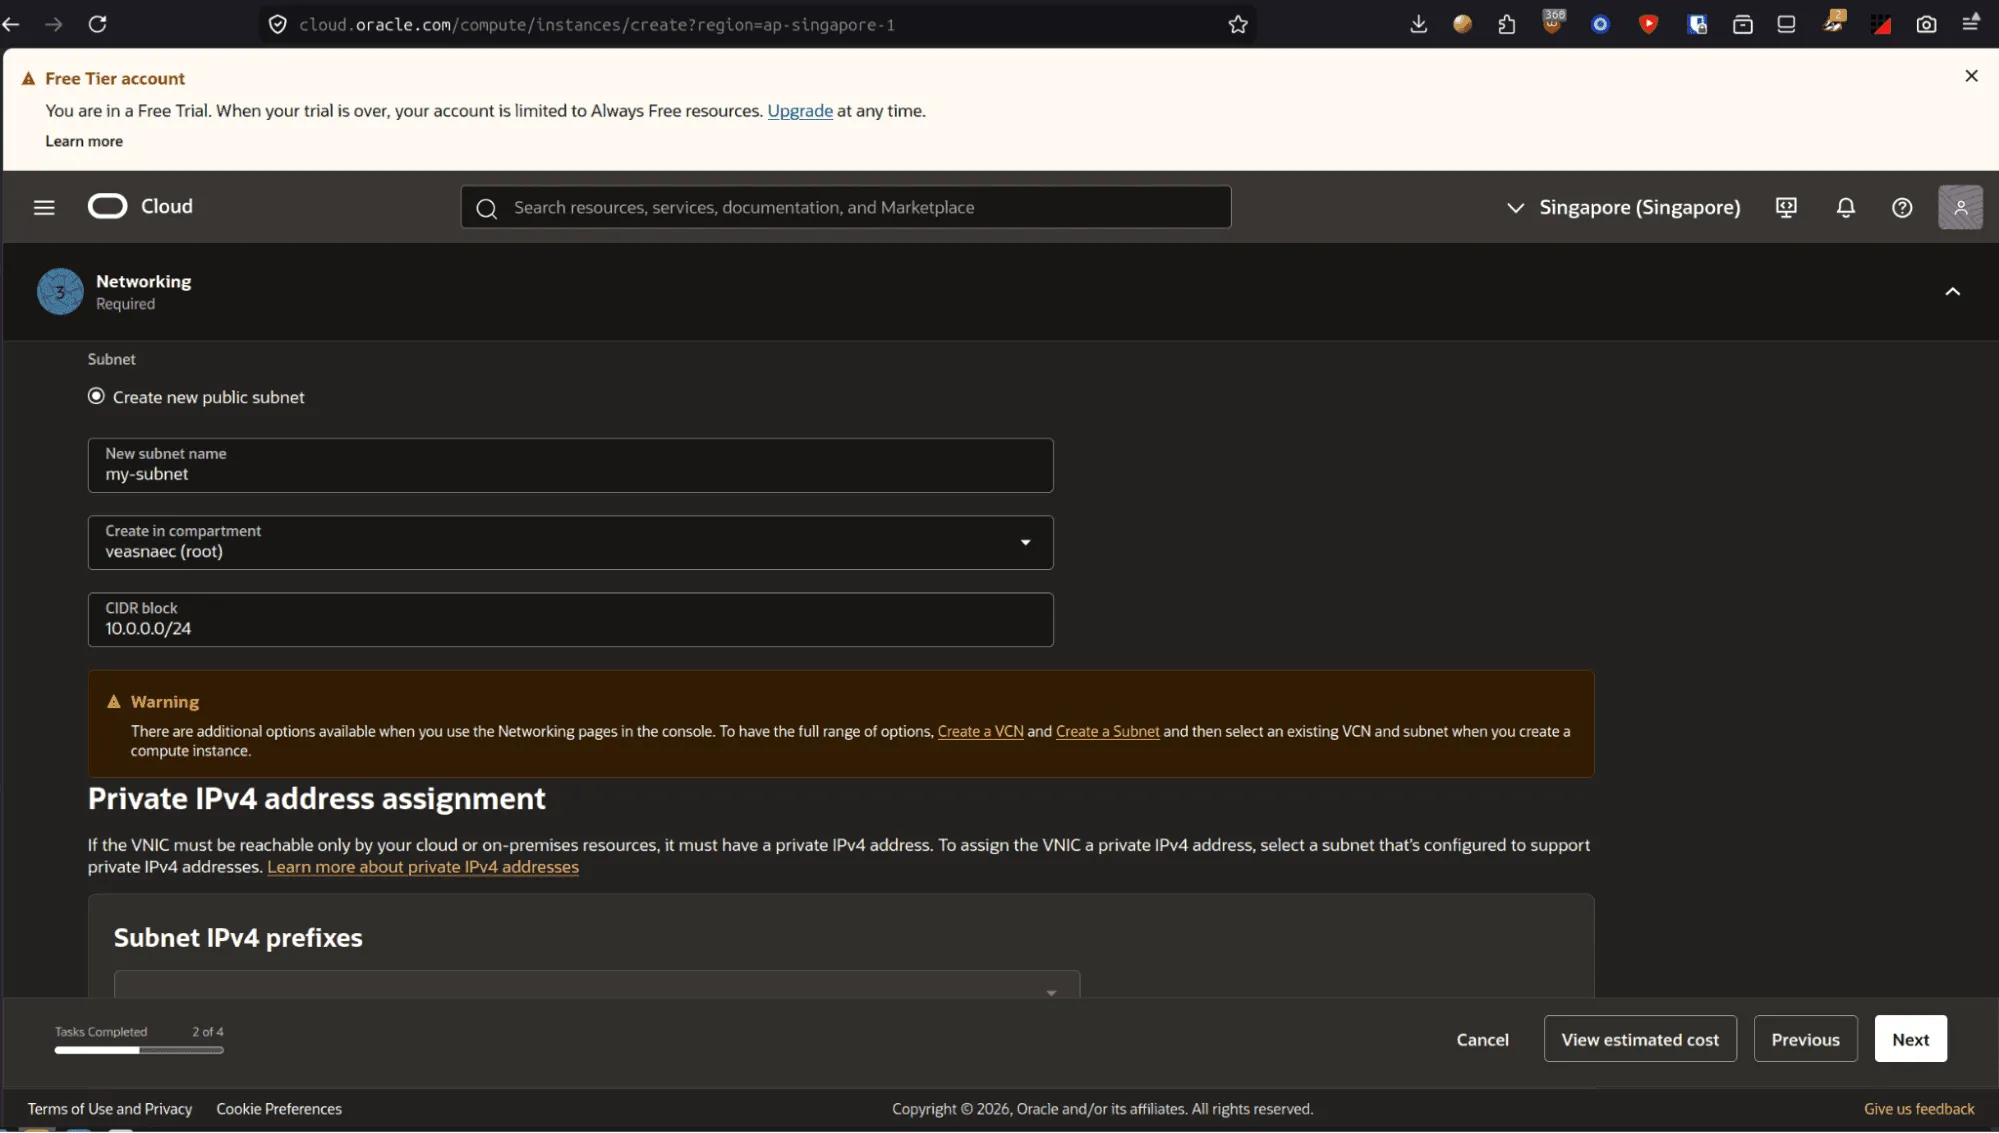
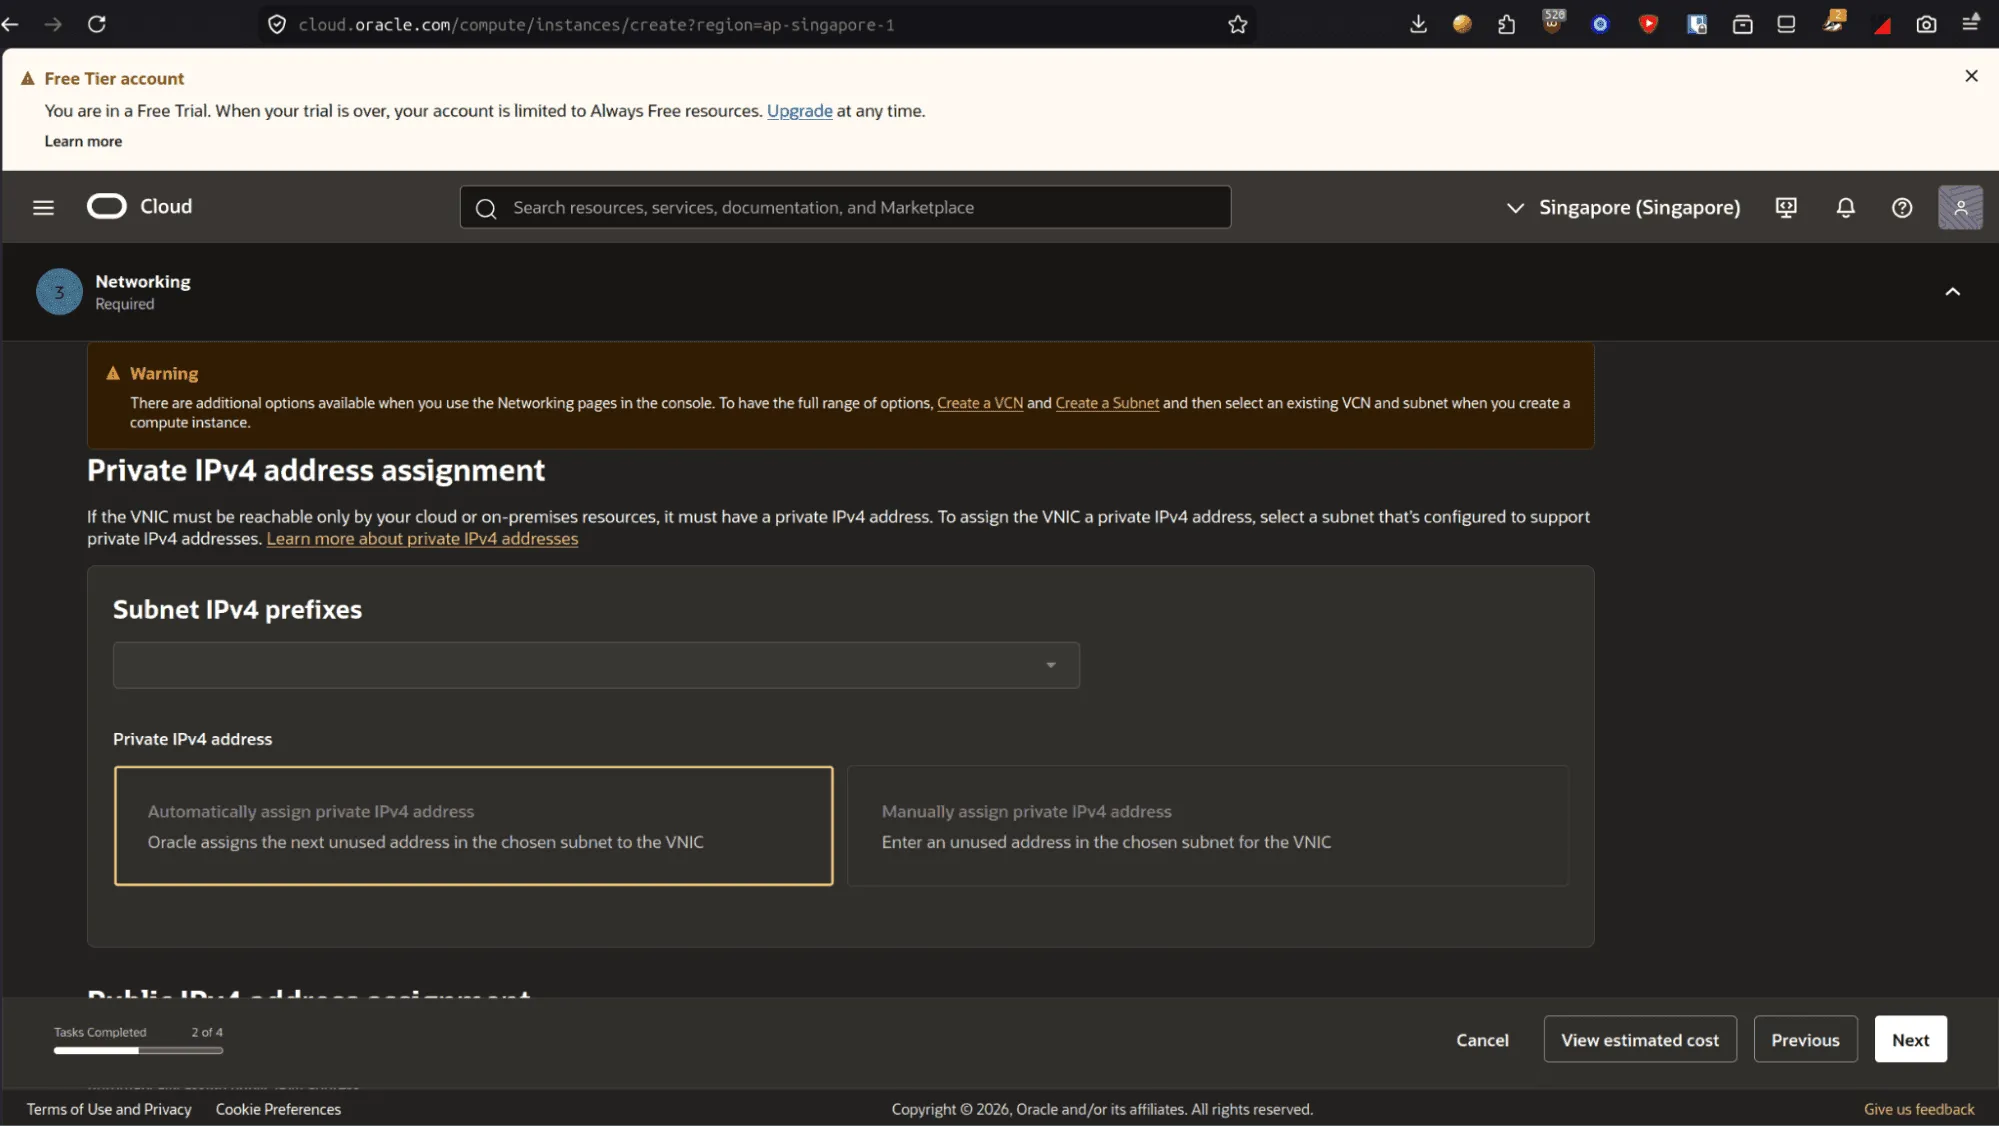
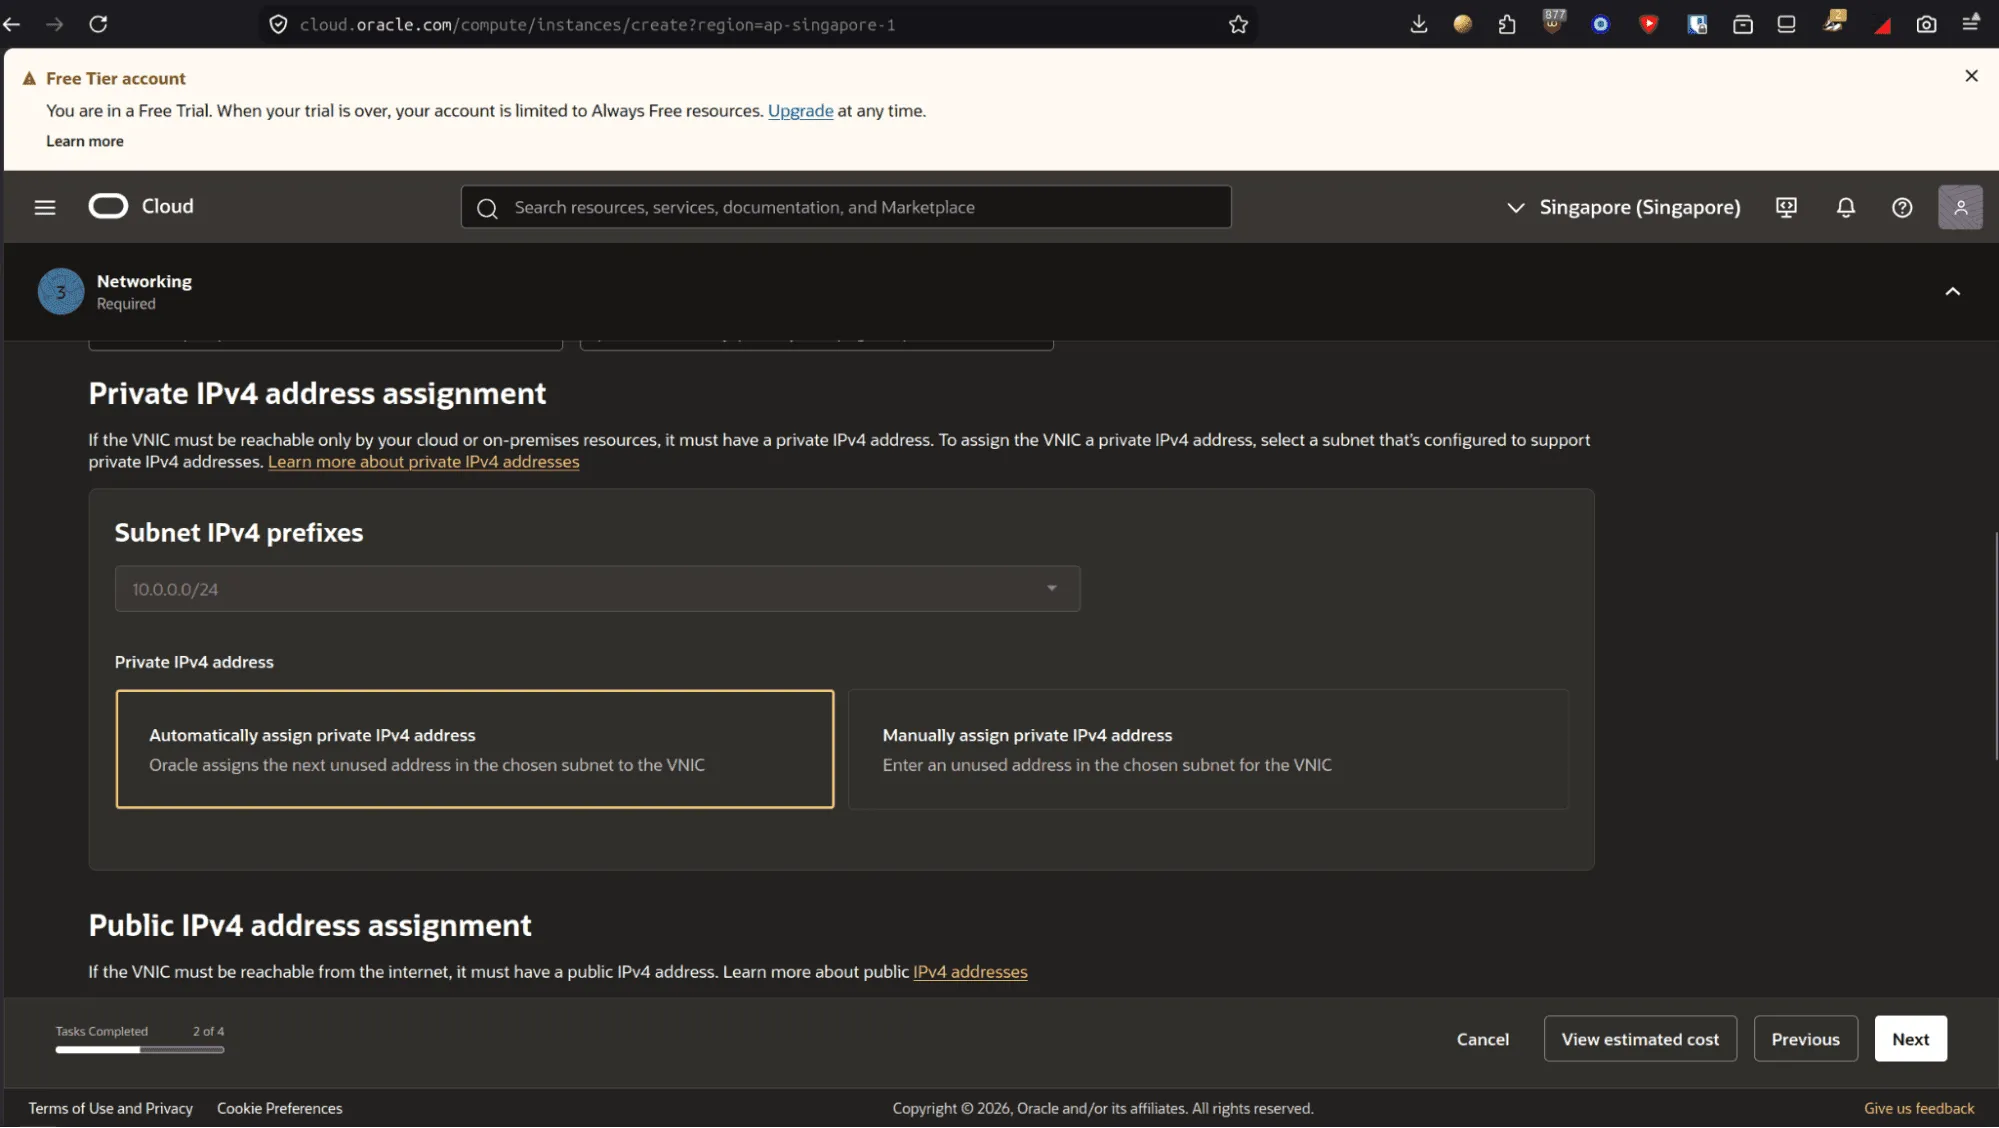
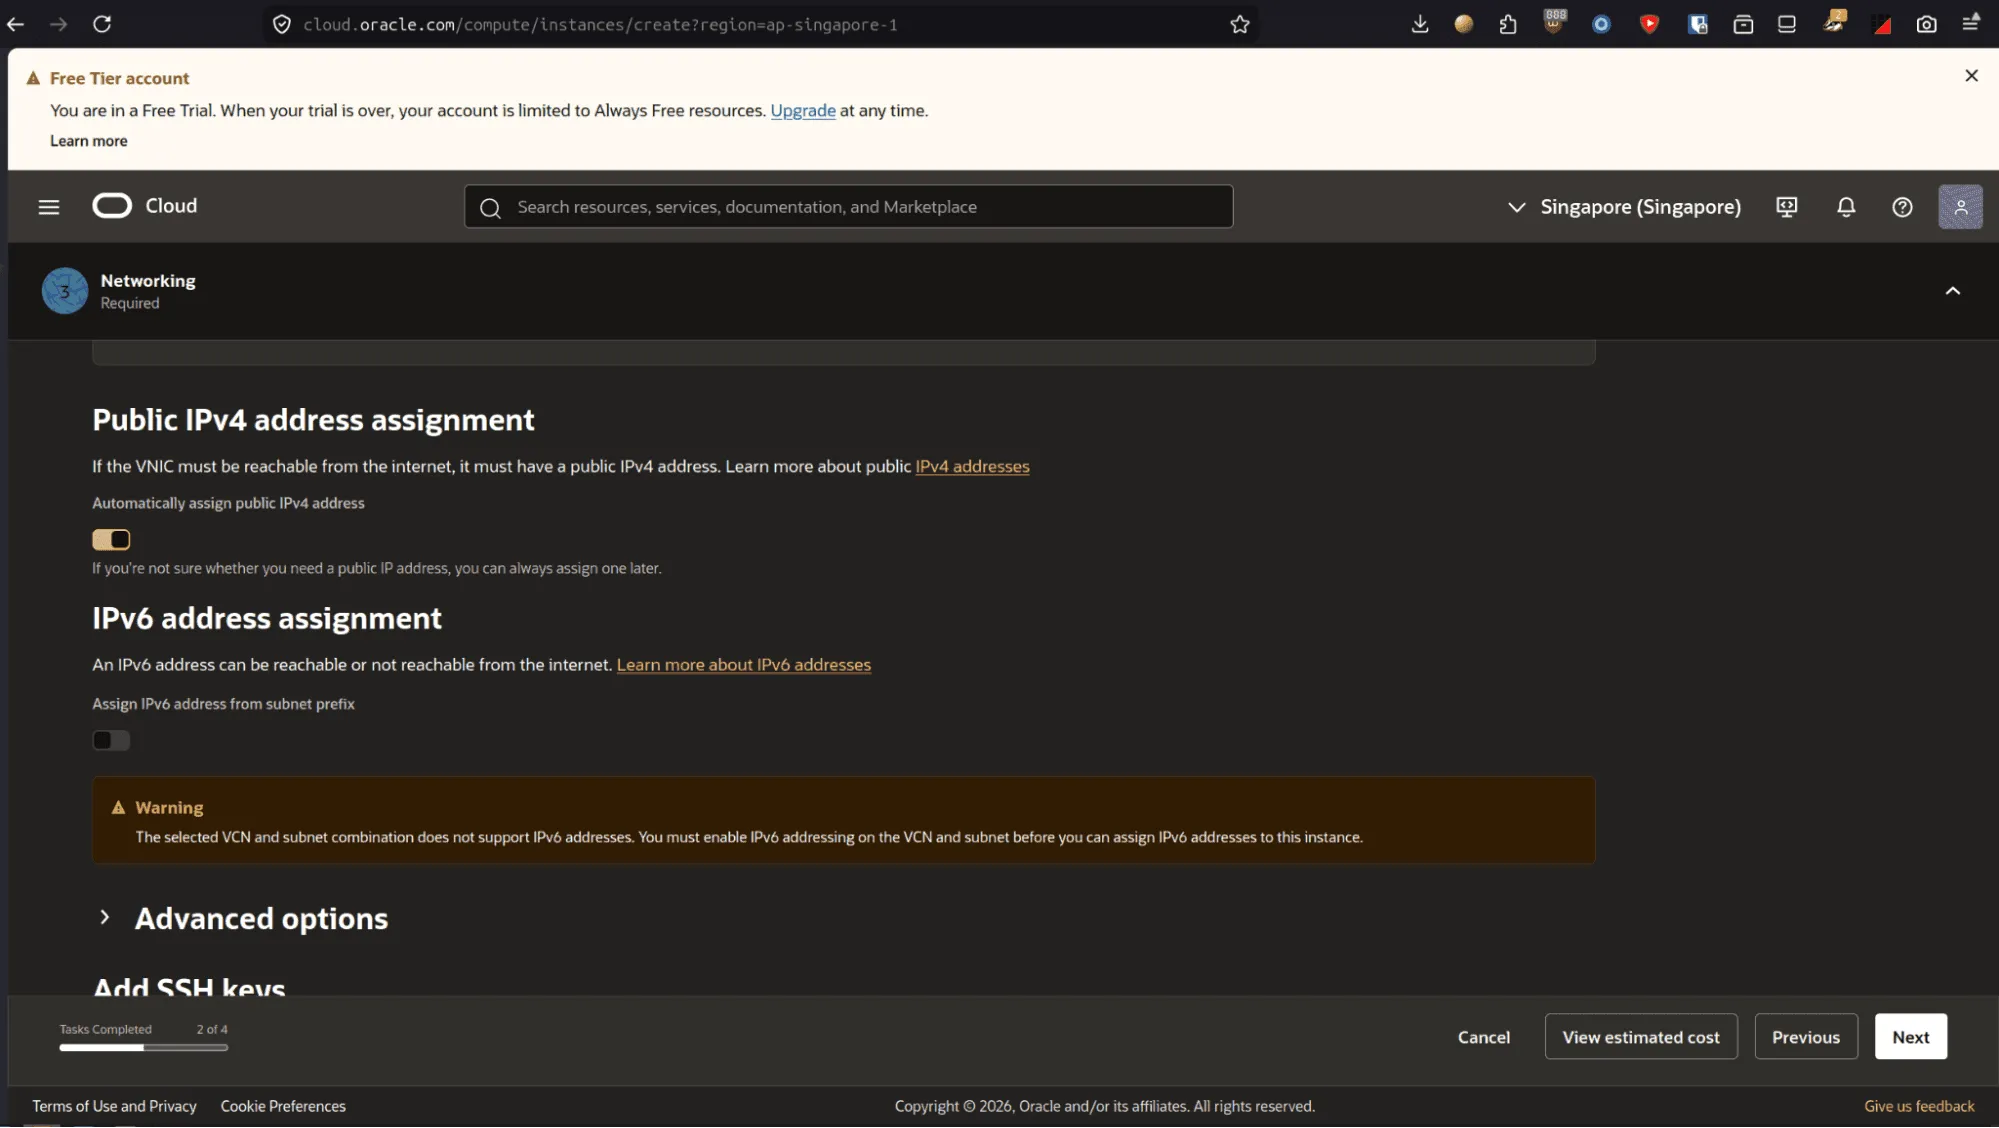
- Ensure public IPv4 address assignment is enabled so your instance can connect to the internet.
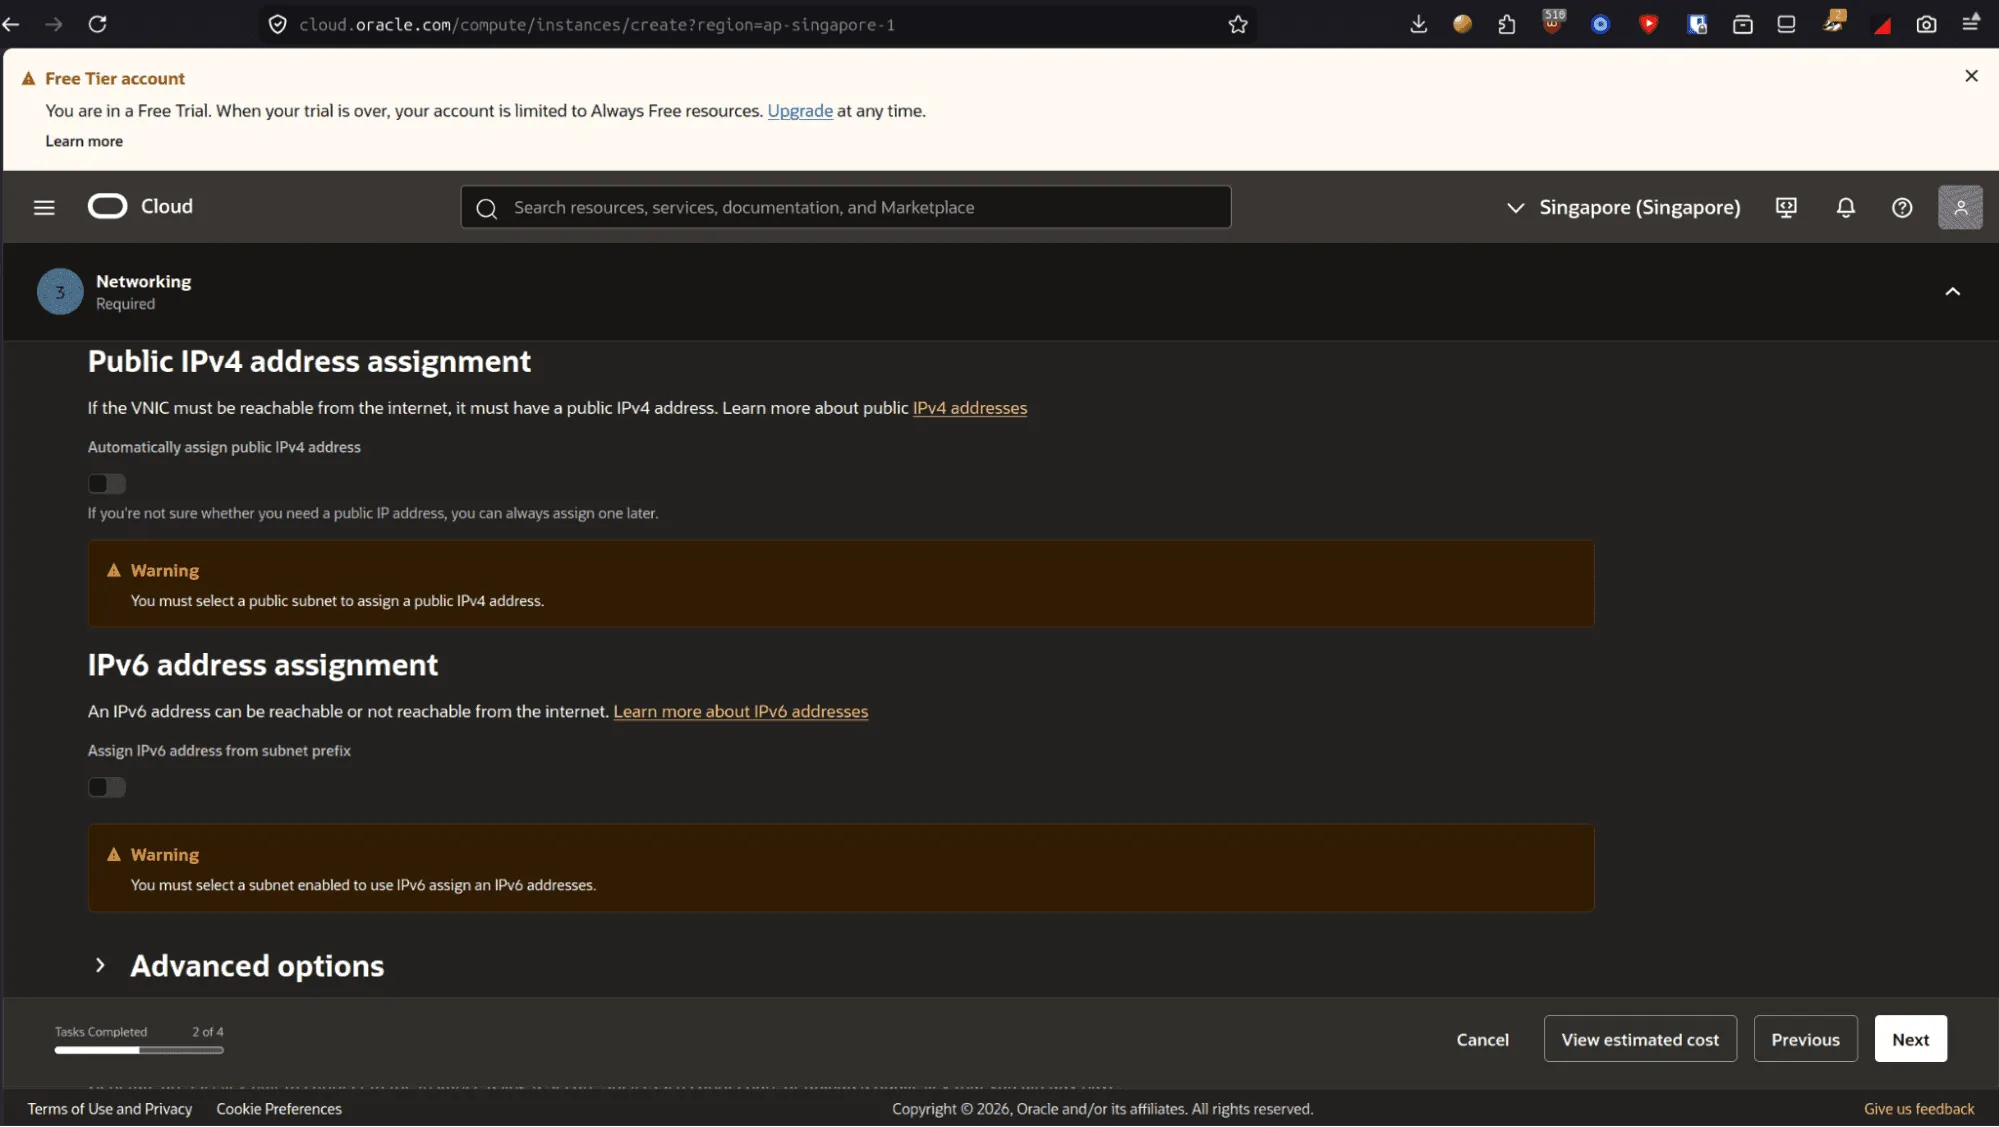
Creating VCN
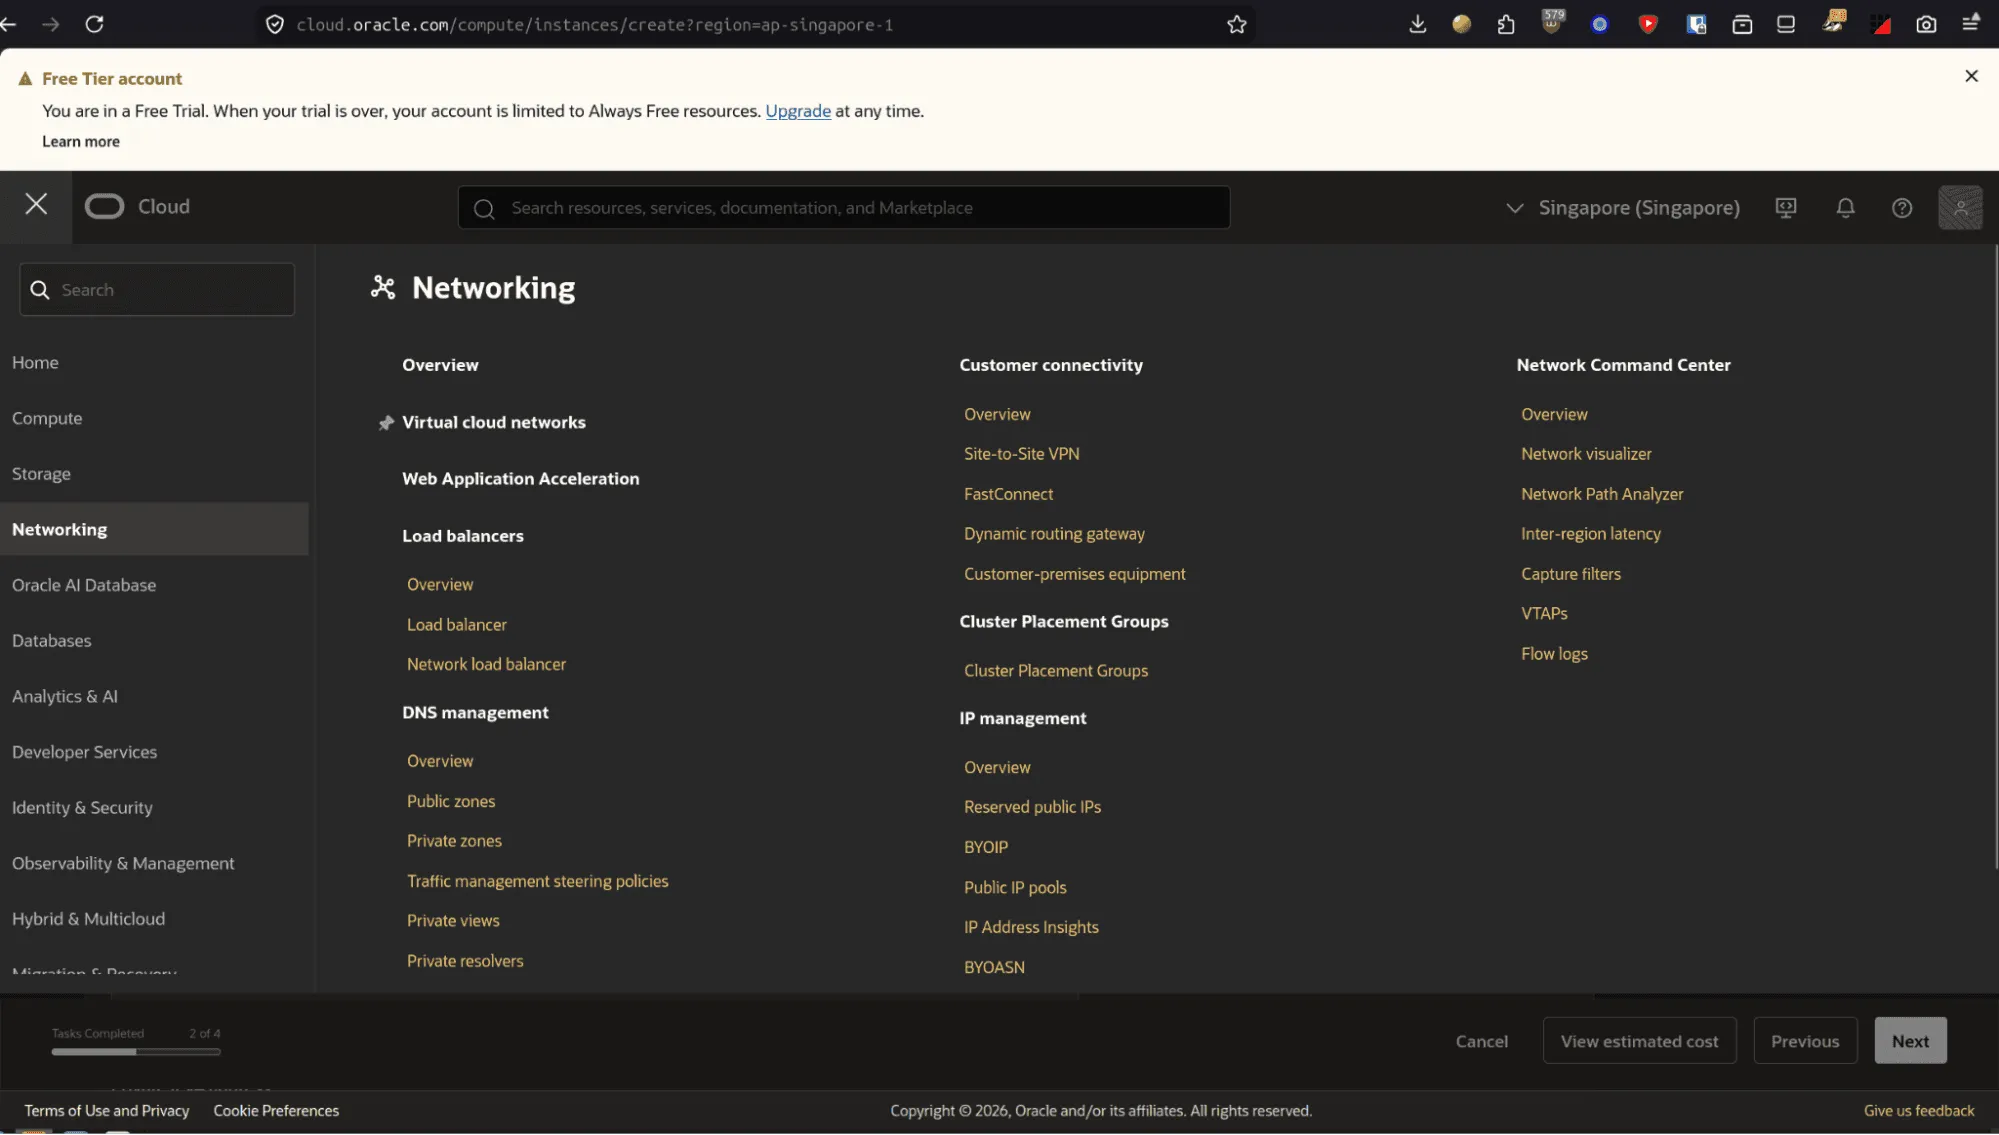
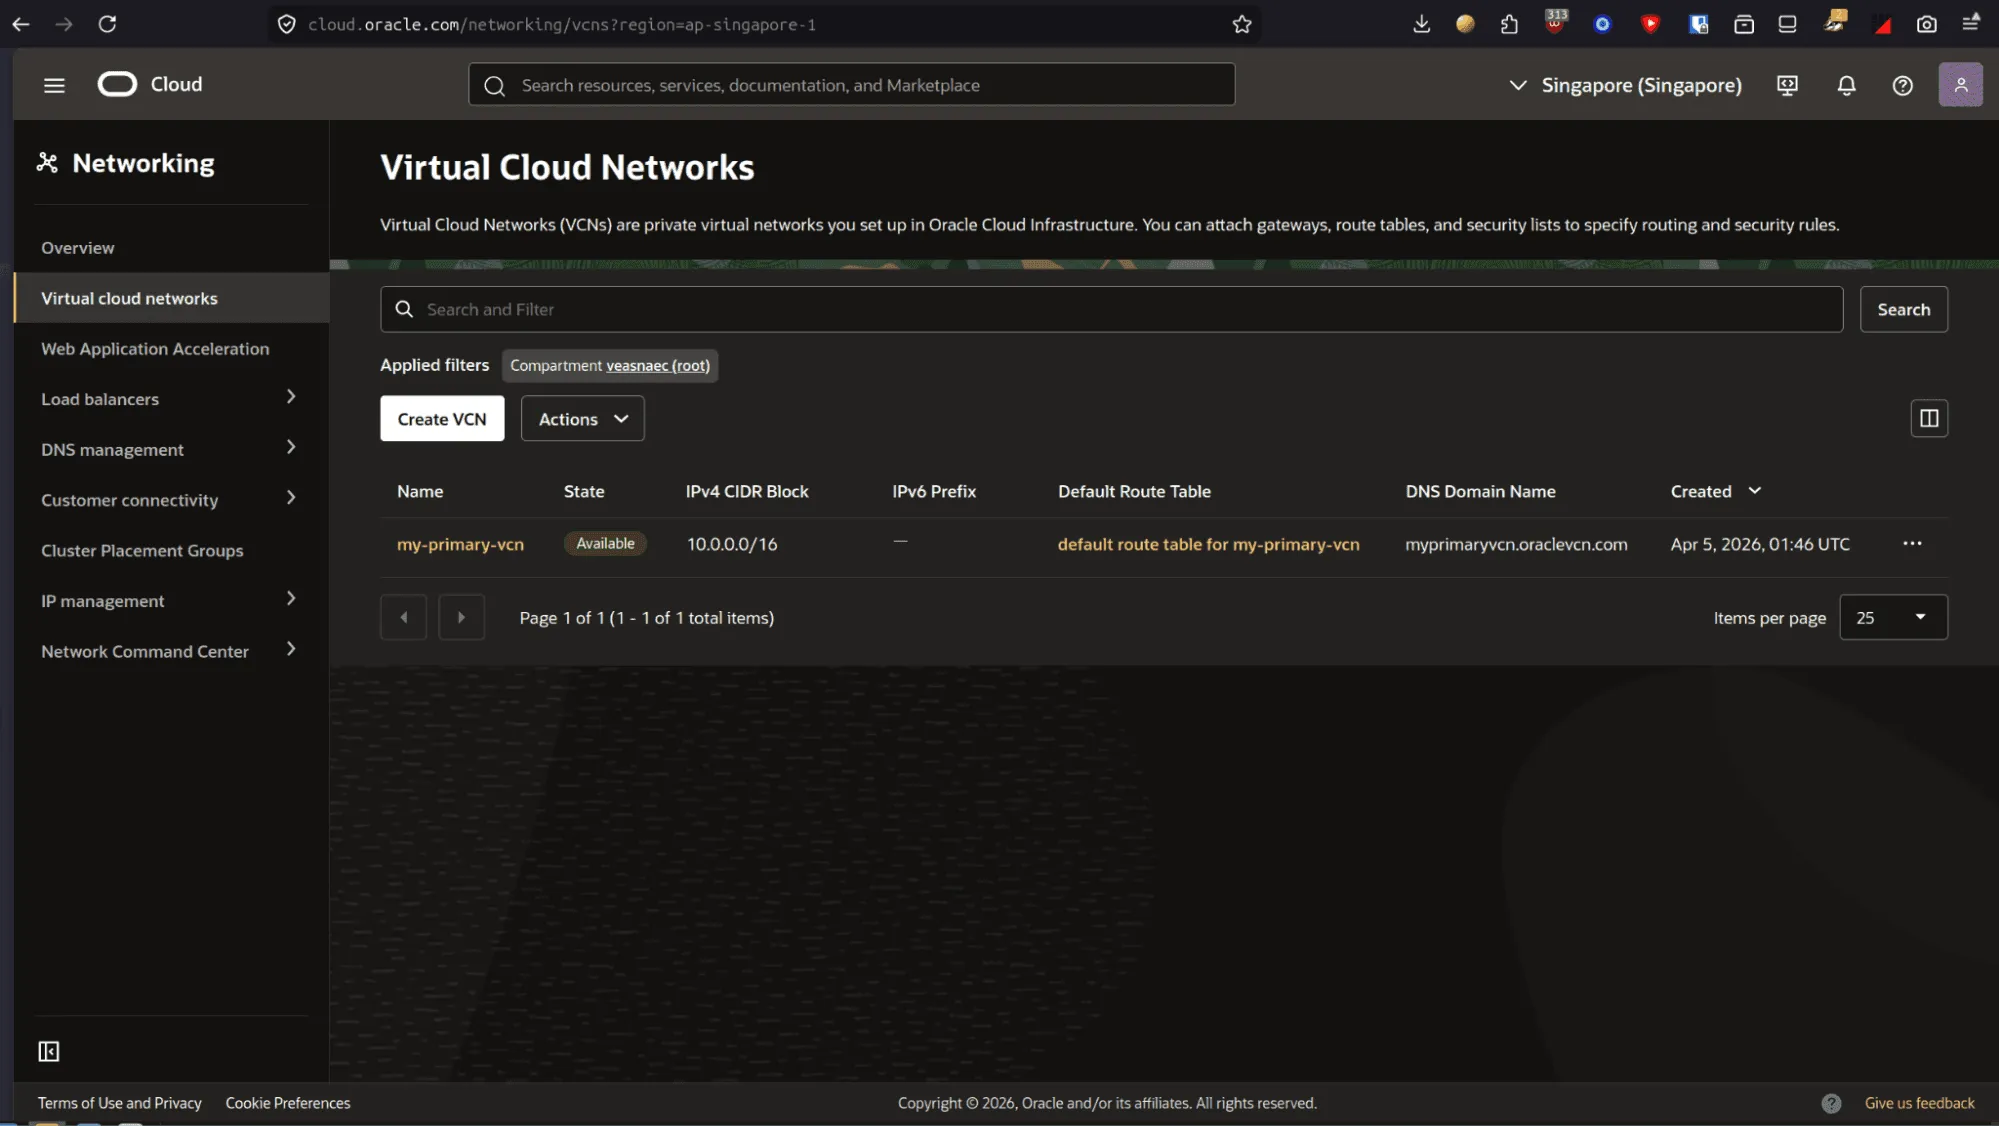
- In a separate browser tab, navigate to
Networking > Virtual Cloud Networks.
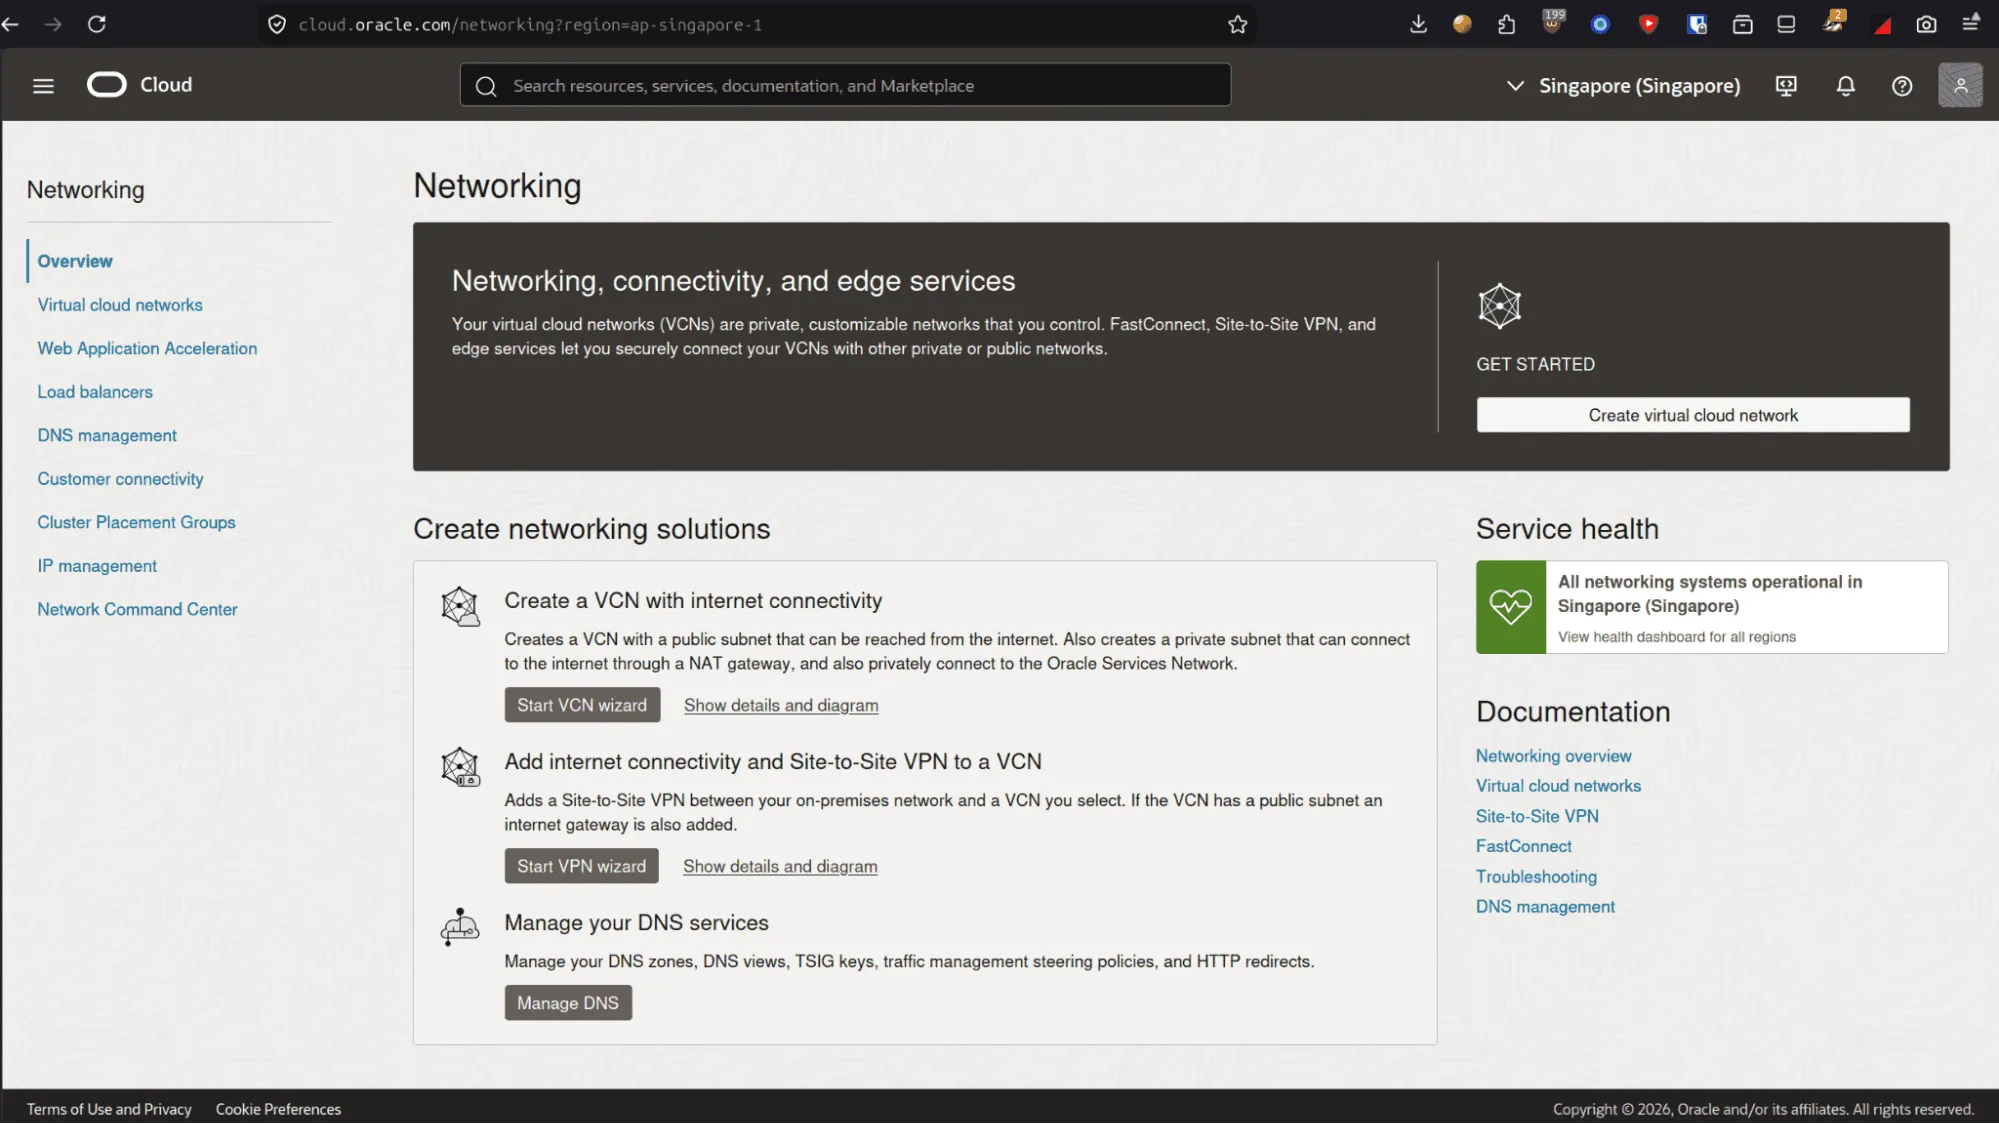
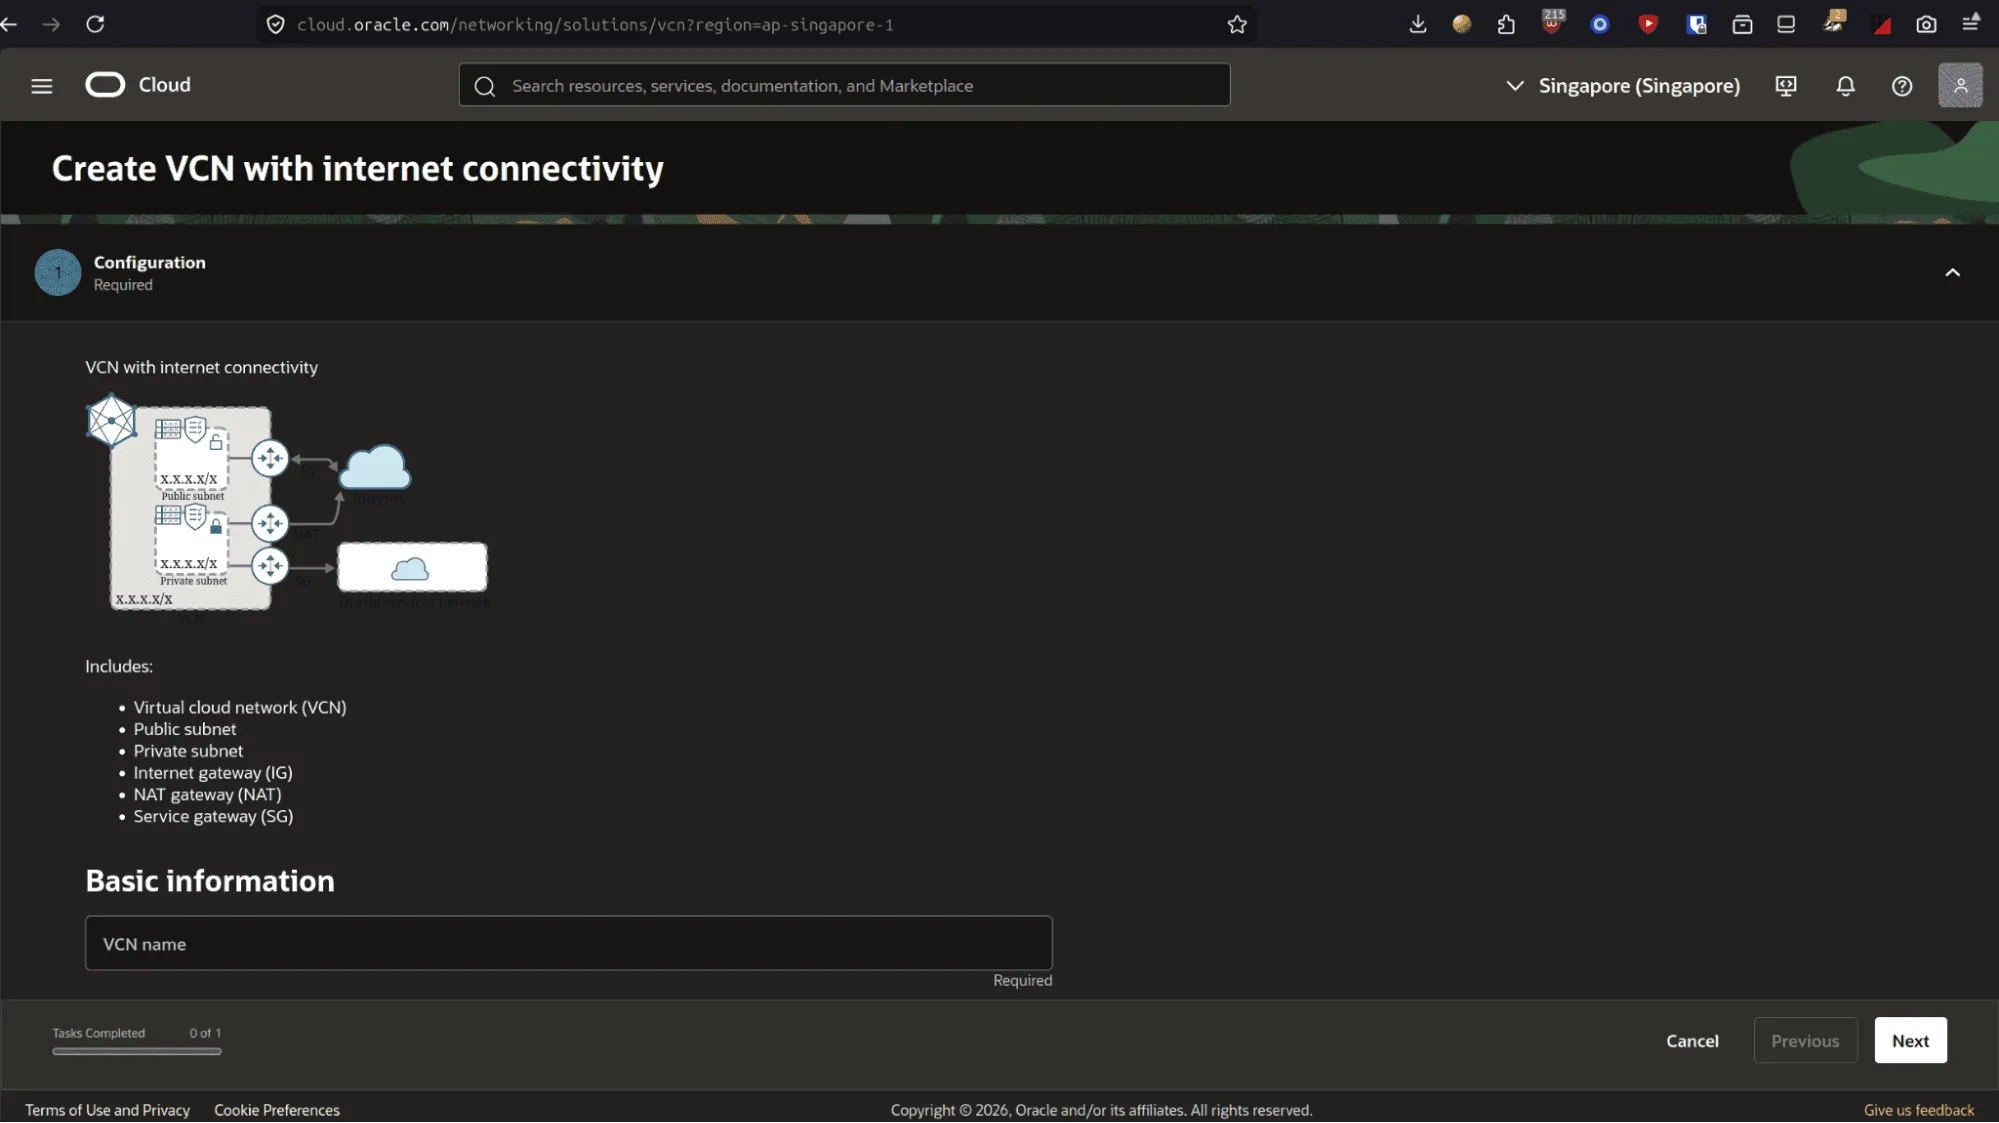
- Click
Create VCN Wizard—the fastest way to generate subnets, gateways, and route tables automatically.
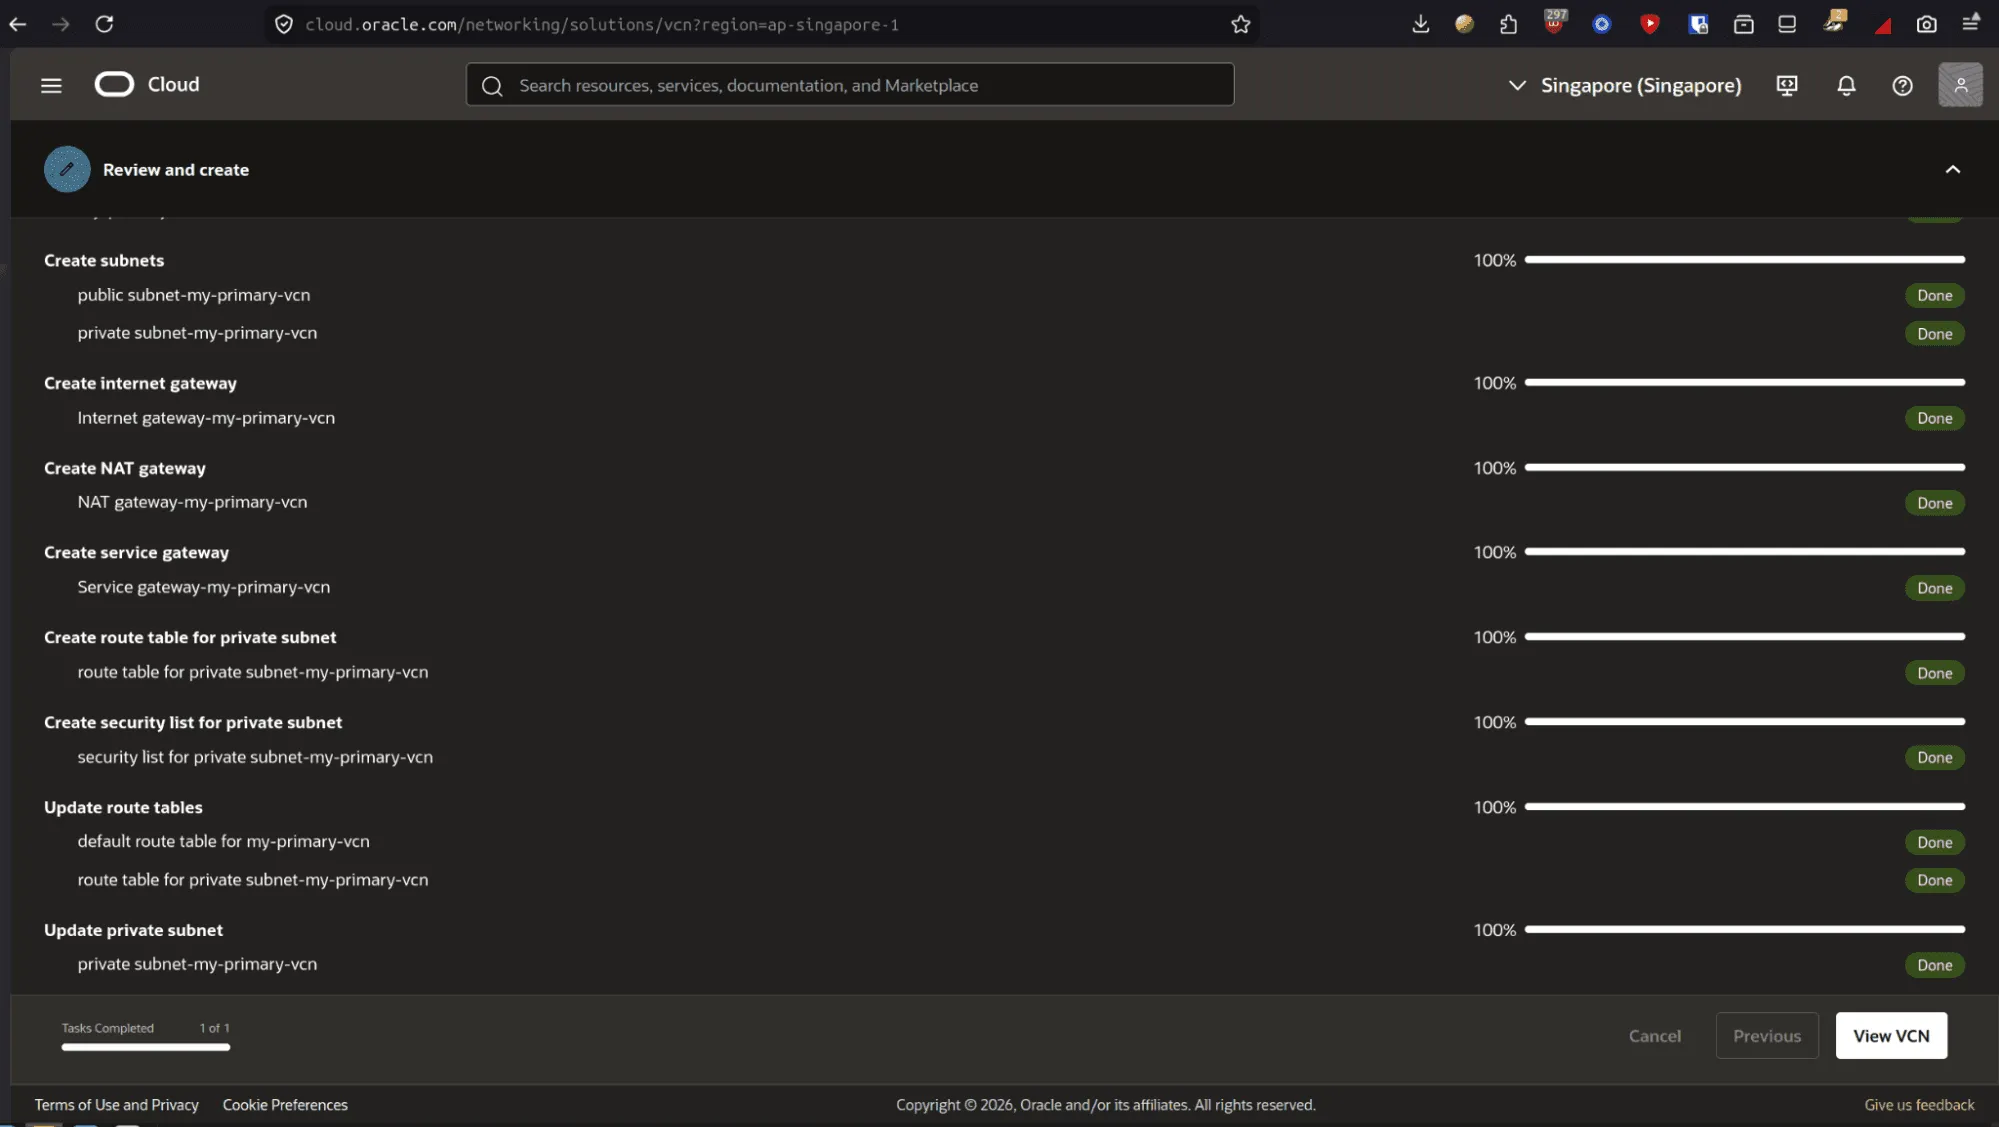
- Enter a VCN name and leave default CIDR blocks.
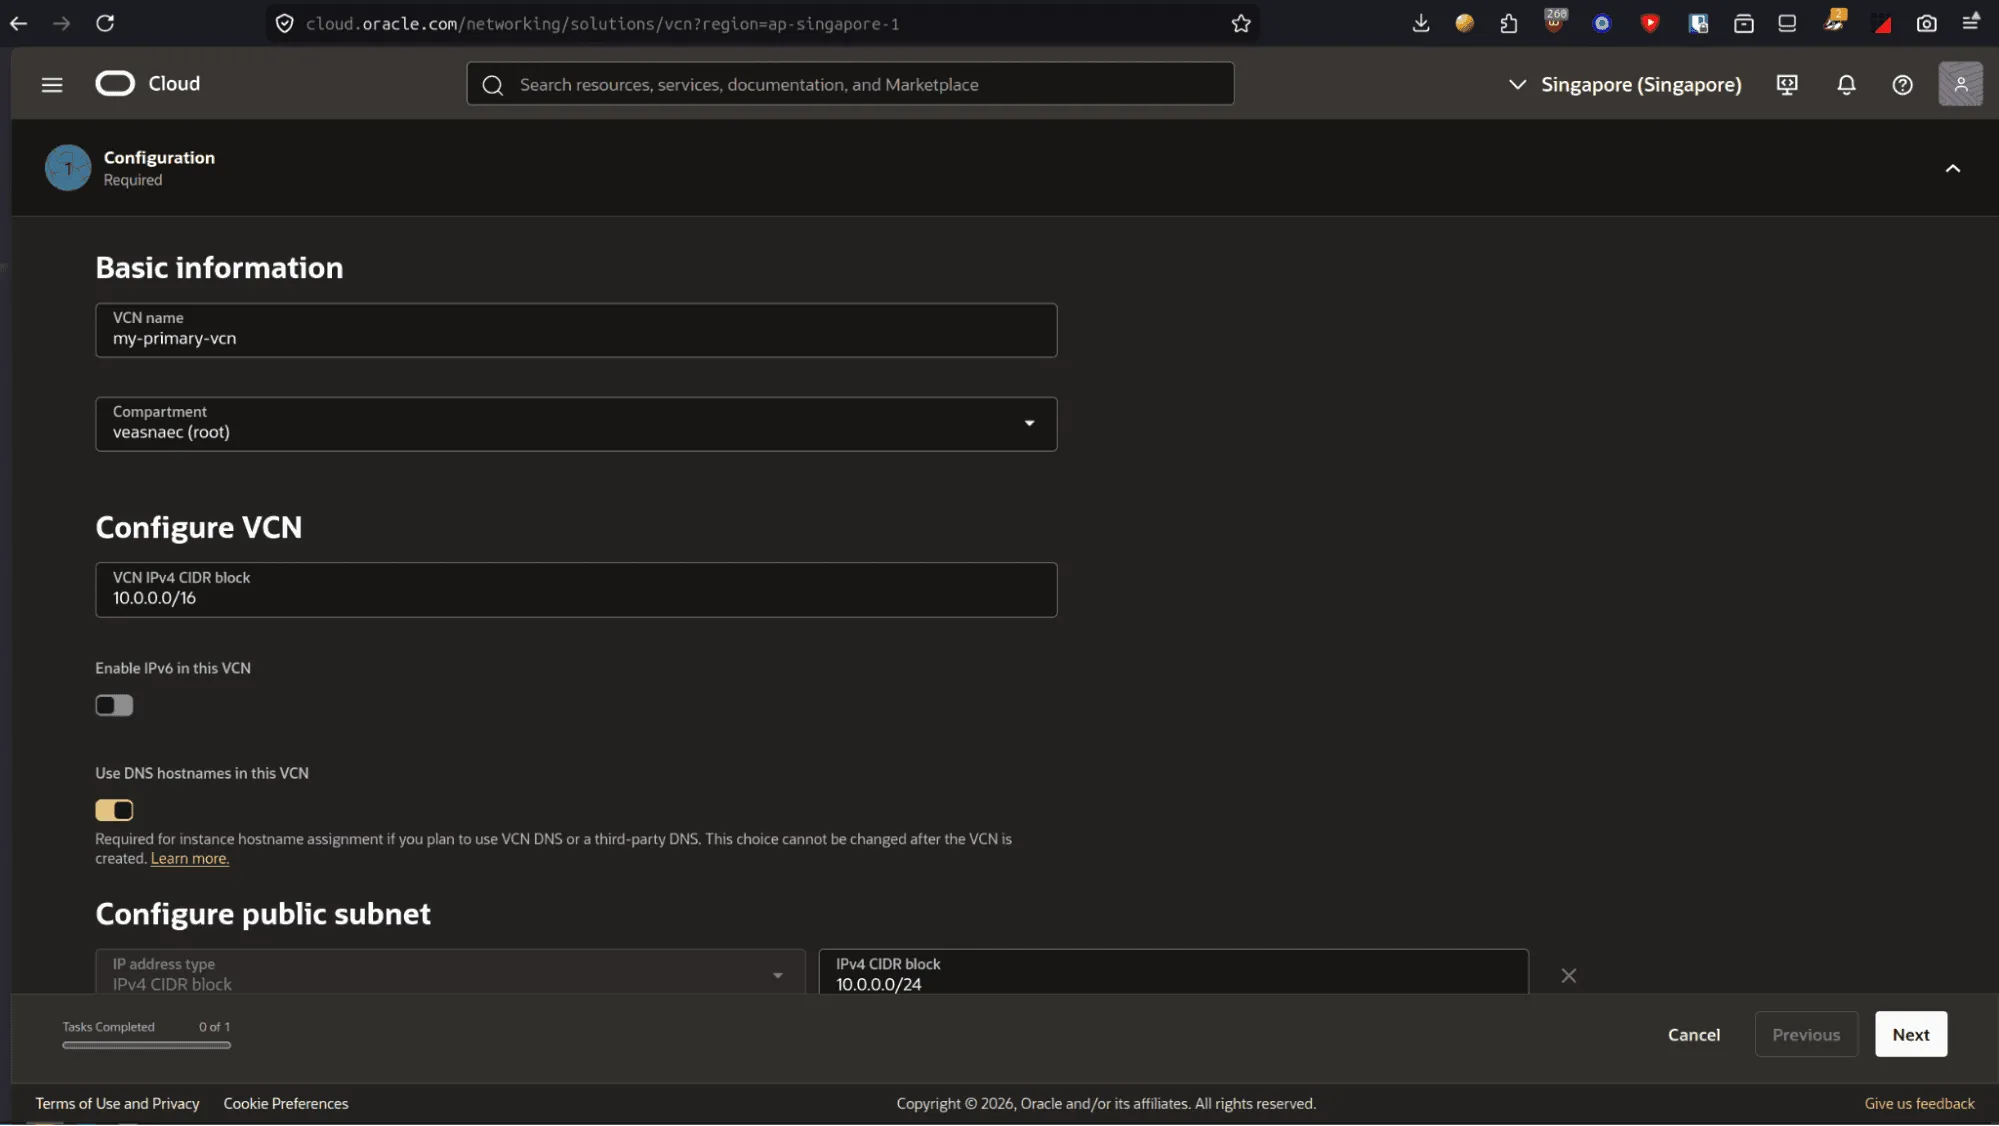
- Verify that public and private subnets use distinct CIDR blocks.
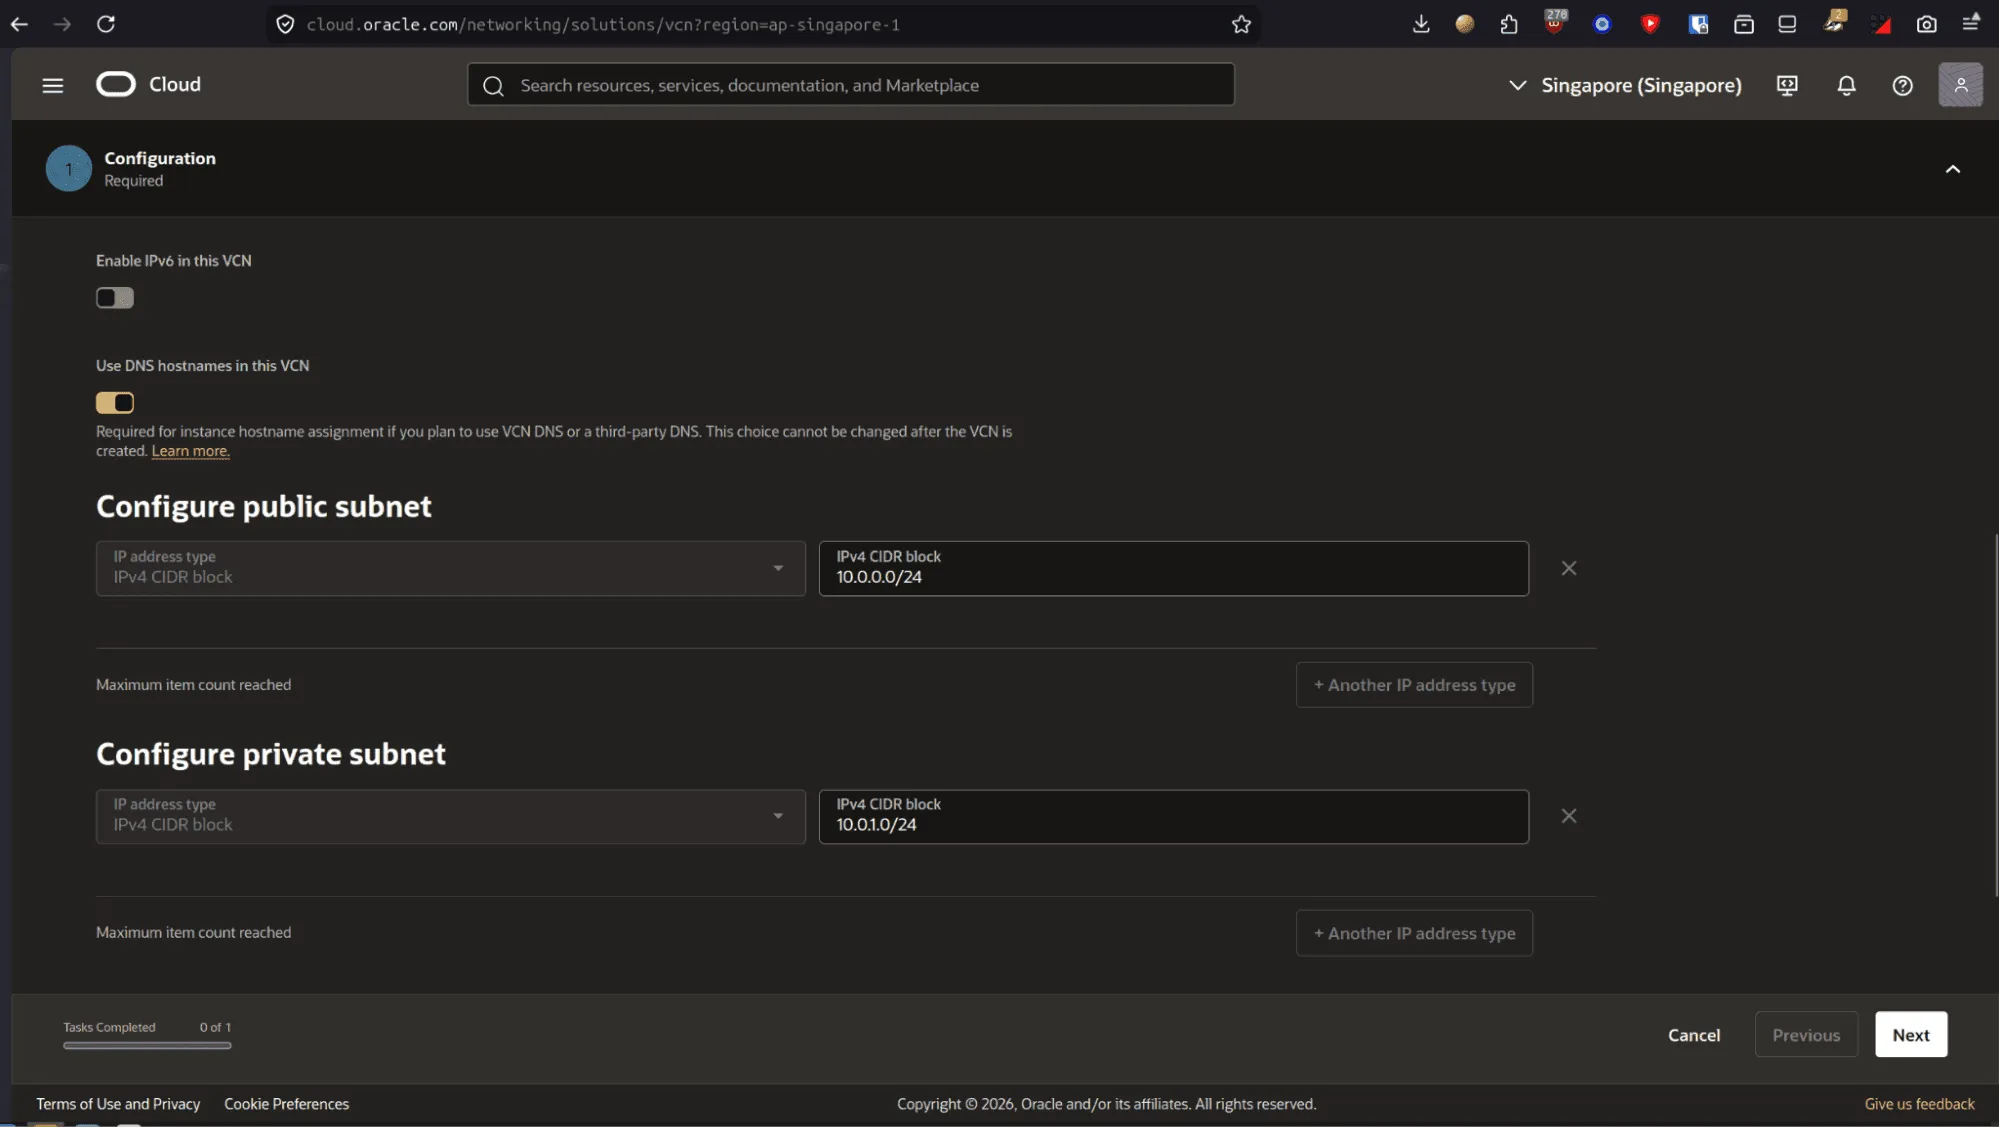
- Review configuration and click
Create.
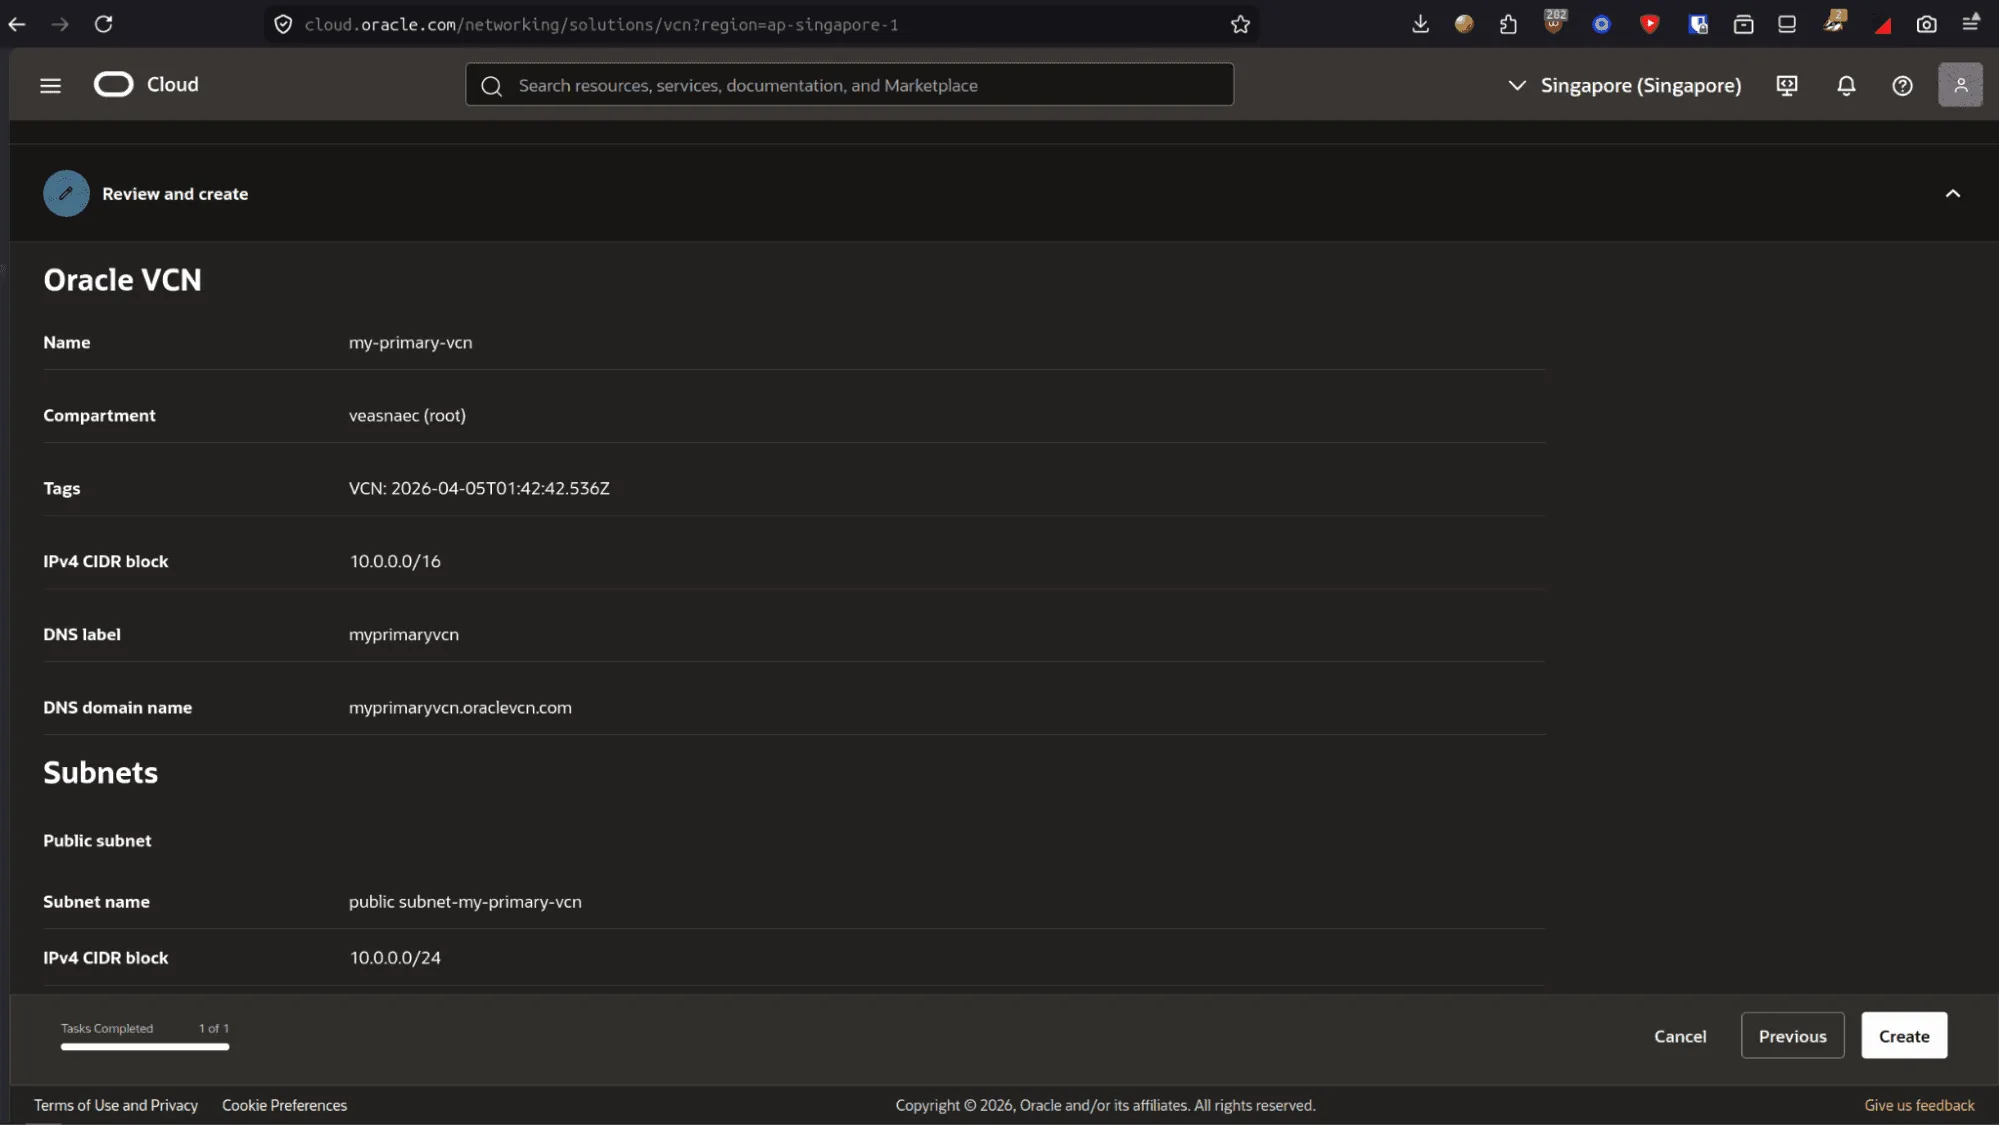
- Once provisioning completes, close the VCN wizard tab.
Back to Instance Creation Page
- Return to the instance creation tab and select your newly created VCN (
my-primary-vcn).
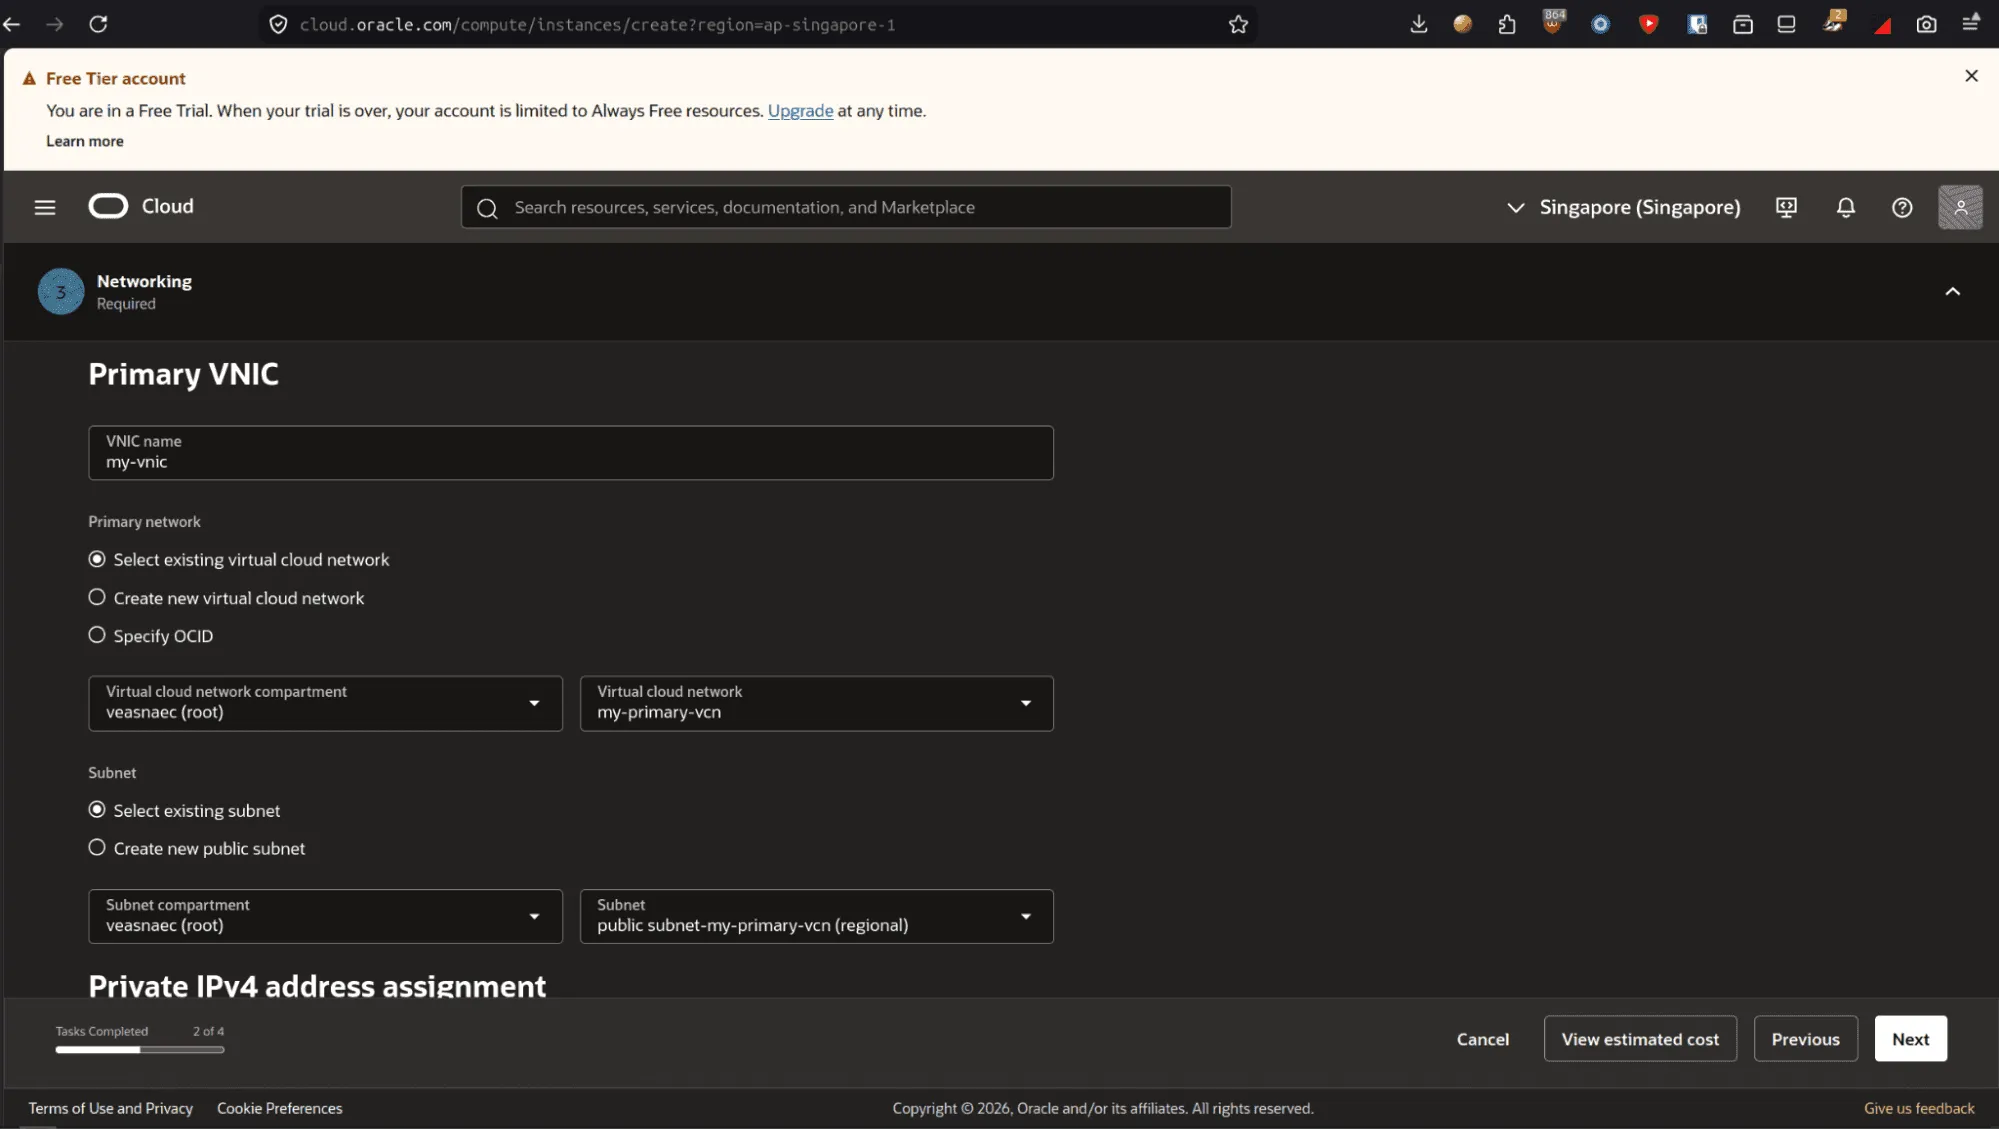
- Verify that a public IPv4 address is assigned to the instance.
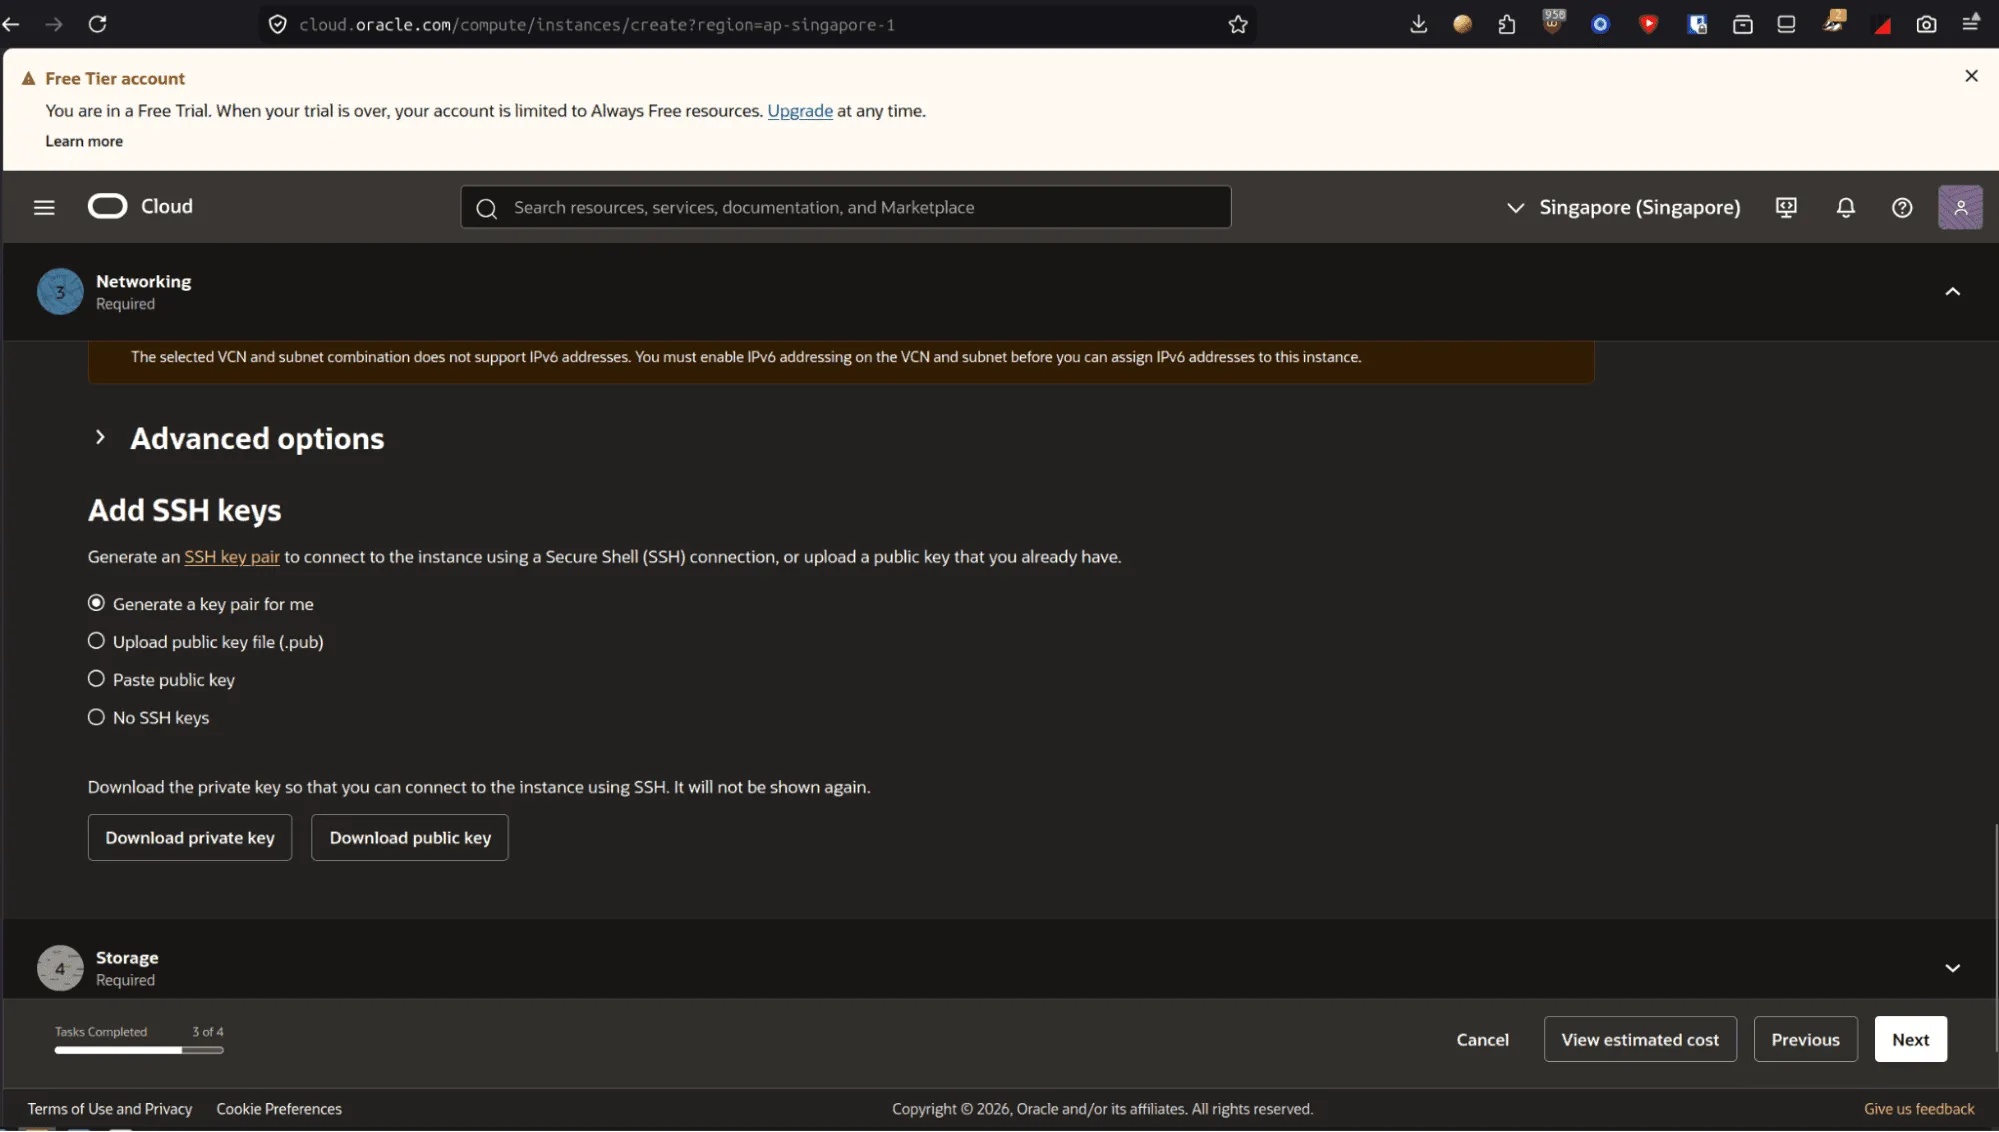
- Configure your SSH keys. You can paste an existing public key (
.pub) or chooseGenerate a key pair for me. Be sure to download the private key immediately.
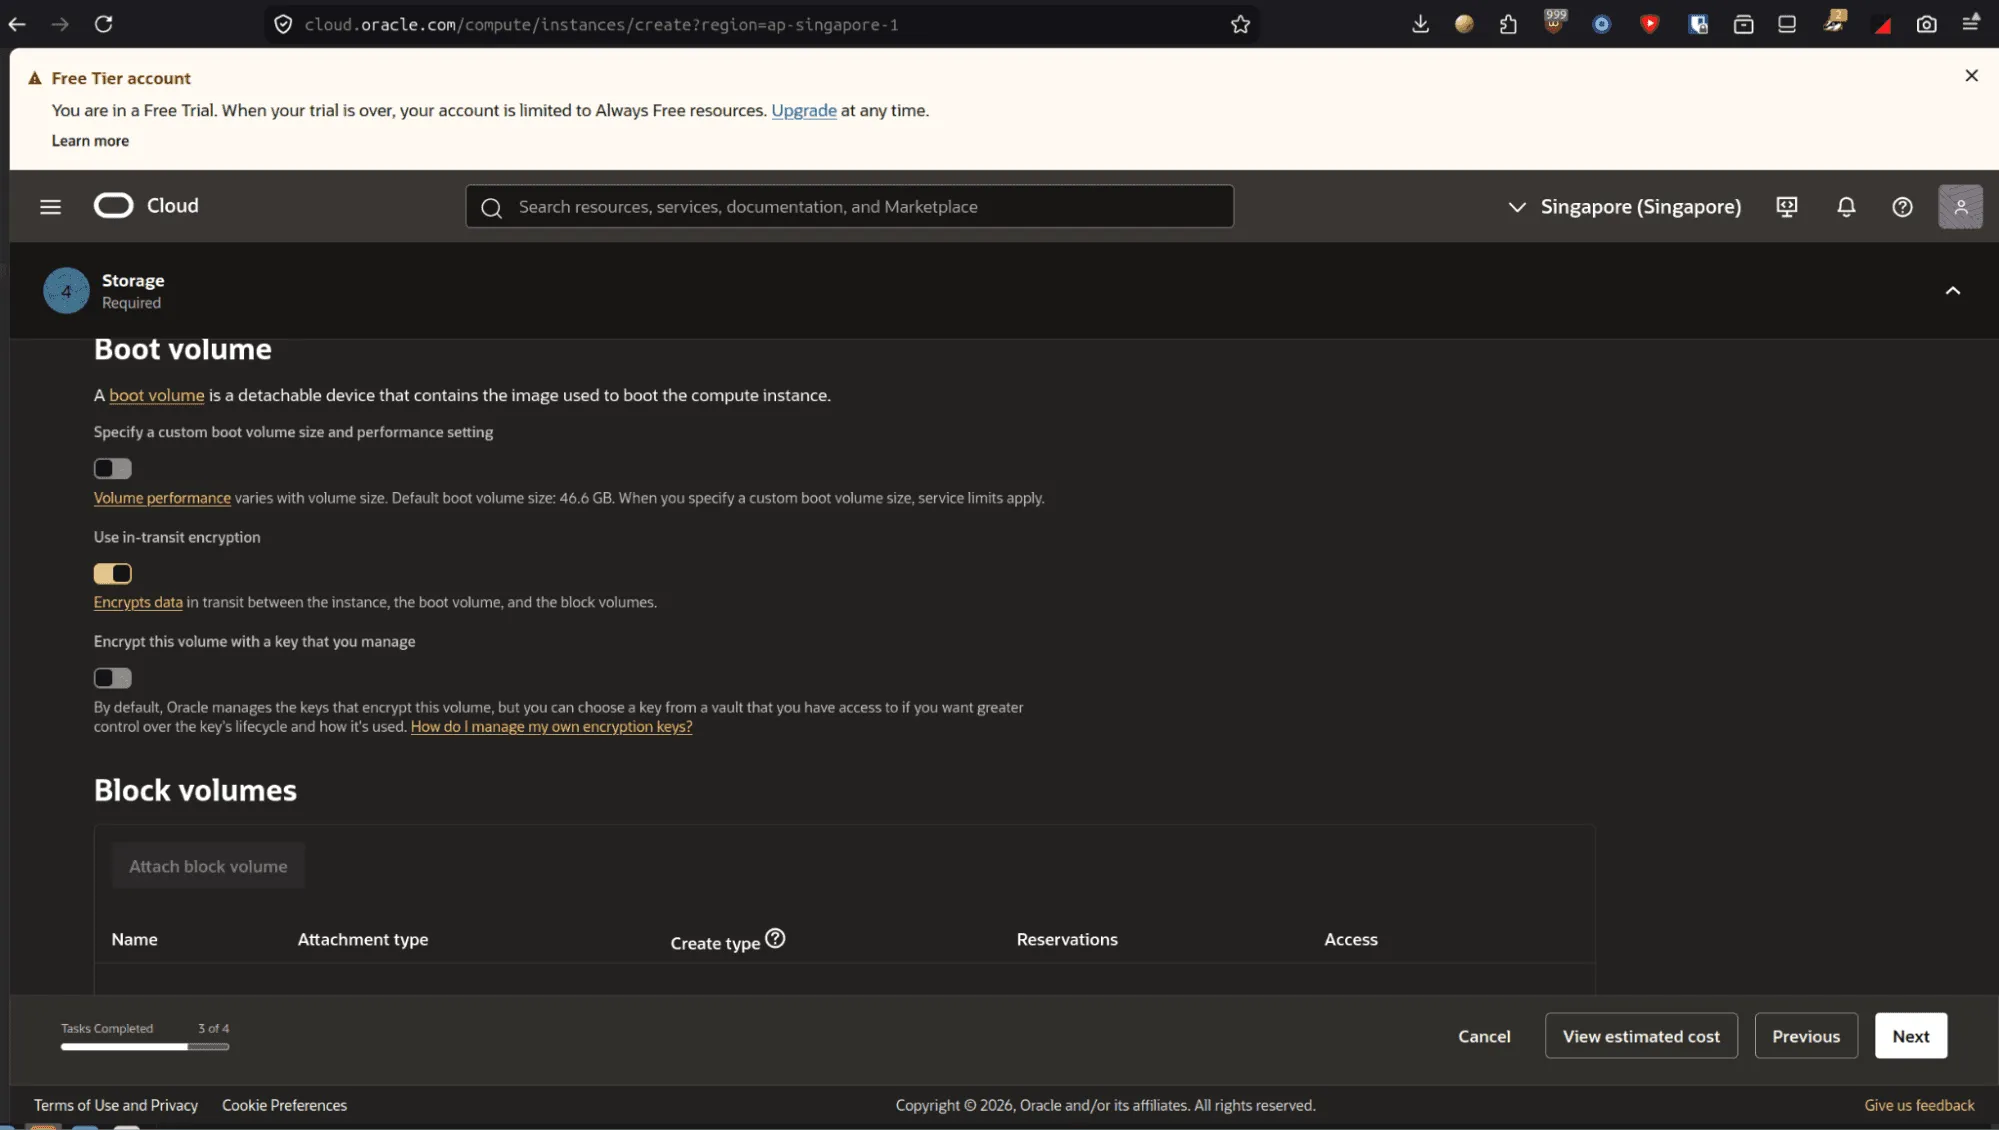
- Review boot volume defaults and click
Next.
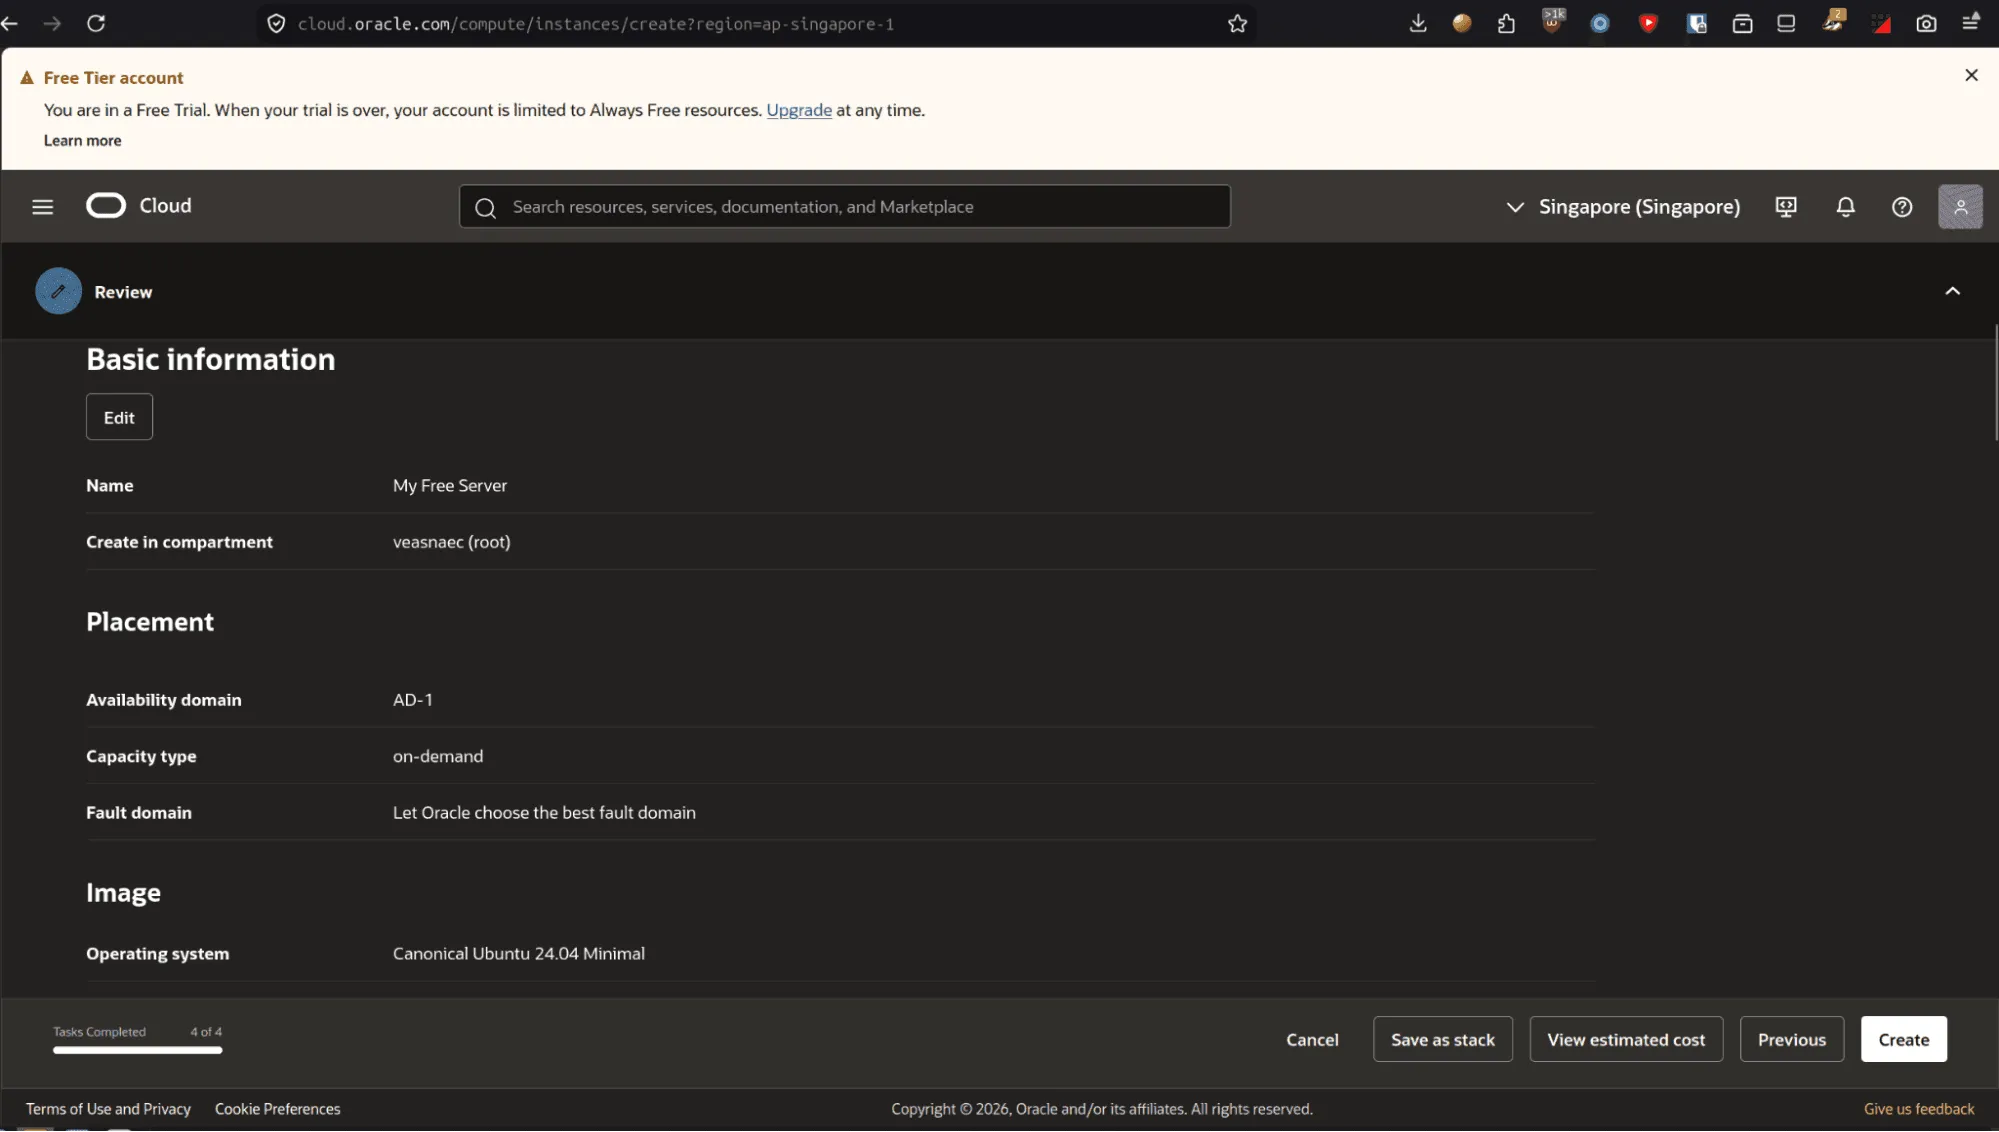
- On the final review page, click
Create.
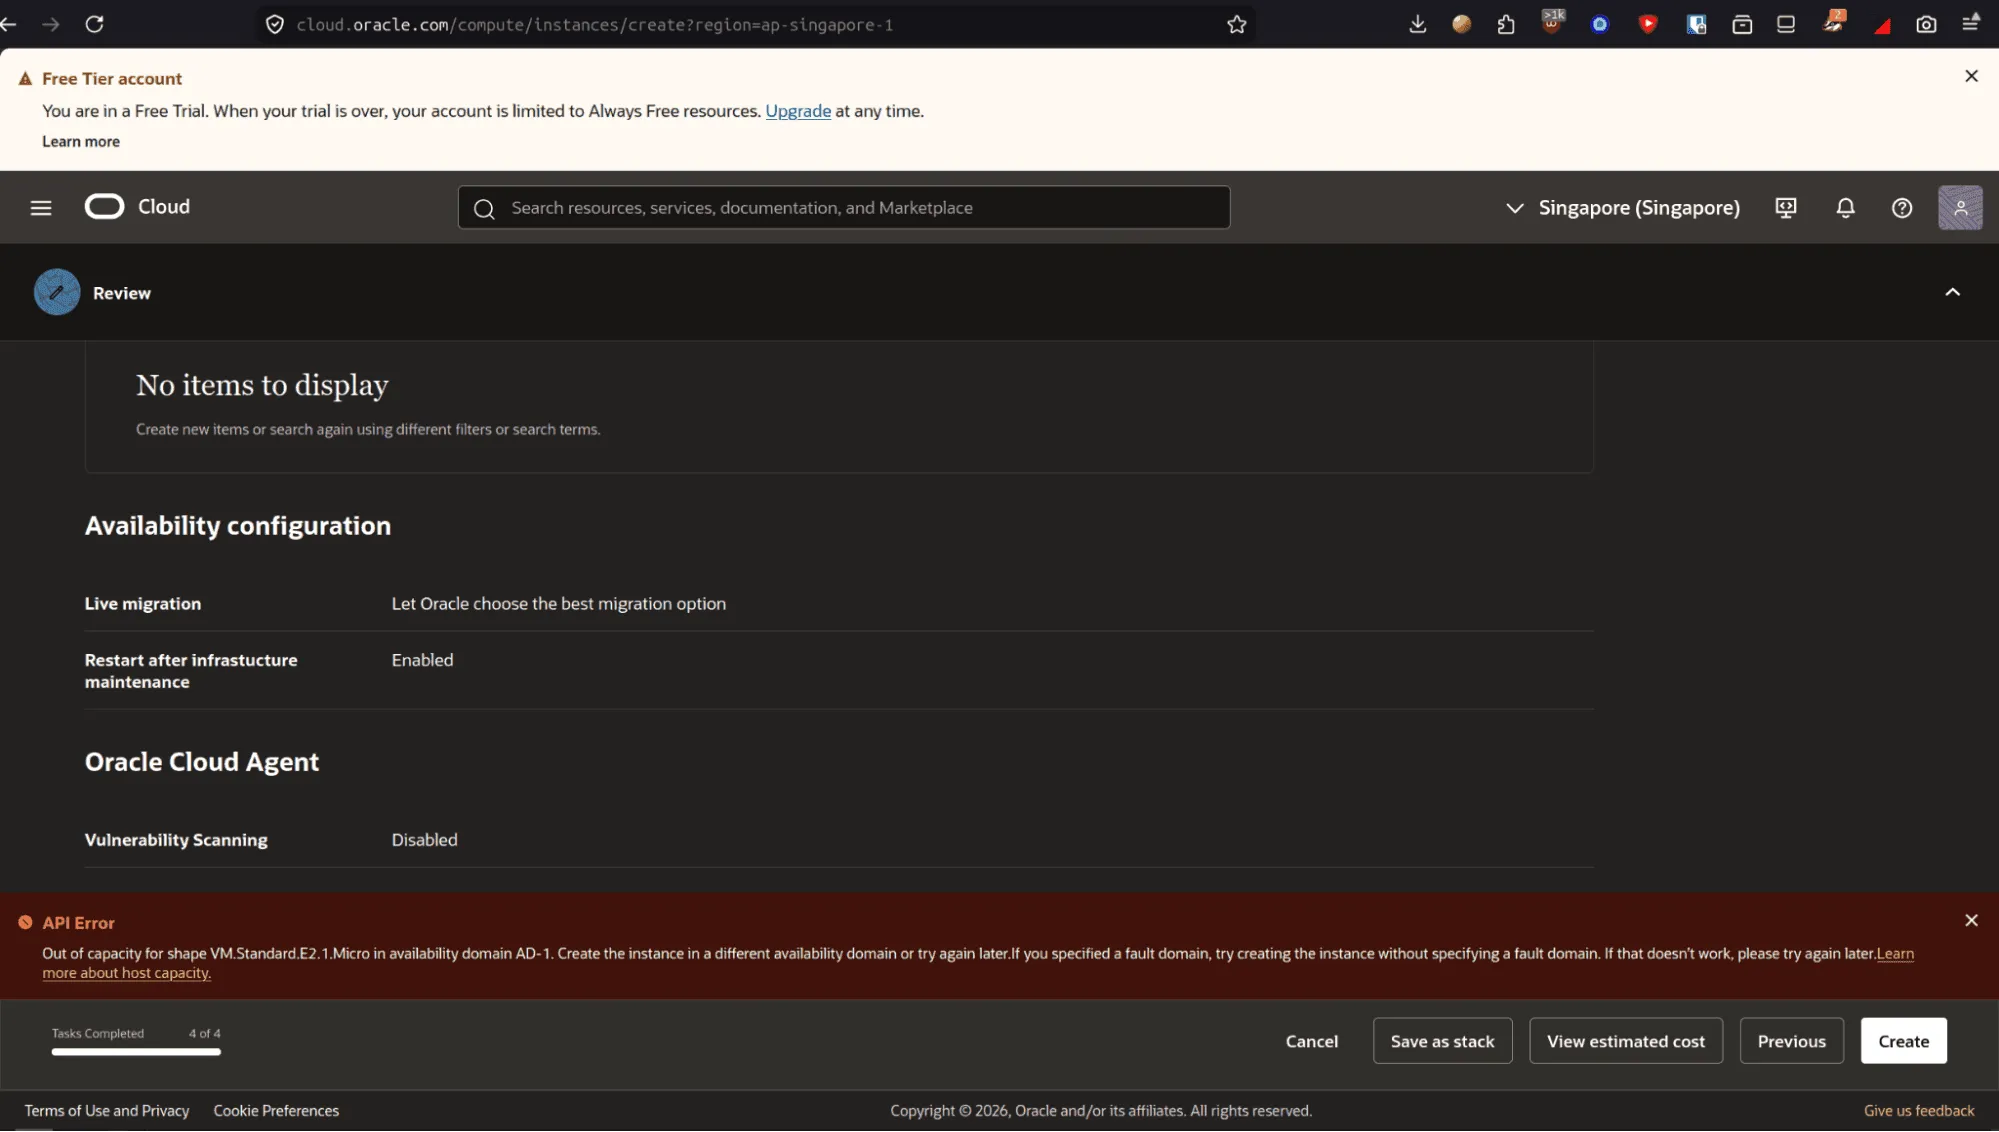
- If regional capacity is constrained, OCI will return an “Out of capacity” error.
Workaround for the Out of Capacity Problem (Linux)
If you hit the “Out of capacity” error, you do not need to manually check the dashboard every day. We can automate resource provisioning using Terraform and a simple loop script that retries until capacity opens up.
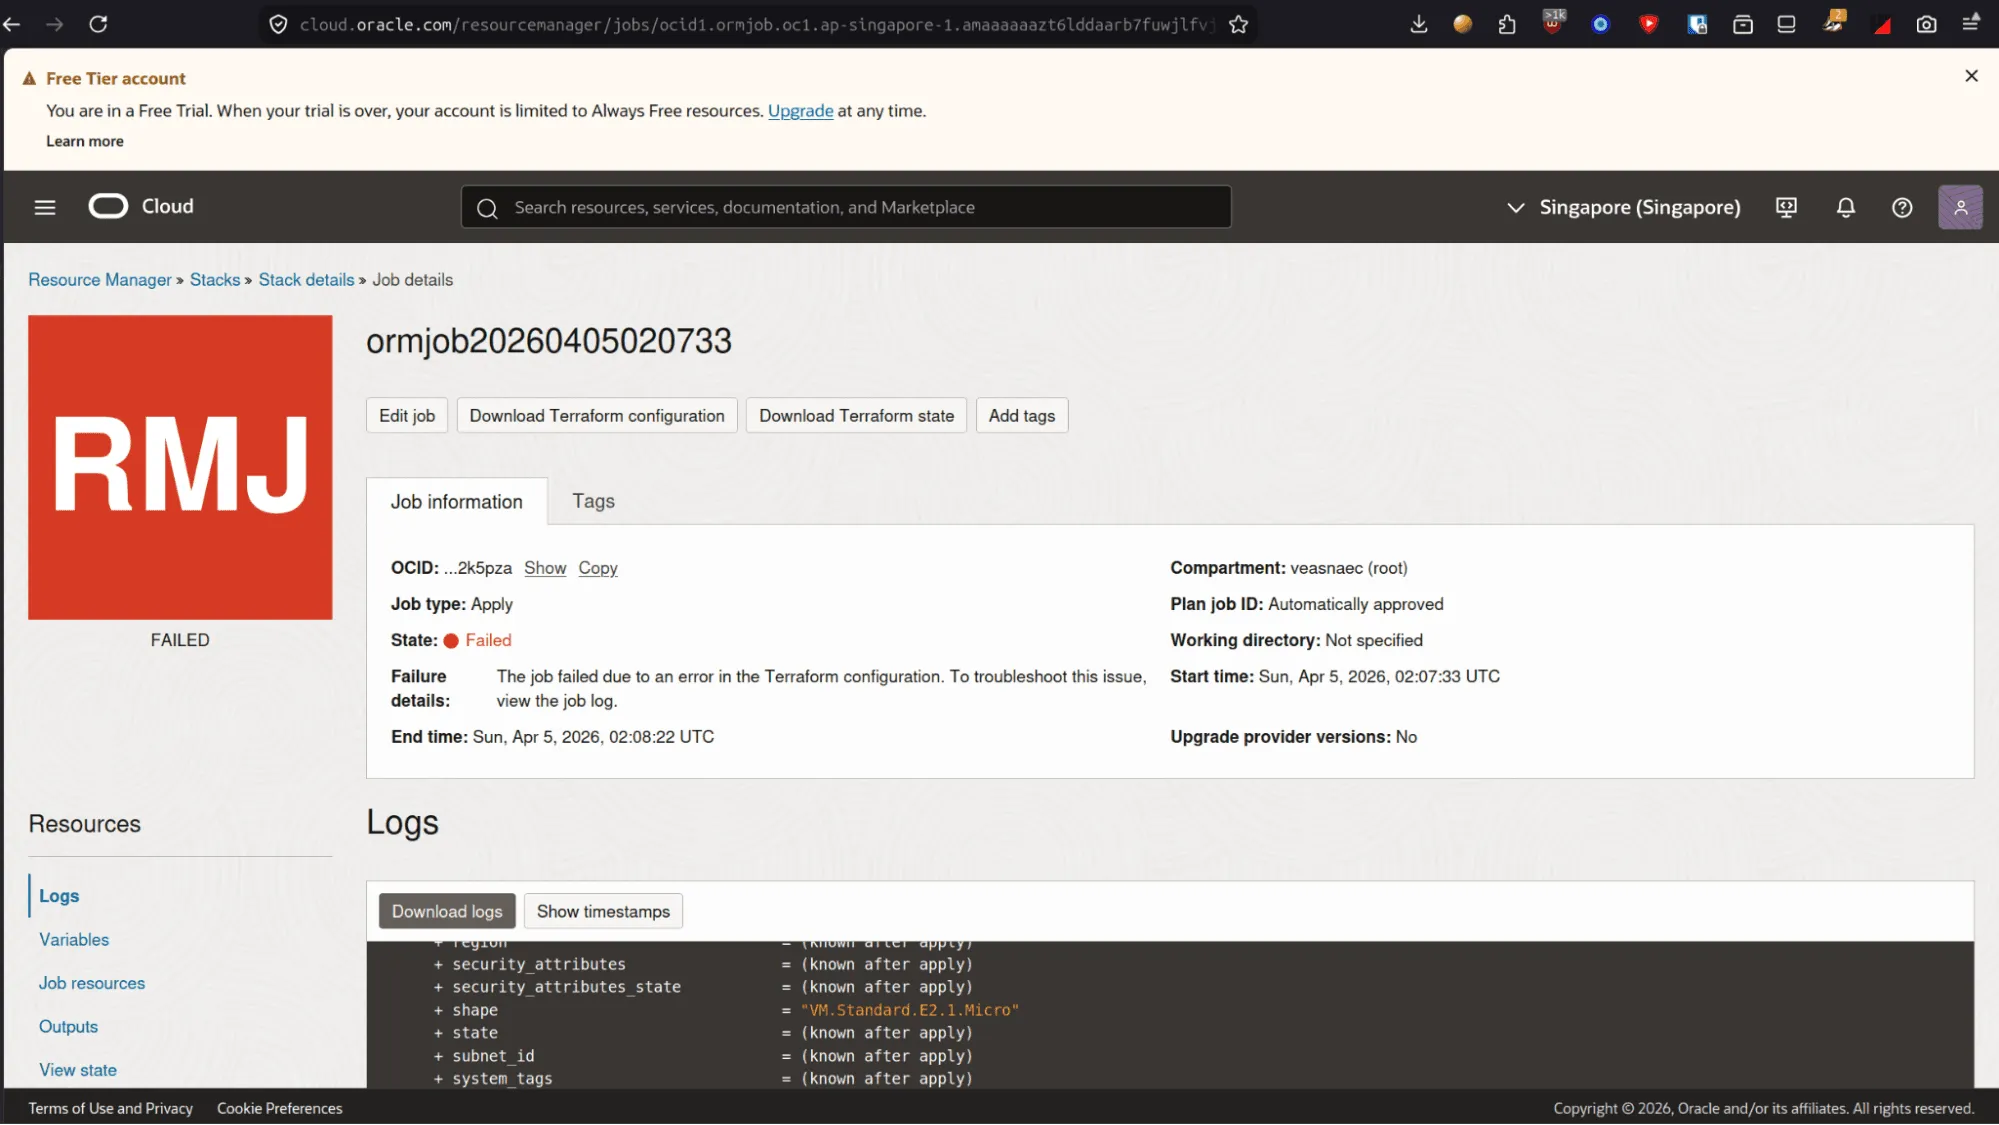
- On the review page, click Save as stack to export your configuration. In the stack details view, click Download Terraform configuration to save the
.ziparchive to your machine.
- Extract the downloaded configuration on your machine or server:
mkdir ~/oracle-instance-grabber
cd oracle-instance-grabber
unzip ~/Downloads/<Your_Terraform_Config>.zip
sudo apt install tmux  # Used for running background processes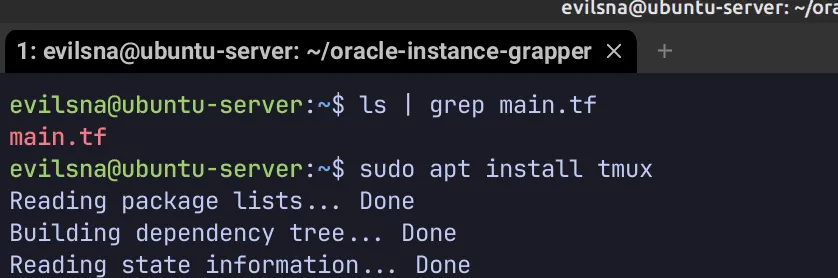
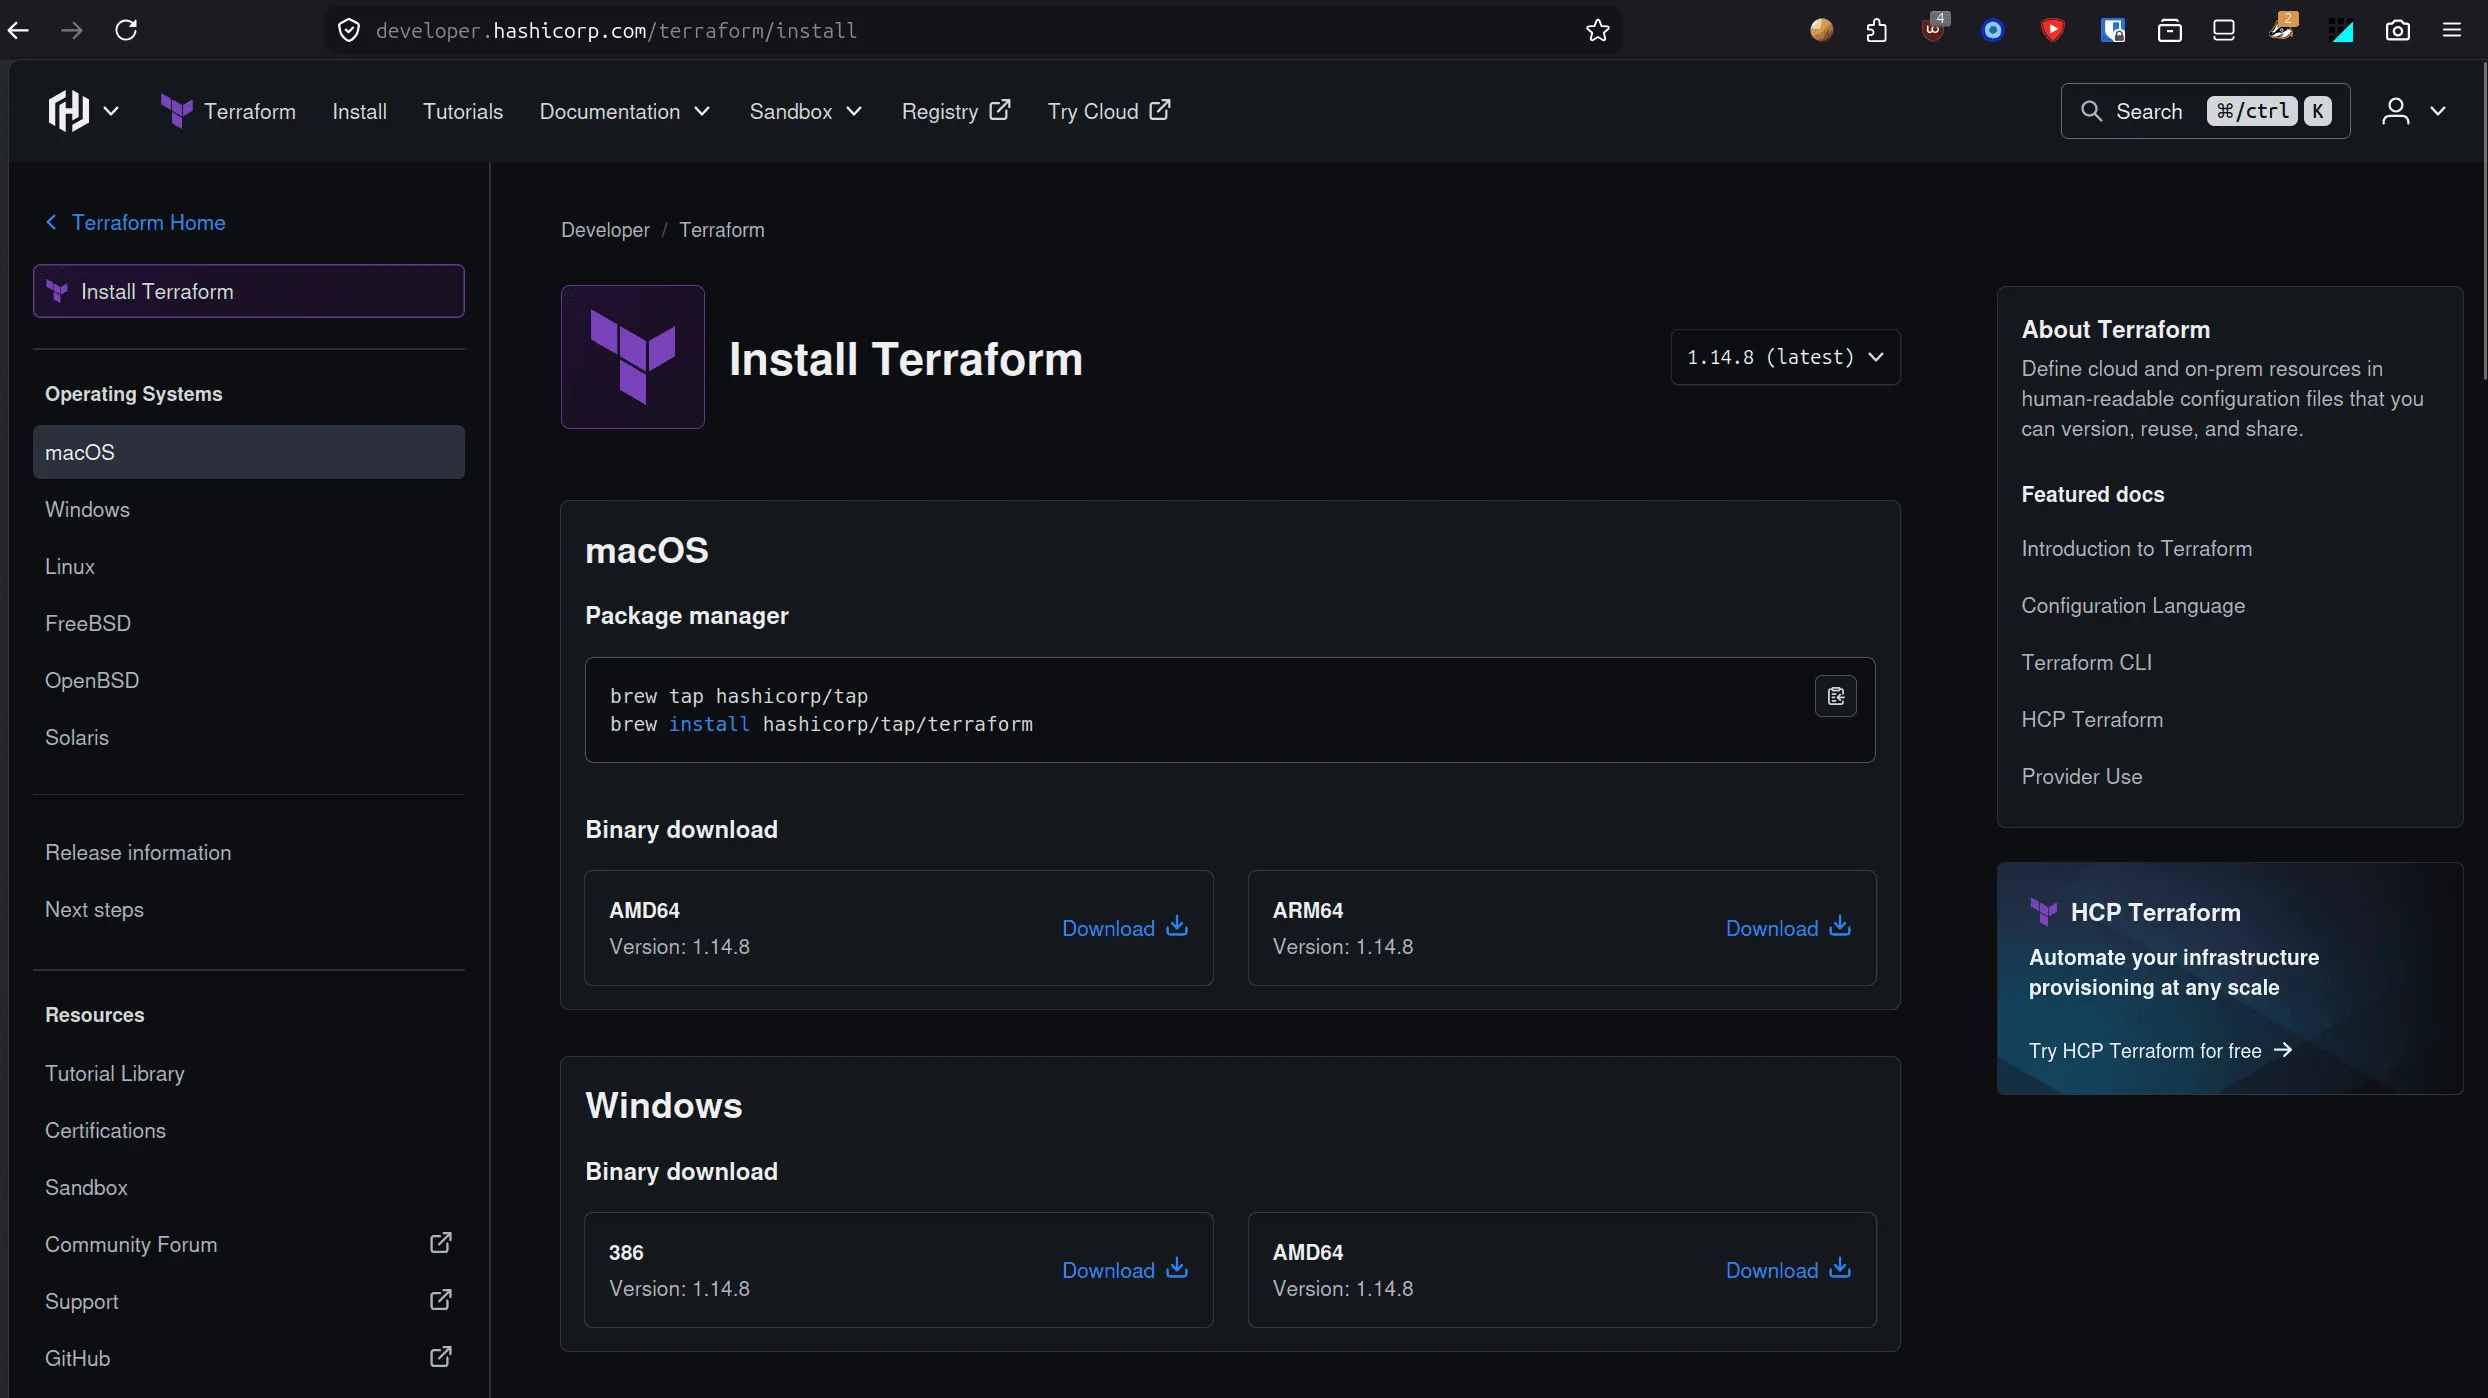
- Install Terraform following the official HashiCorp Installation Guide:
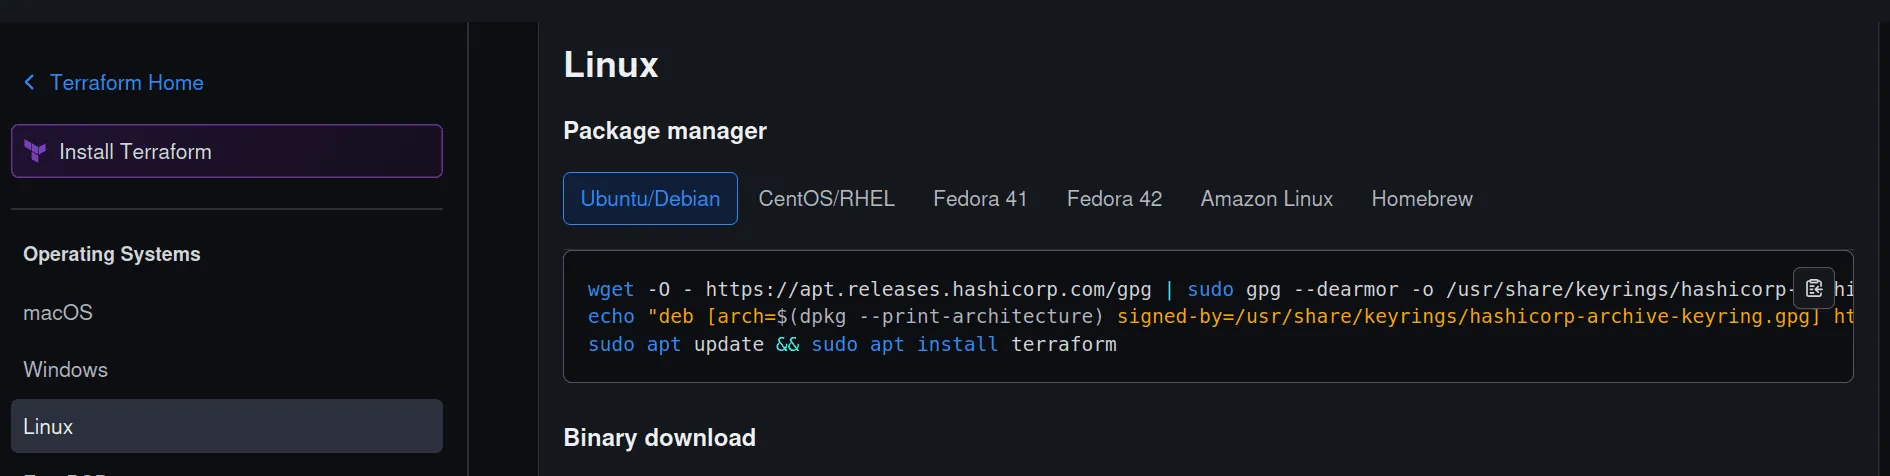
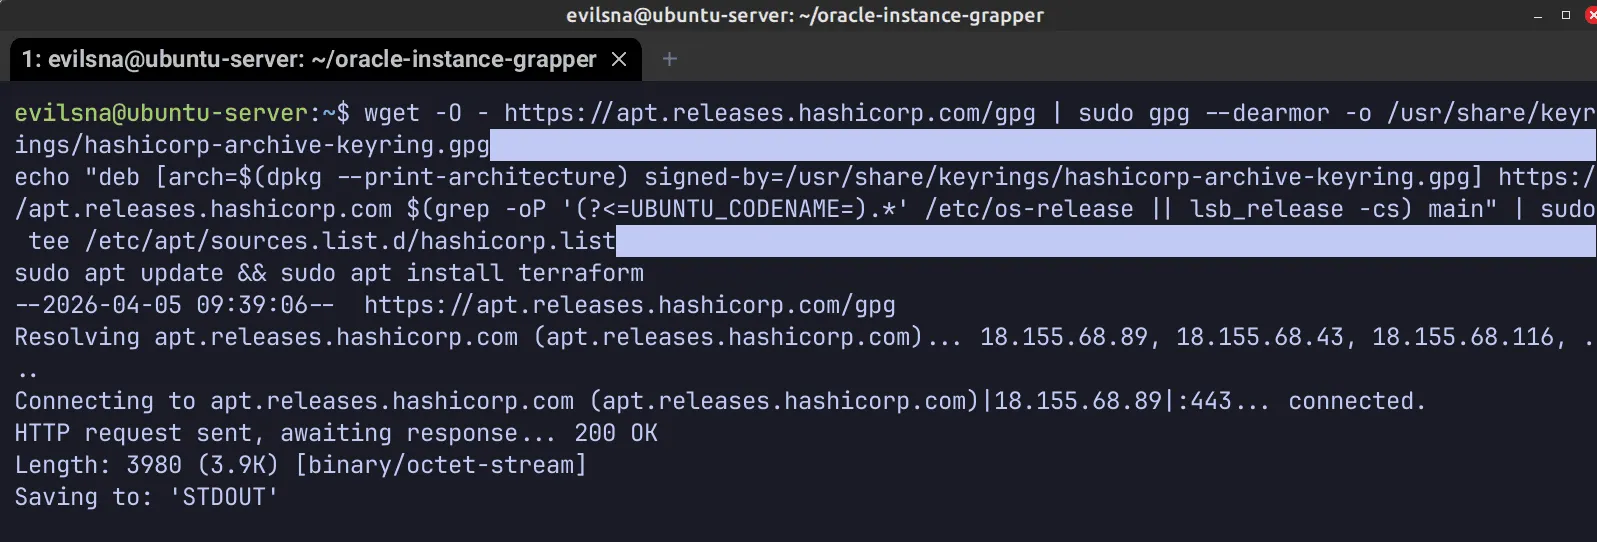
- Create an automated retry script:
nano grab_oracle.shPaste the following script:
#!/bin/bash

while true; do
  echo "Attempting to create instance: $(date)"

  # Run terraform apply
  # -auto-approve skips the [yes/no] prompt
  terraform apply -auto-approve

  # Check if it succeeded (Exit code 0 means success)
  if [ $? -eq 0 ]; then
    echo "SUCCESS! Server created at $(date)"
    exit 0
  fi

  echo "Failed (Out of capacity). Sleeping for 60 seconds..."
  sleep 60
done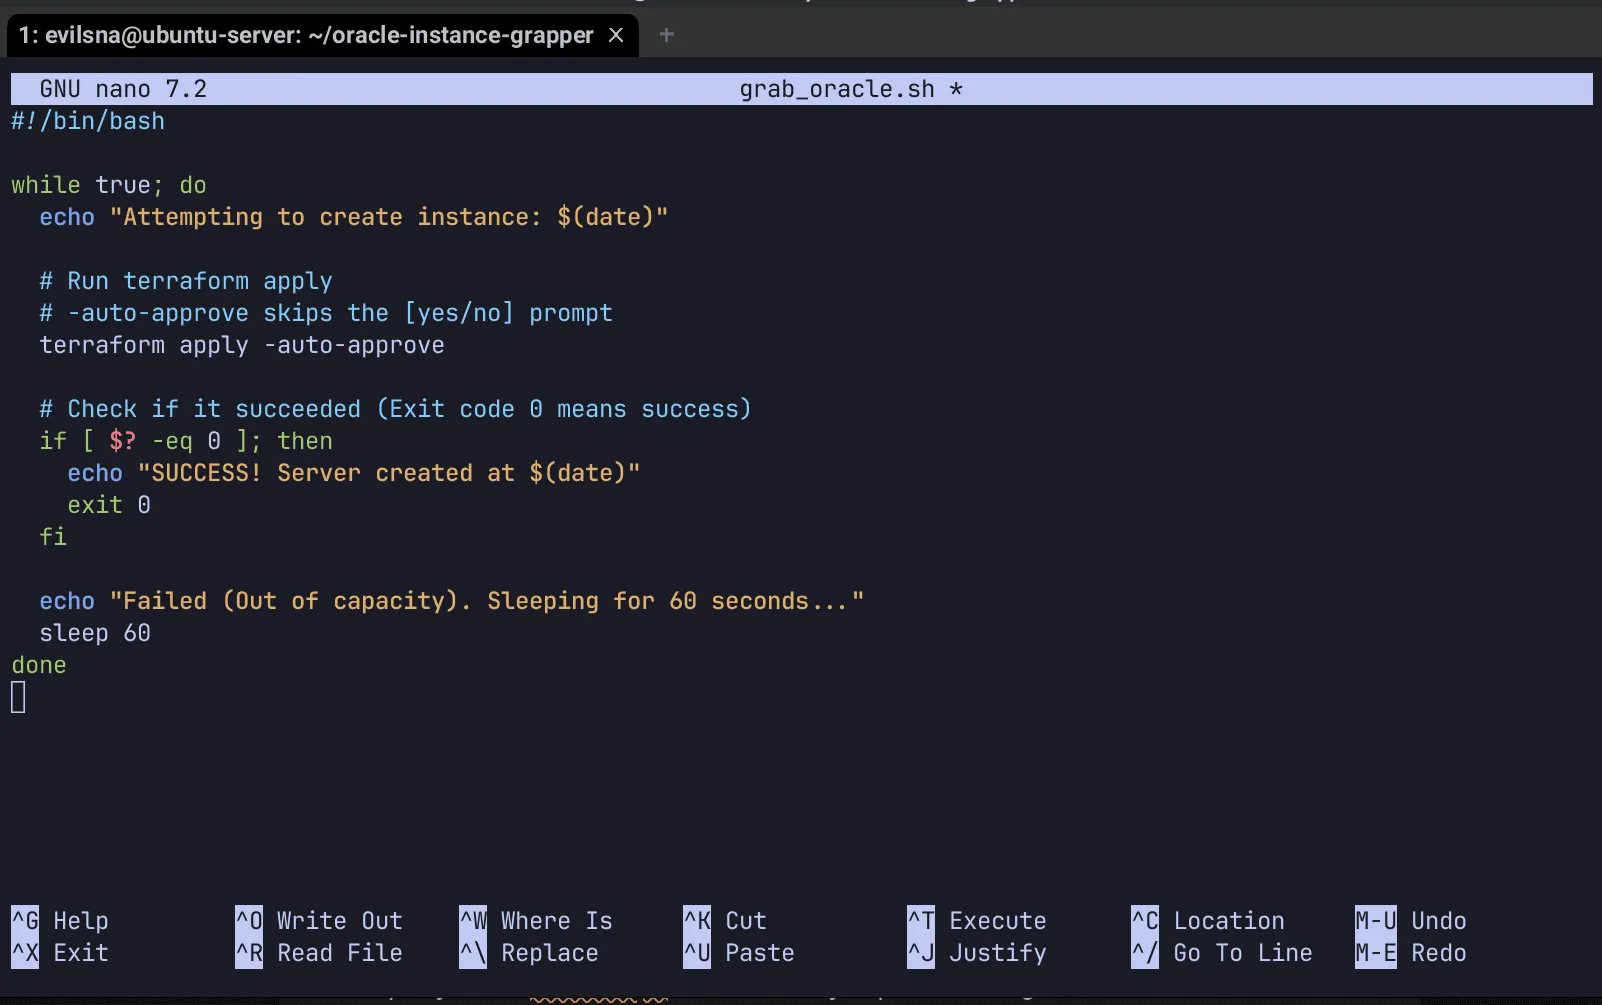
- Update
main.tfwith your OCI API credentials:
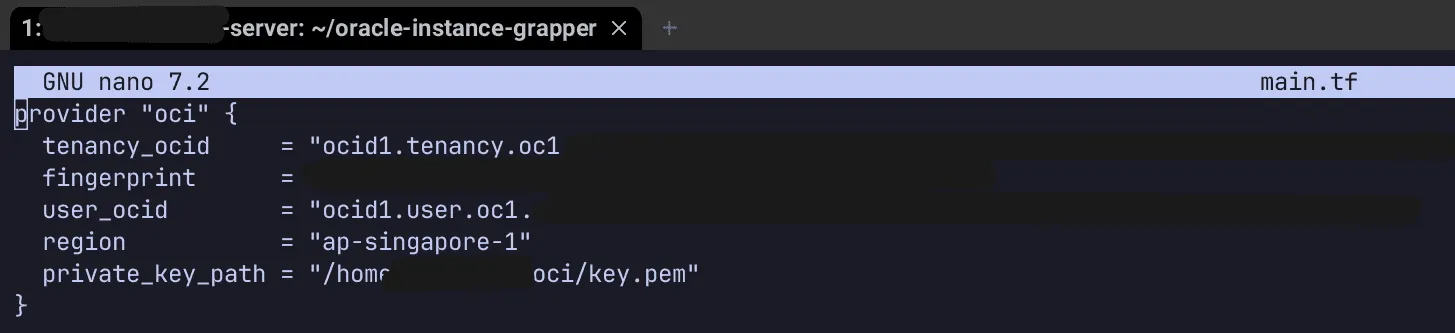
provider "oci" {
  tenancy_ocid     = "ocid1.tenancy.oc1.."
  fingerprint      = ""
  user_ocid        = "ocid1.user.oc1.."
  region           = "<your region>"
  private_key_path = "/home/<your username>/.oci/key.pem"
}
Finding Credentials to Run Terraform
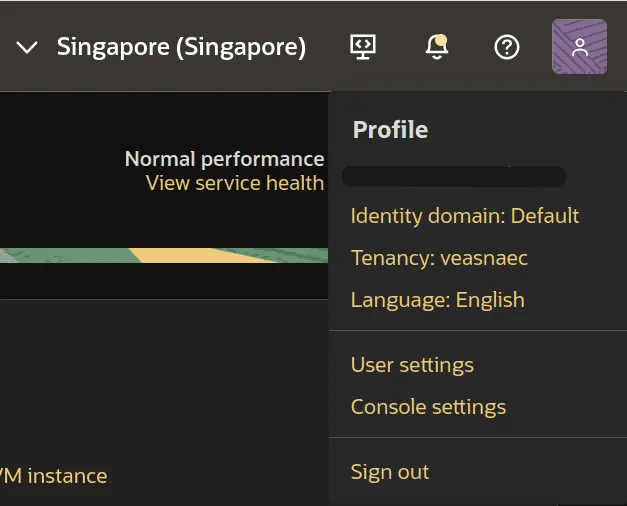
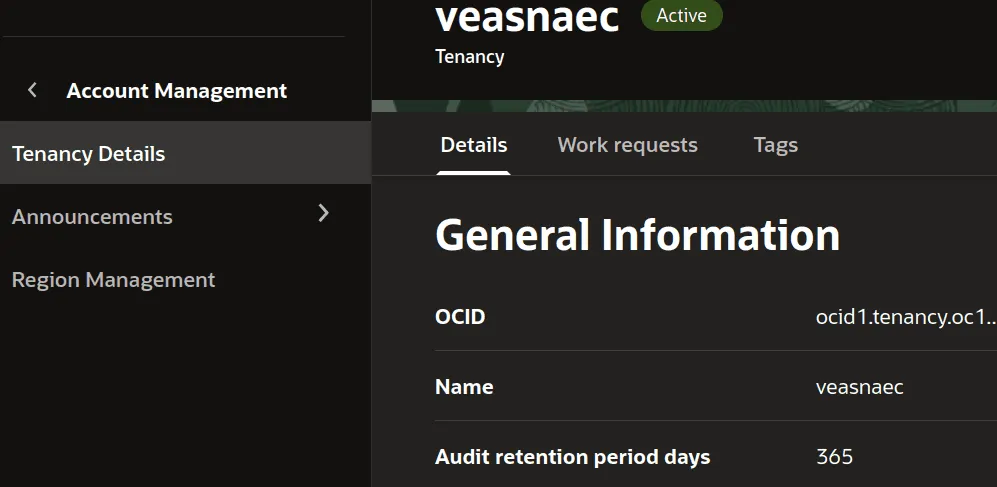
- Find your Tenancy OCID under Profile > Tenancy:
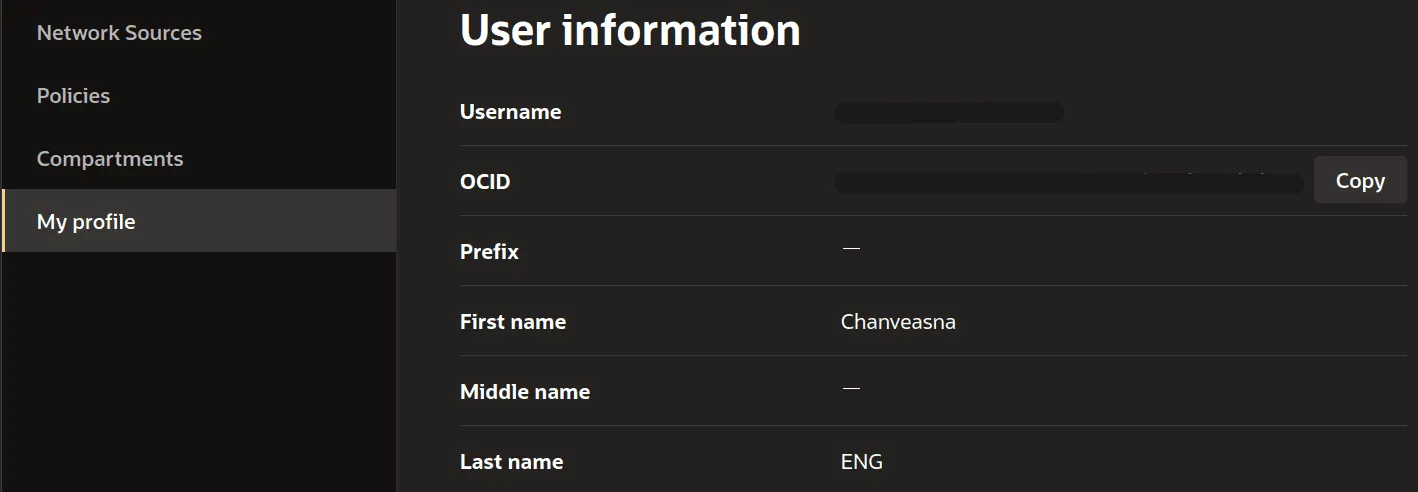
- Find your User OCID under Profile > User Settings:
- Under API Keys, click Add API Key:
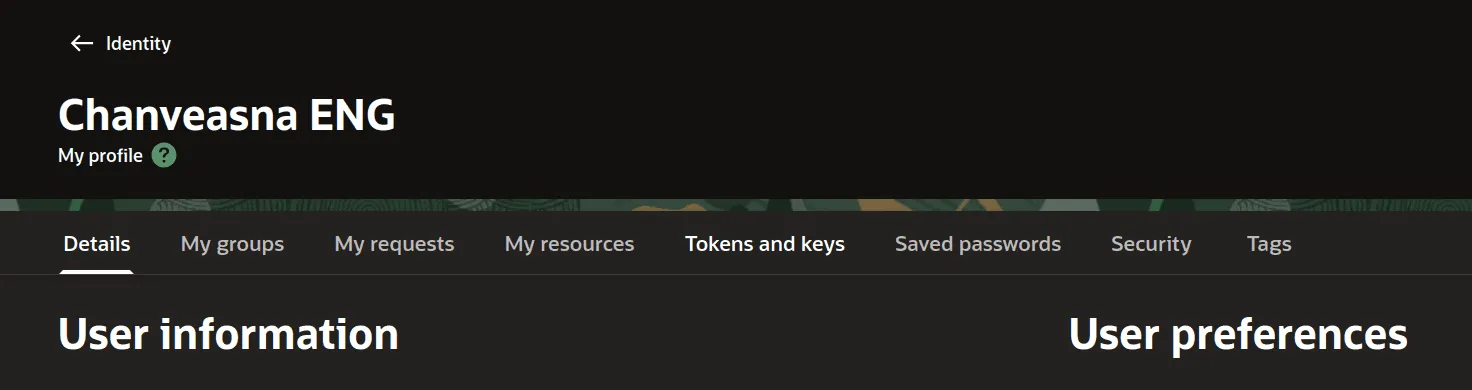
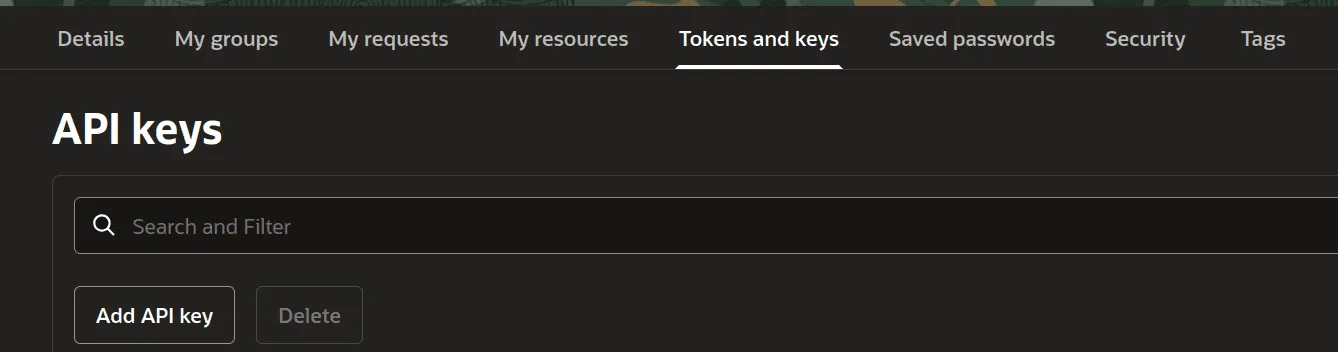
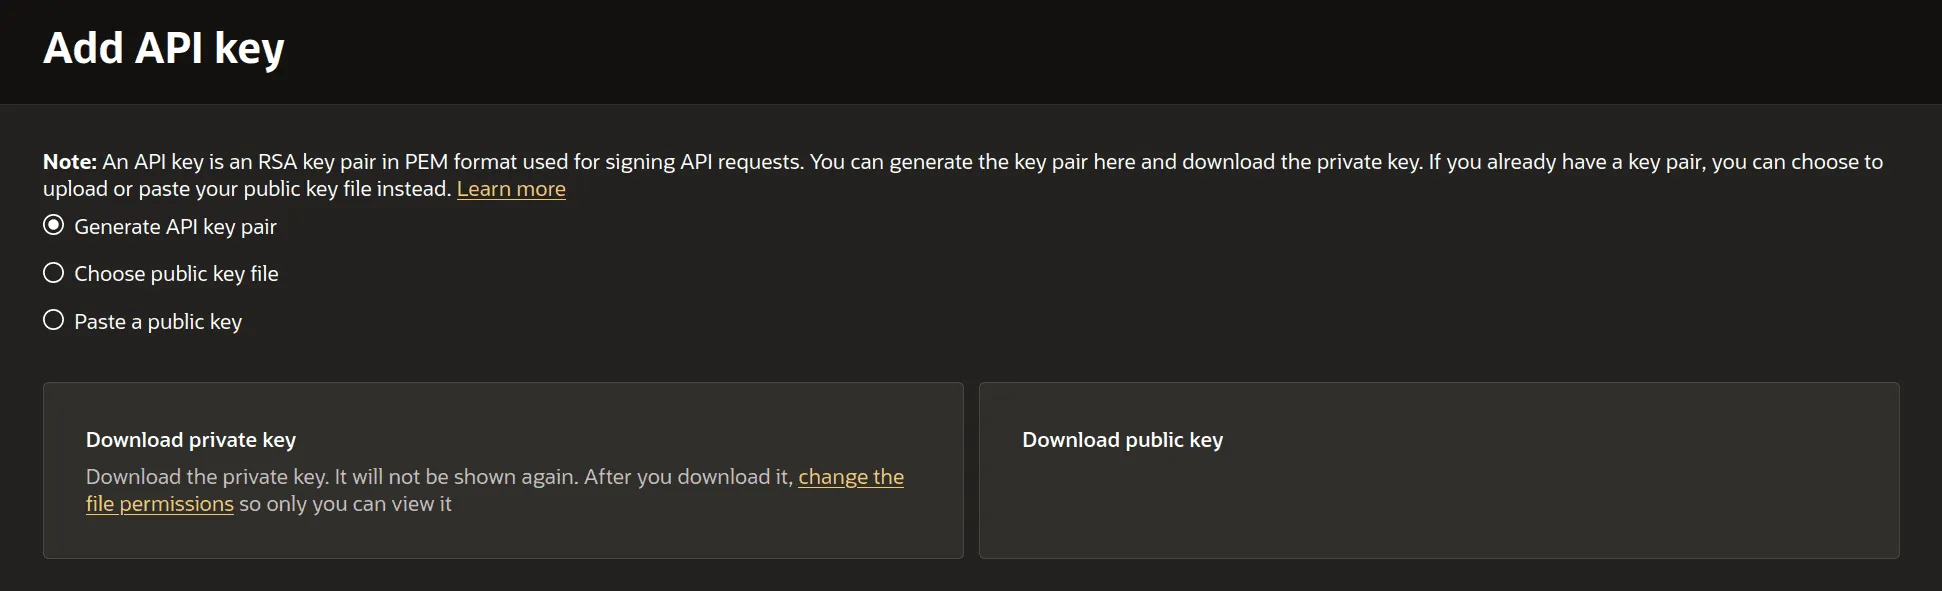
- Download your generated private key, click Add, and copy the configuration snippet.
Running the Script
- Move your private key to your
.ocidirectory and restrict file permissions:
mkdir -p ~/.oci
mv ~/Downloads/<your-key-file>.pem ~/.oci/key.pem
chmod 400 ~/.oci/key.pem- Initialize Terraform in your project directory:
terraform init
- Launch the script inside a persistent
tmuxsession:
tmux new -s oracle-grabber
chmod +x grab_oracle.sh
./grab_oracle.sh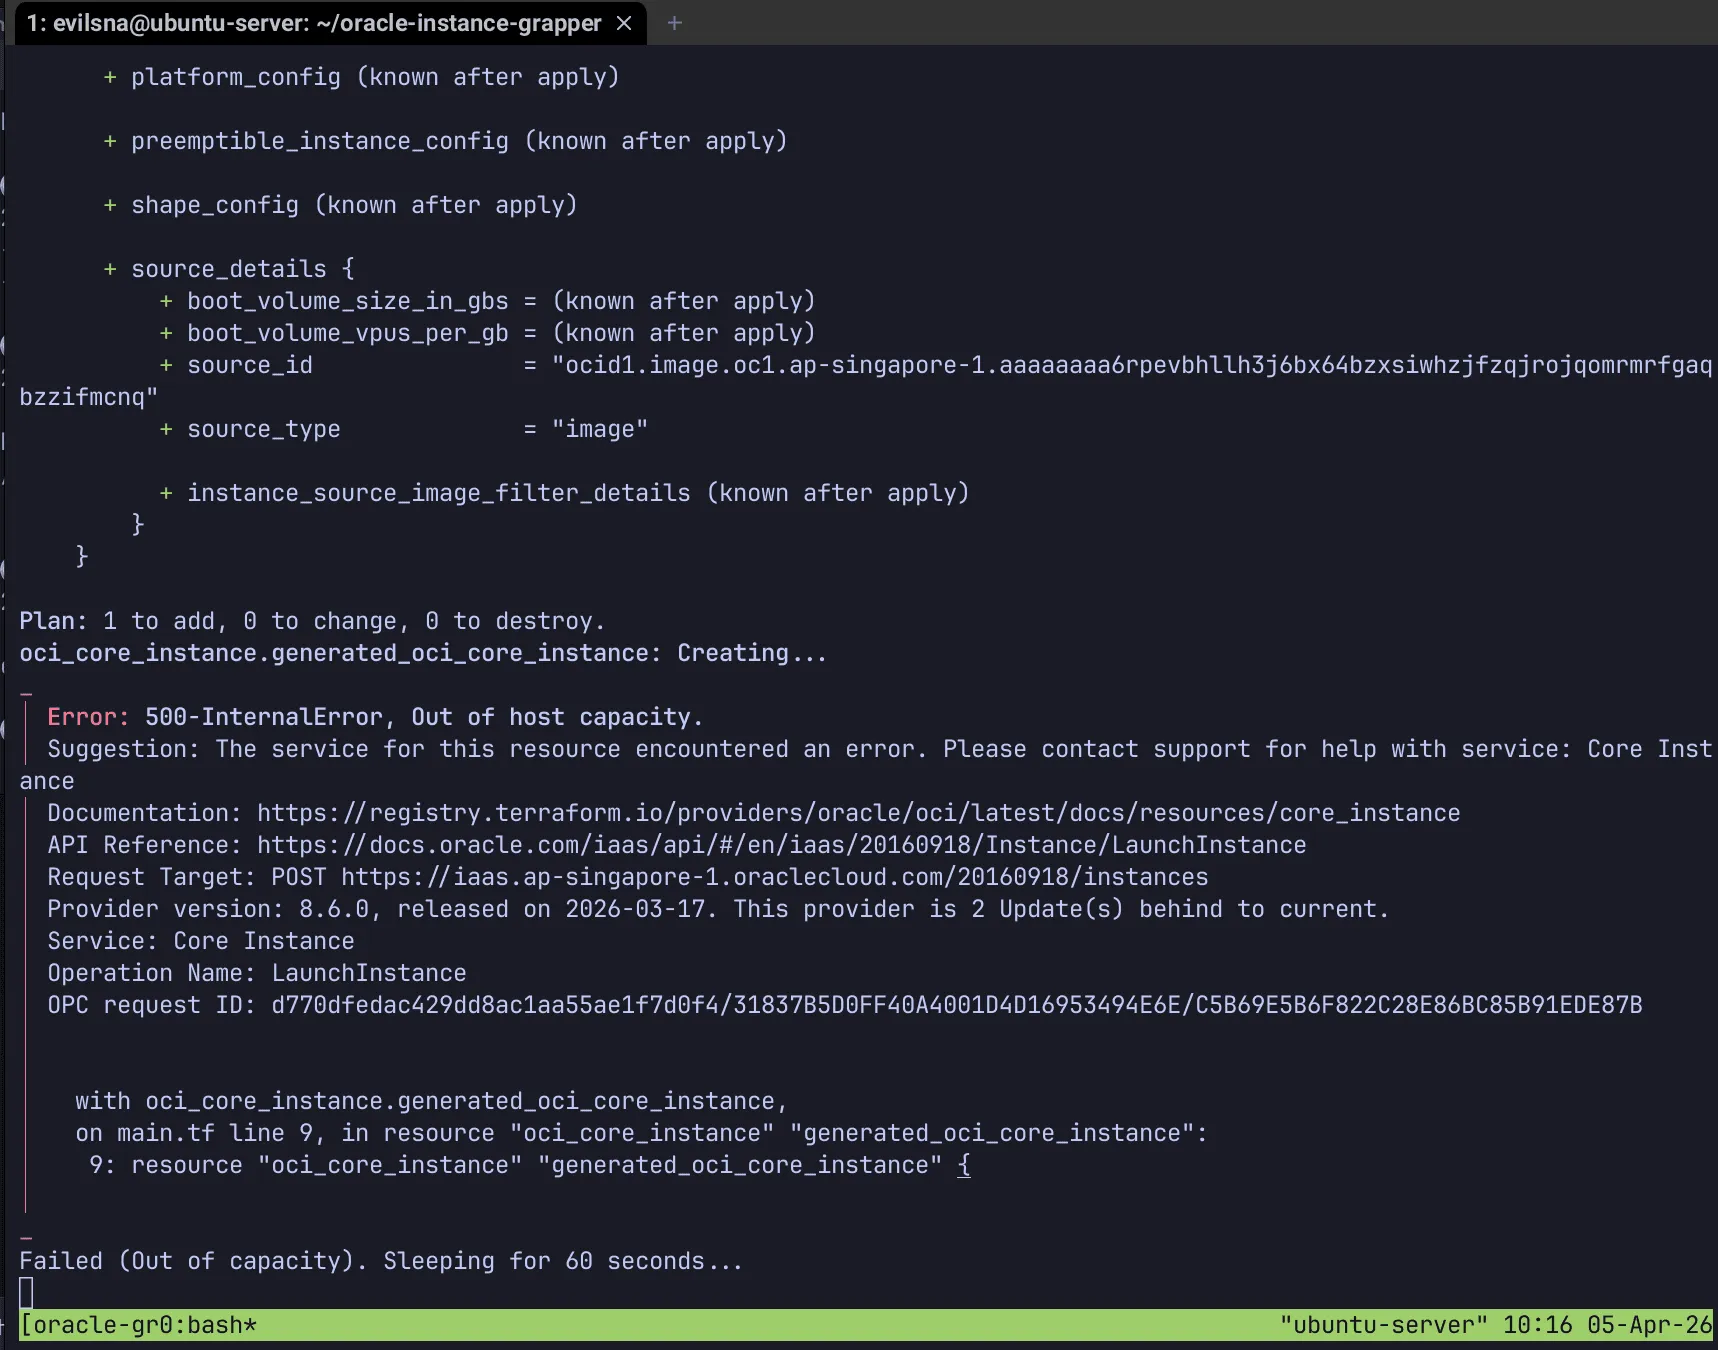
- The script will continue retrying until an instance successfully provisions. It polls every 60 seconds to avoid rate limits or API abuse flags from Oracle. As soon as another tenant decommissions a VM or regional capacity frees up, the script executes
terraform applyand claims the instance.
To exit the tmux session without terminating the background script, press Ctrl + b followed by d to detach.
To check script progress at any point, re-attach to the session:
tmux attach -t oracle-grabberOnce provisioned, your instance will appear in the OCI dashboard with an assigned public IPv4 address ready for SSH access.
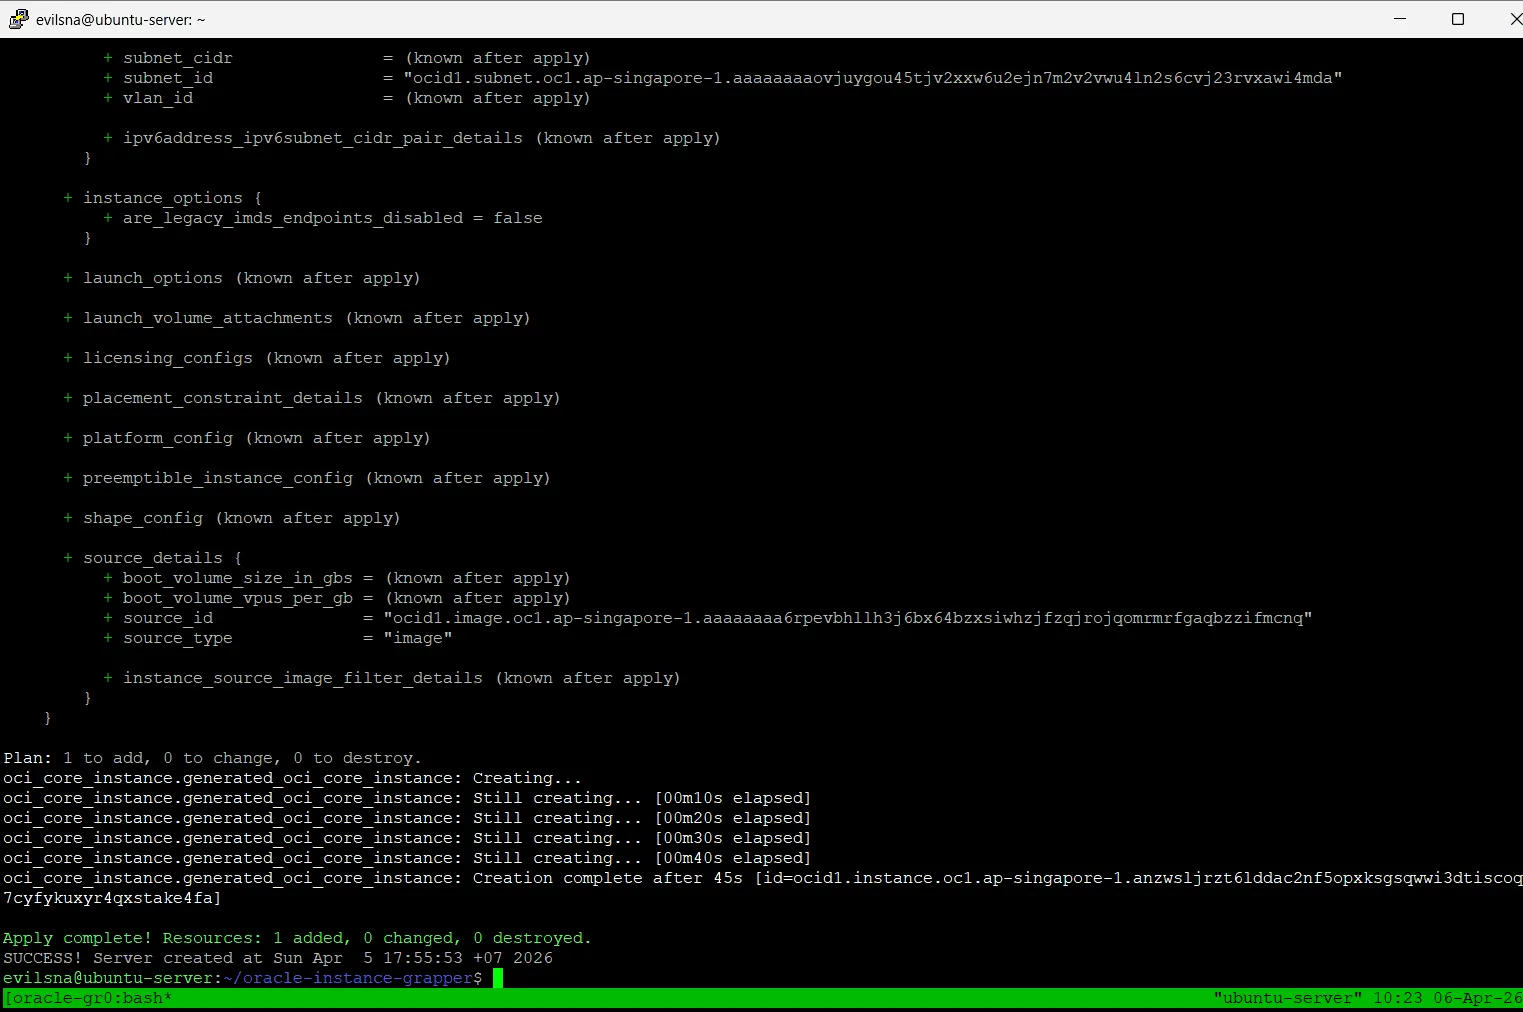
With your Always Free cloud instance running, you now have a reliable 24/7 environment to deploy Docker containers, automated workflows, or personal web services at zero cost.